
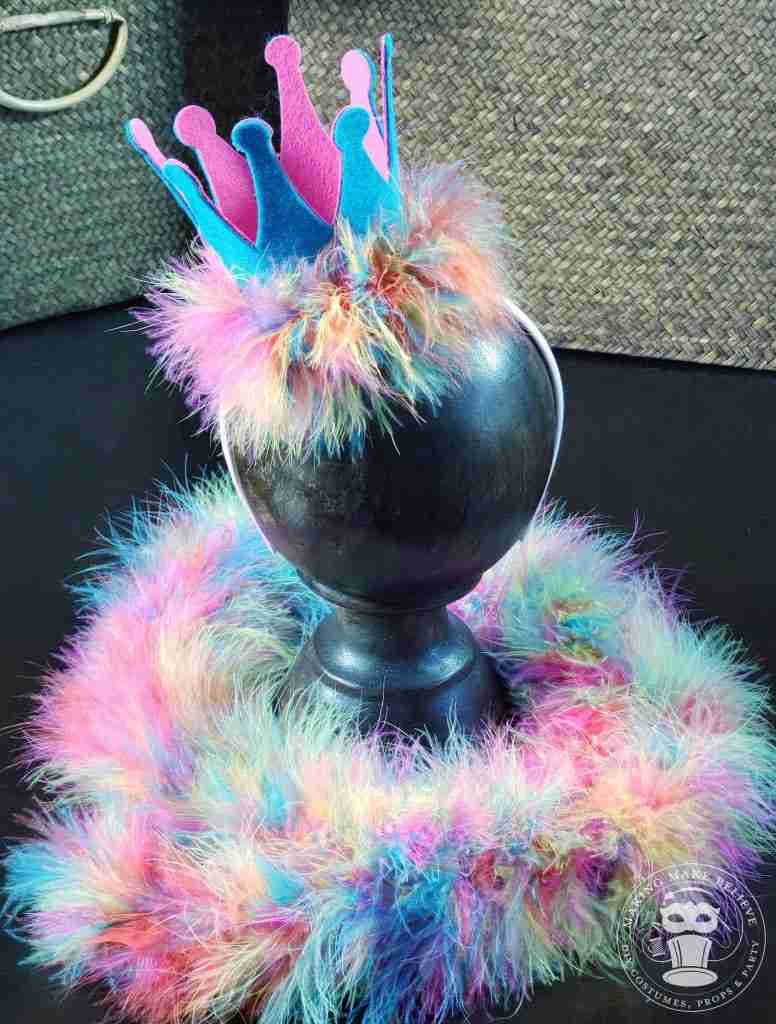
I may be slightly more excited about this pattern than I should be, but I love versatile projects. I kind of got carried away making these, and I finally had to force myself to stop creating and get the tutorial done.
These simple crowns are ideal as quick and easy costume pieces, but I can think of so many other fun ways to use them. Can’t you just picture one of these crowns as a bow on a wrapped gift or tied to a bottle of vino? Or, how about adding a dowel and making a three-dimensional photo booth prop? A birthday crown for a milestone photo? Place cards for a wedding, ornaments for the tree or party decor pieces? So many options and, best of all, very few supplies are required.
So, yeah, I’m a little excited about this simple project, and I hope you’ll give it go and let me know how you use it for your costume or party.
Materials:
- Two 9″ x 12″ pieces of foam, felt, stiffened felt or paper
- Adhesive
- Embellishments (optional)
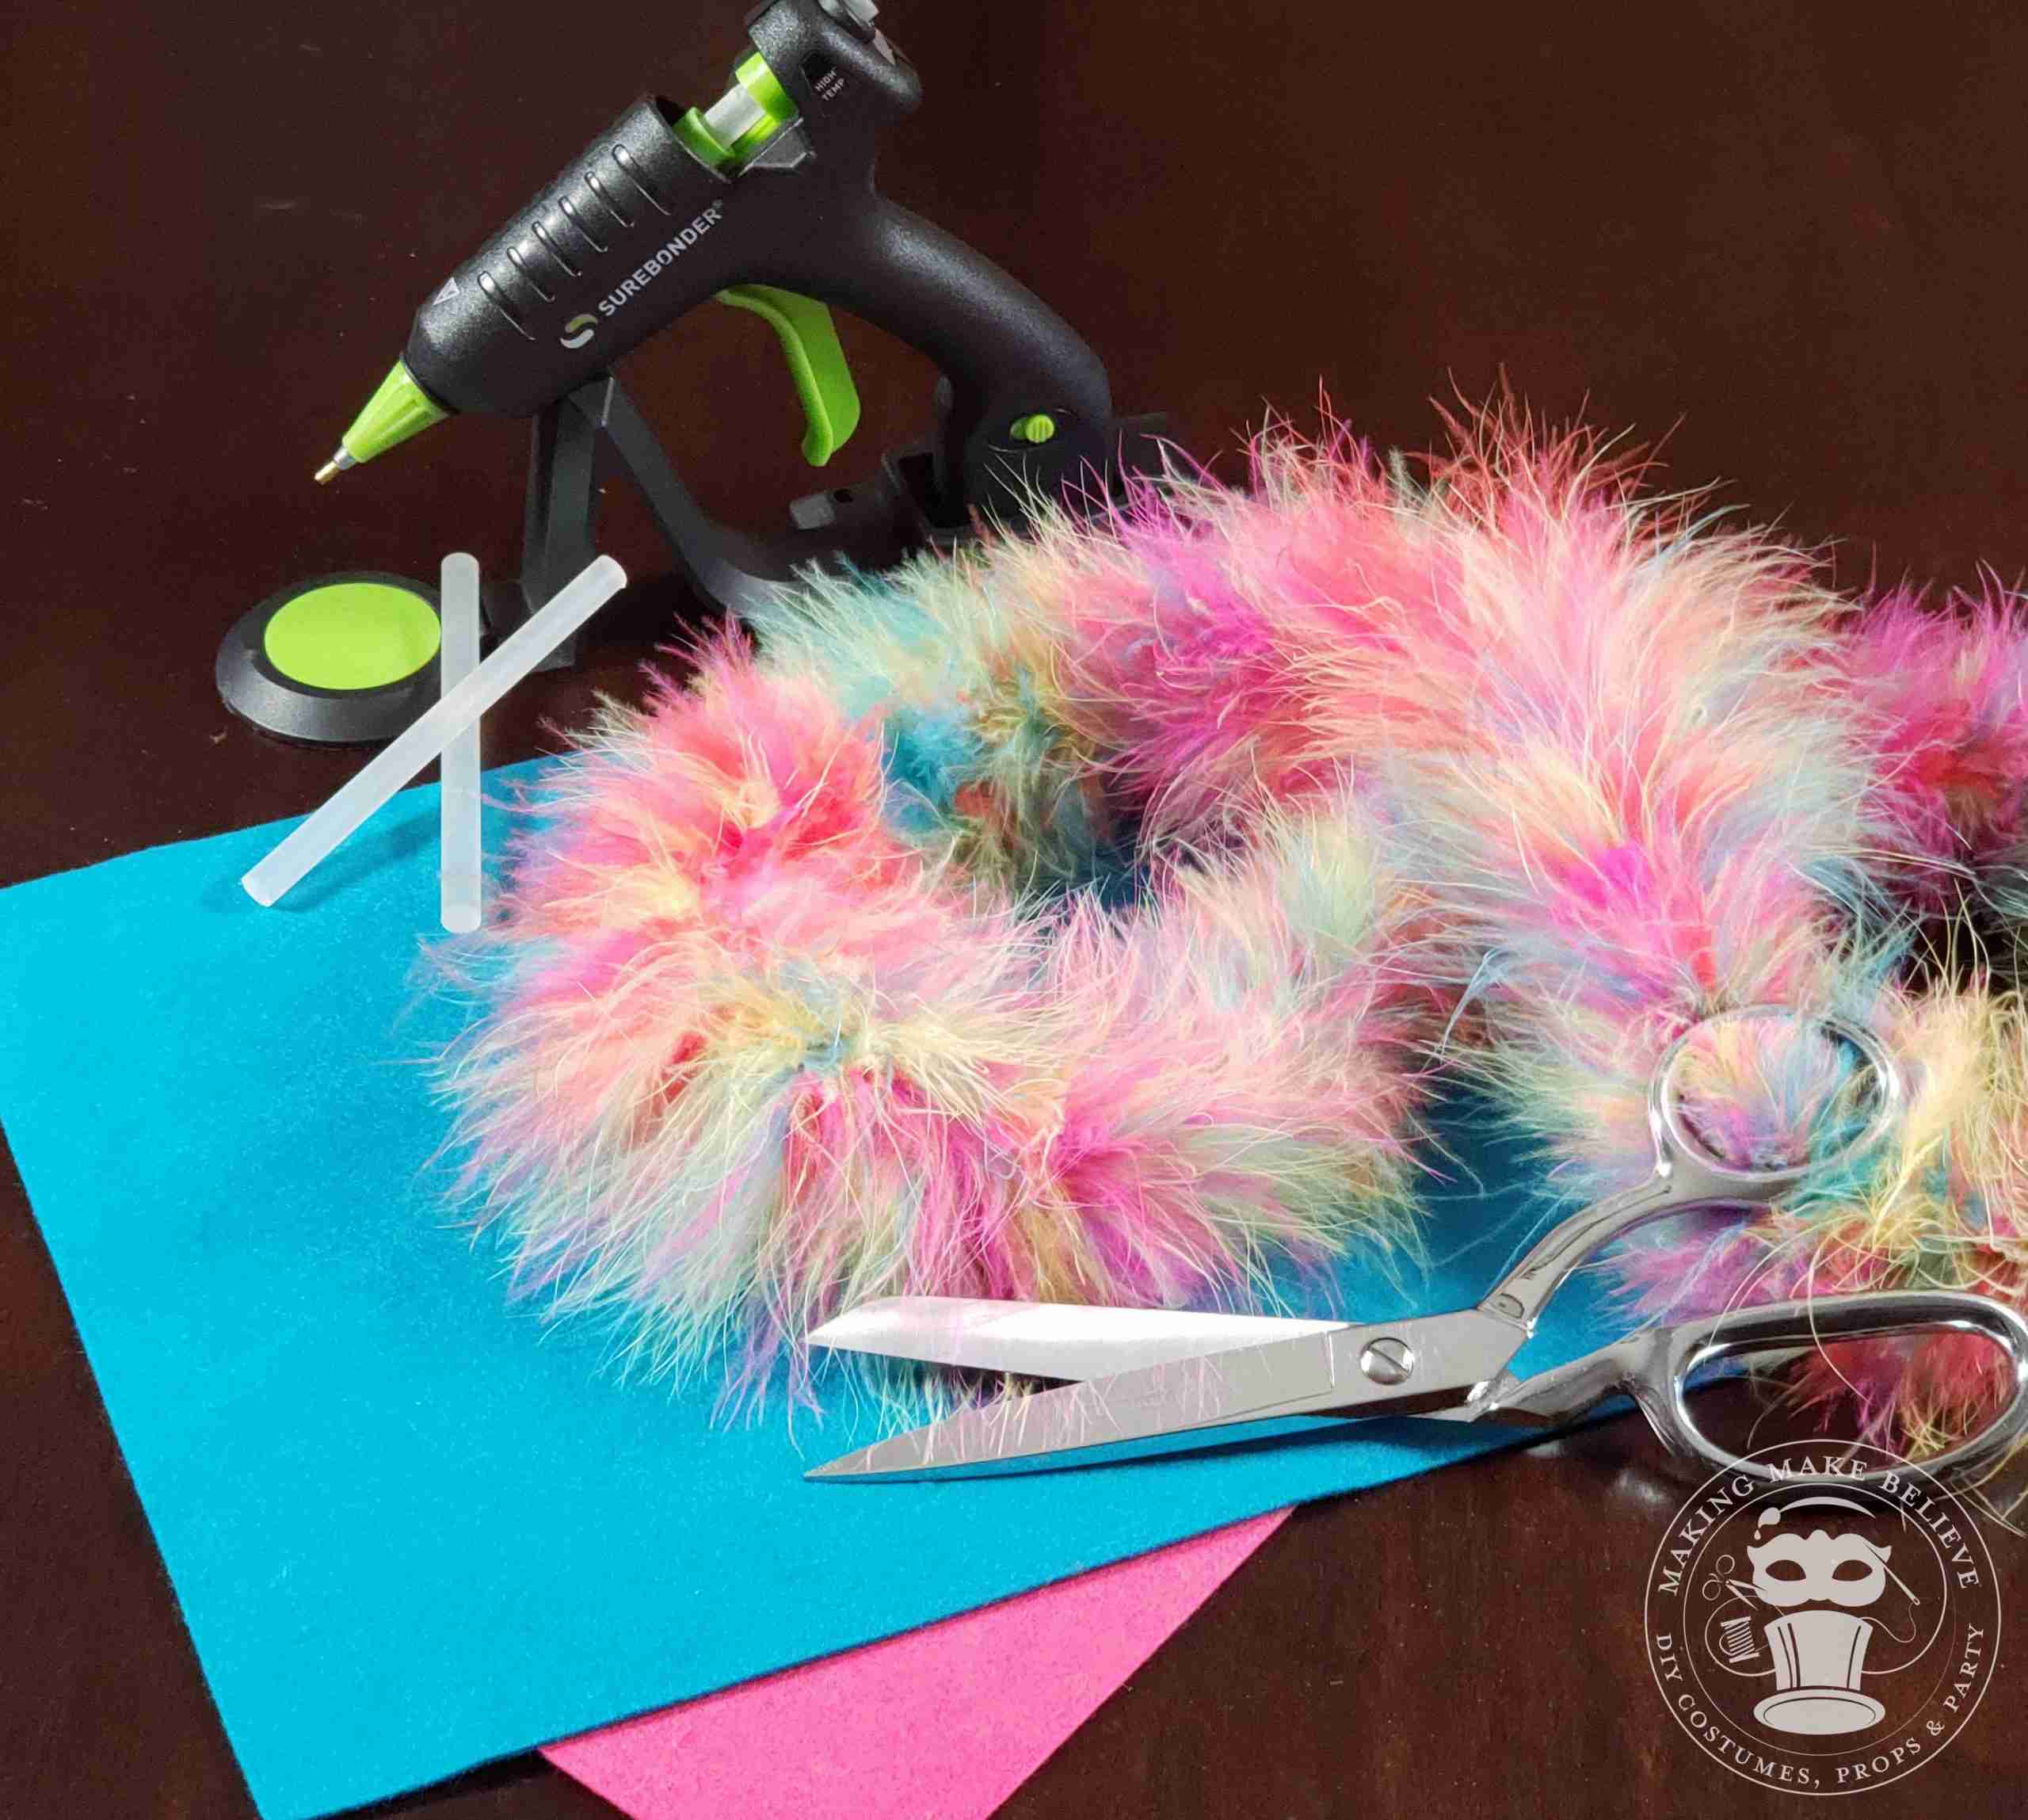
Tools:
To machine cut:
- SVG Cut File
- Cutting machine with mat and blade
- Scissors (optional, to cut trims)
To hand cut:
- Pattern PDF
- Scissors
NOTE: If using a cutting machine, be sure to secure your material to the proper mat for your machine. Select the appropriate cutting settings and install the correct cutting blade for the material.
Before You Get Started:
Download the free Easy Miniature Crown Pattern PDF or SVG Cut File located at the Haunted Library.
If you are going to use a cutting machine, upload the pattern file to your design software. To cut by hand, print, cut out the pattern, and trace onto materials.
Steps:
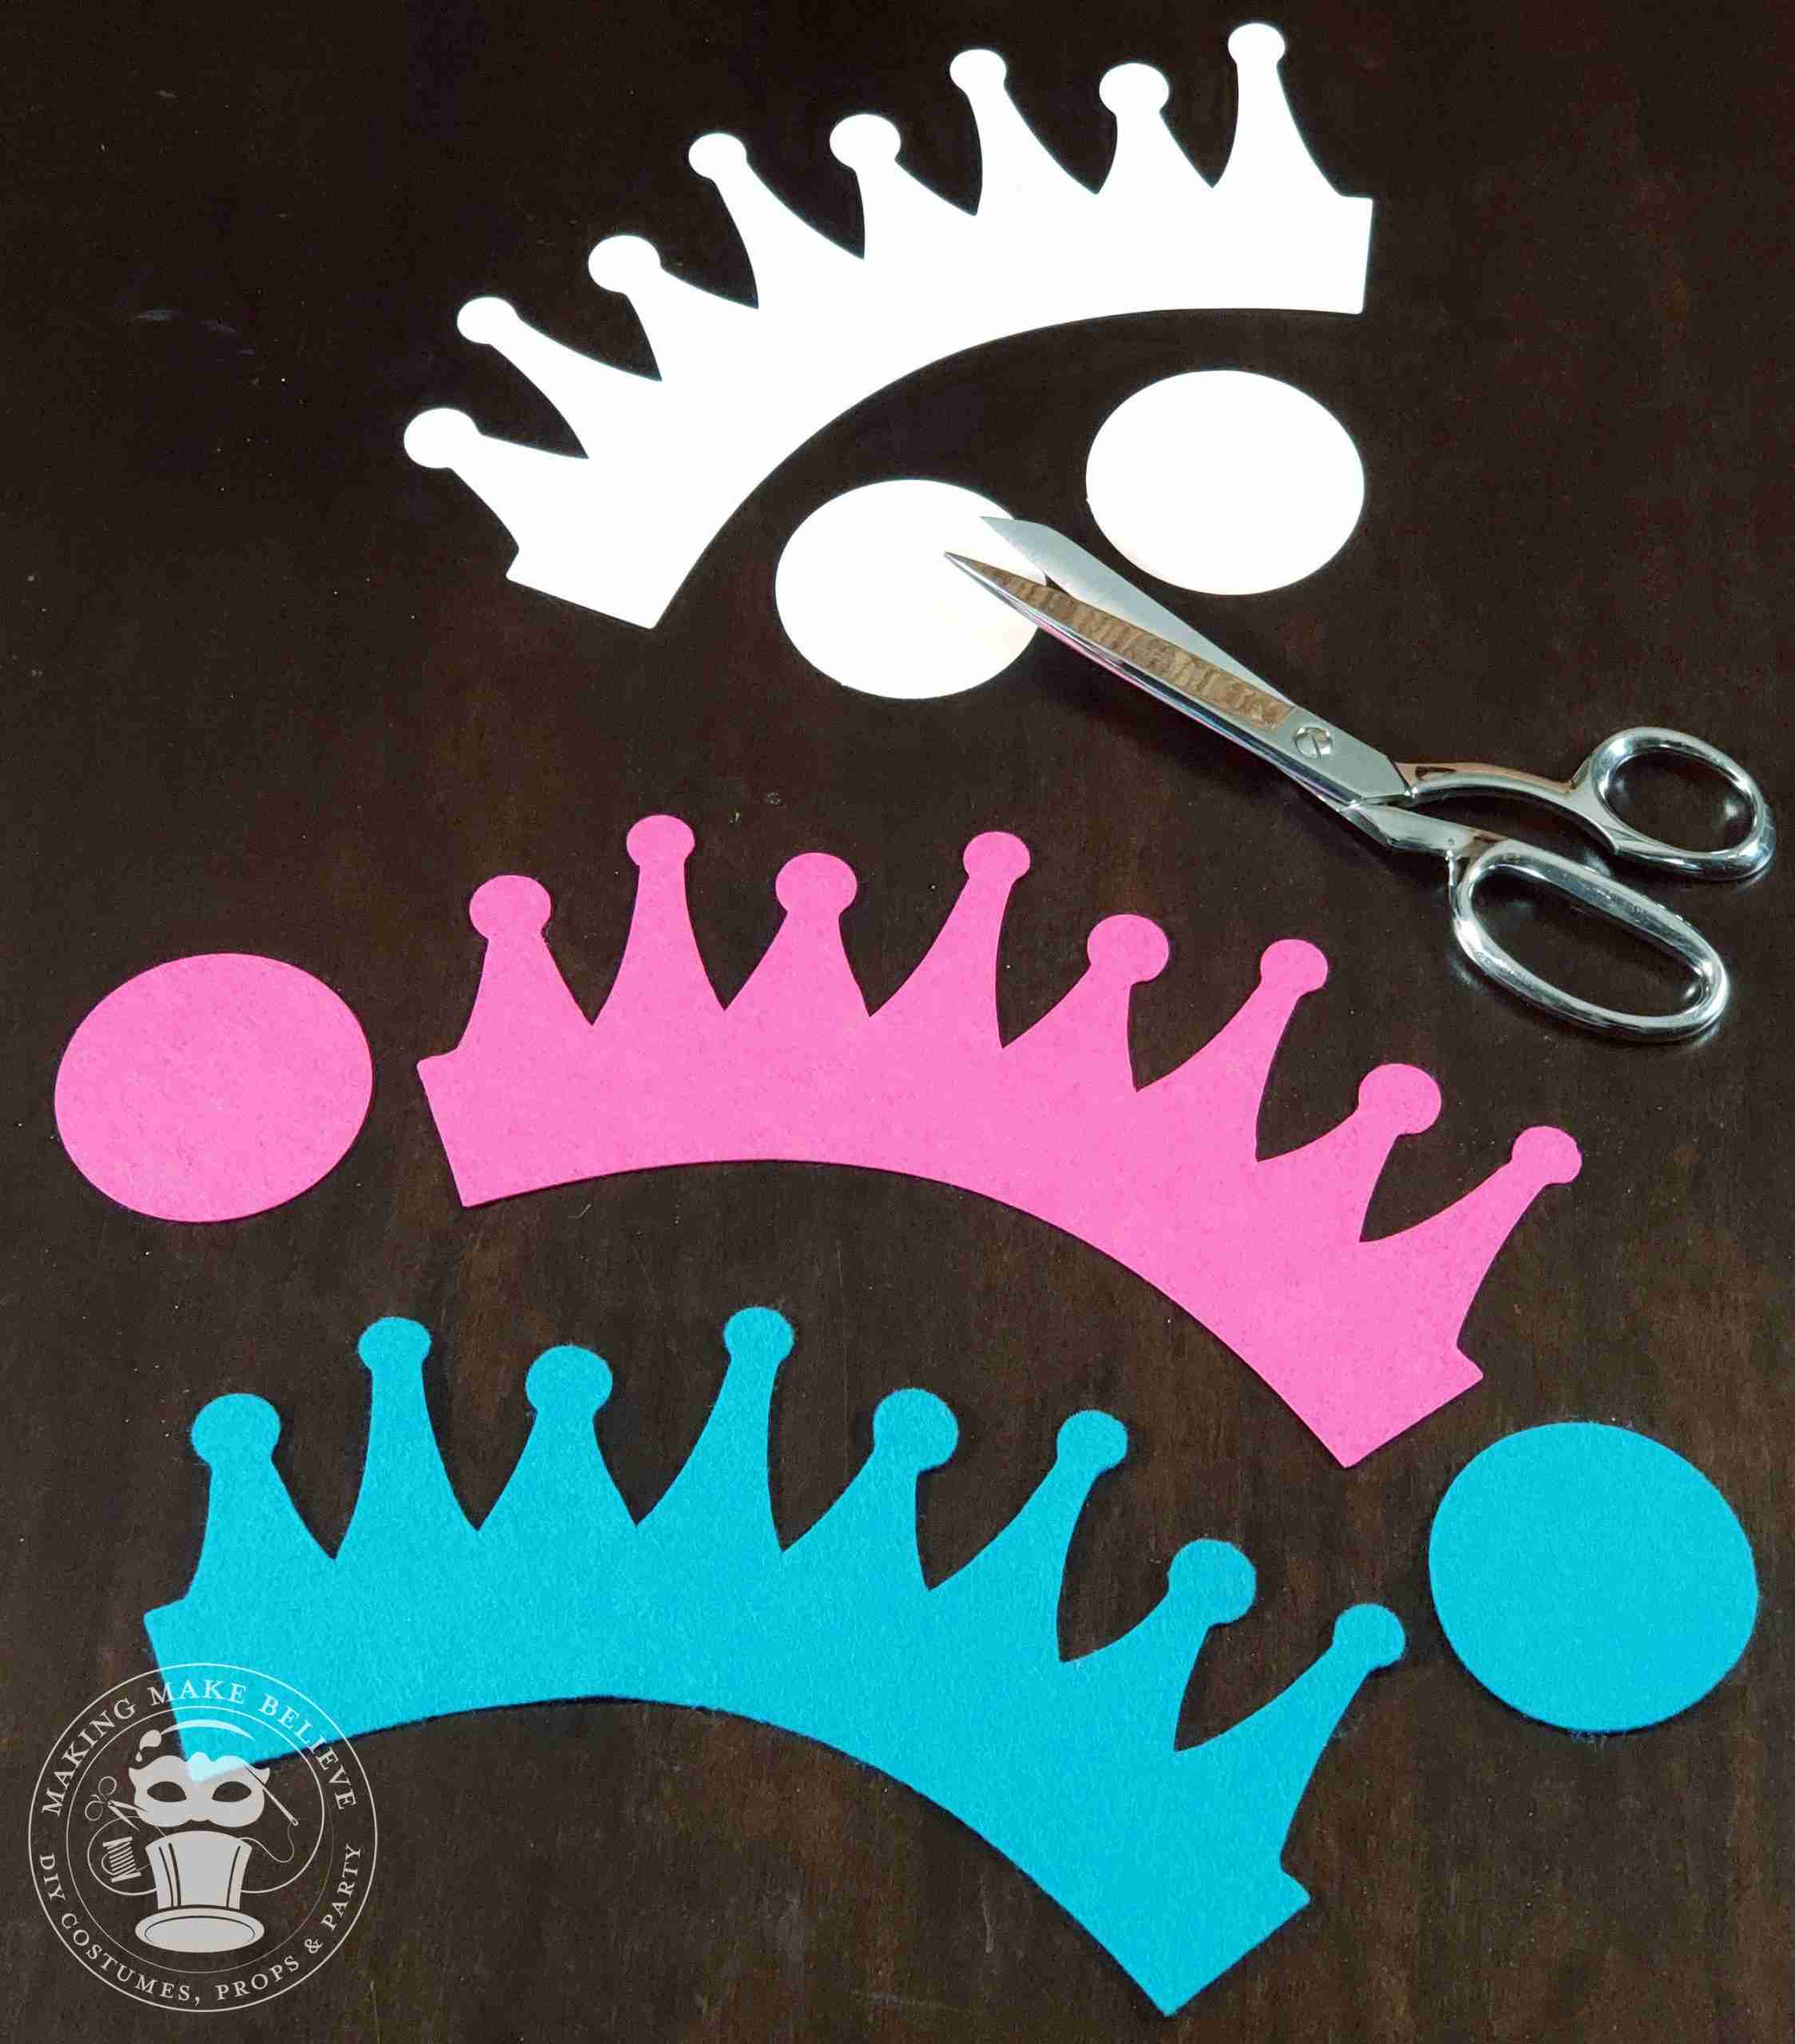
1. Cut one crown piece and one circle base from one piece of felt. Cut one crown piece and the other circle base from your second piece of felt.
NOTE: The circle bases are slightly different in size.
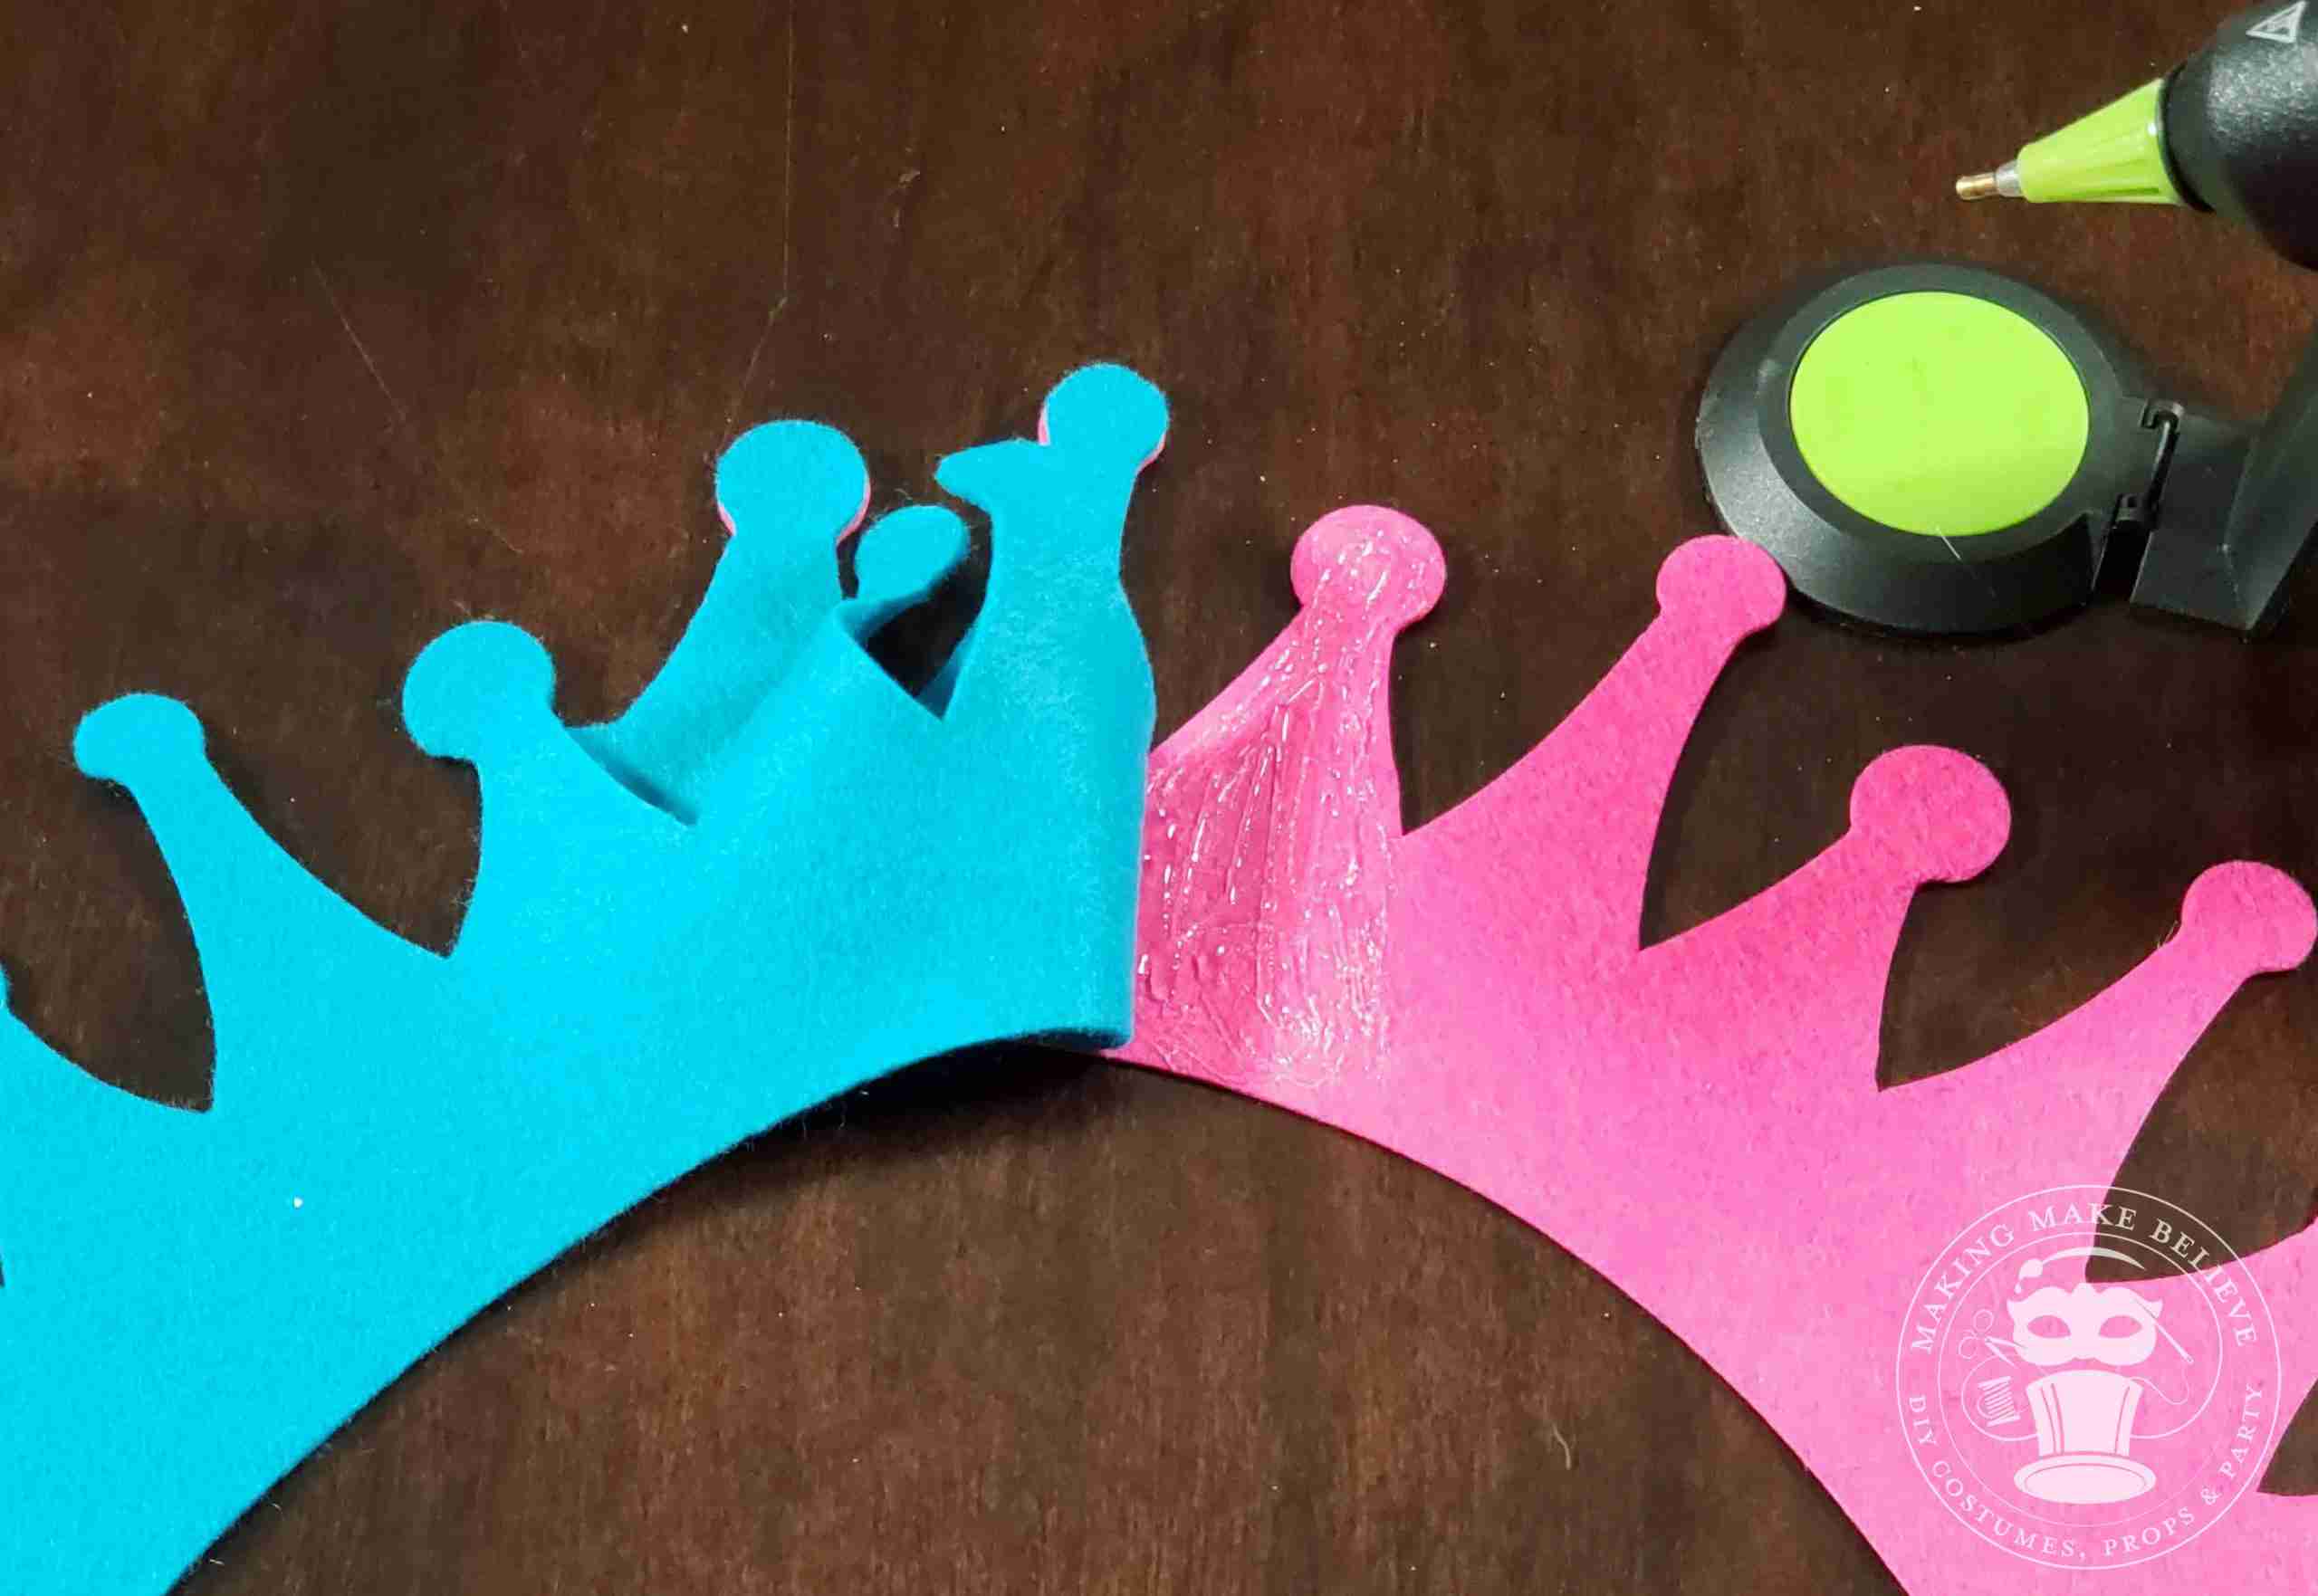
2. Match up the crown pieces and glue together.
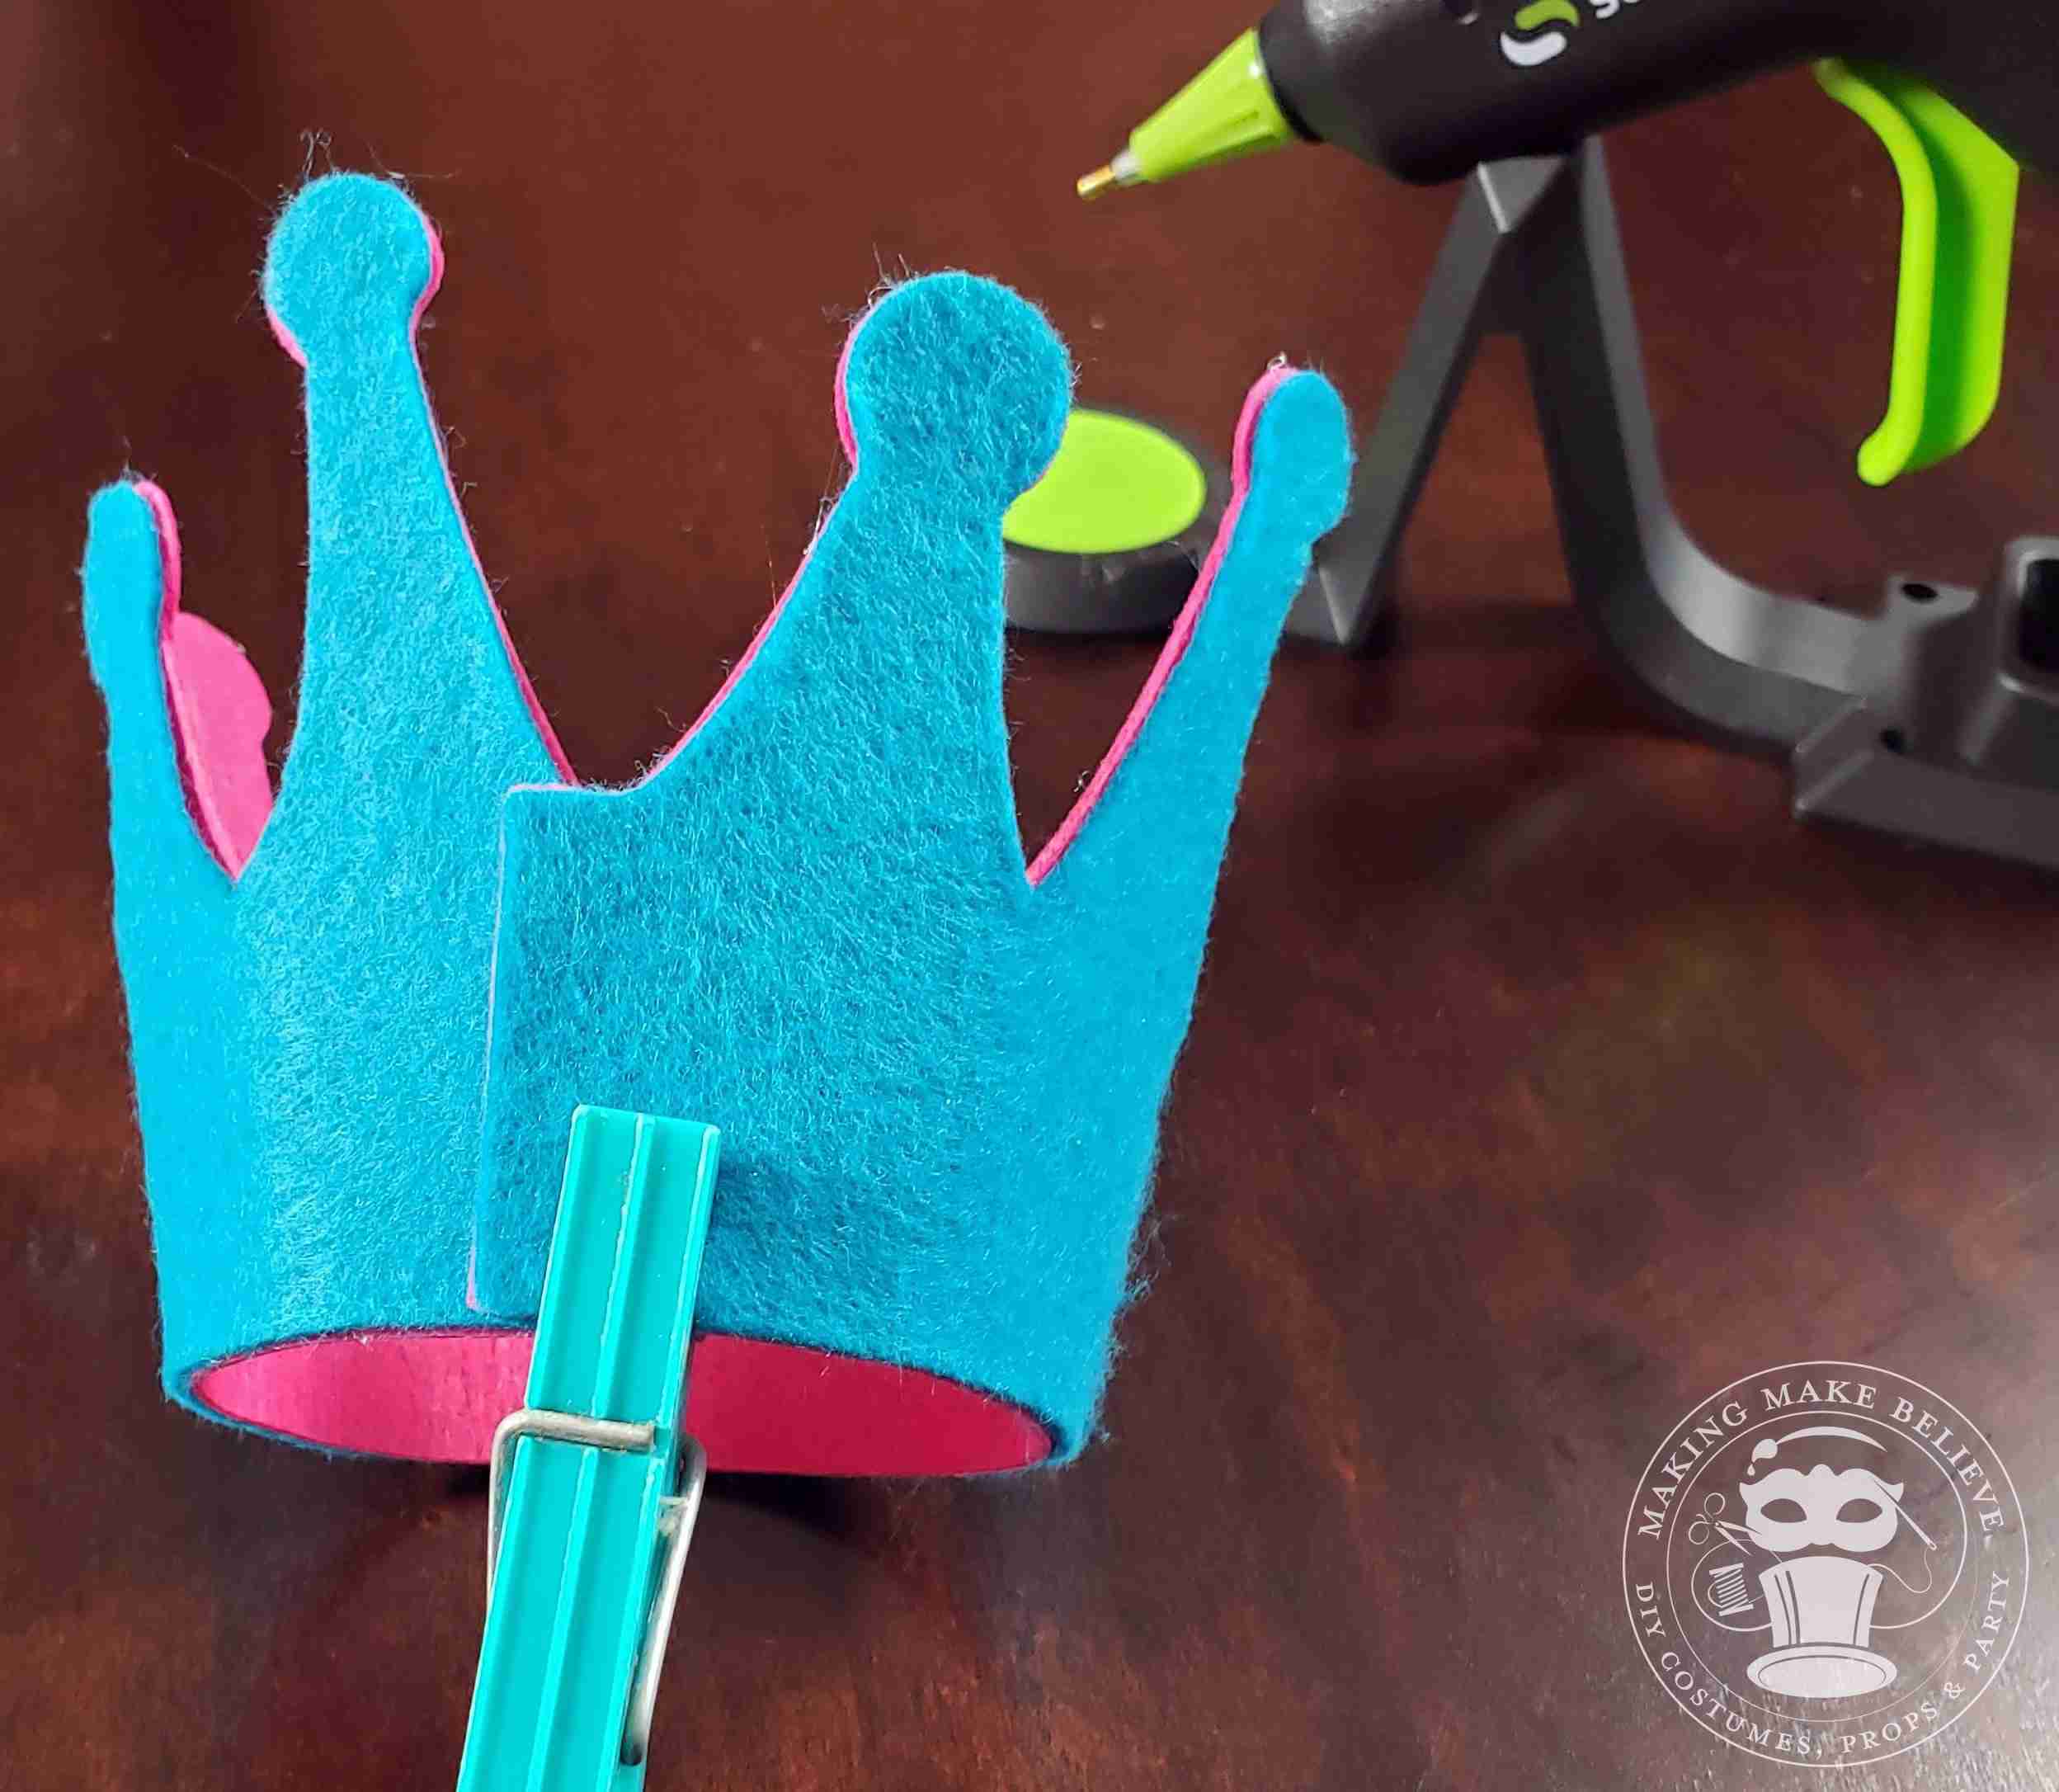
3. Overlap ends and glue.
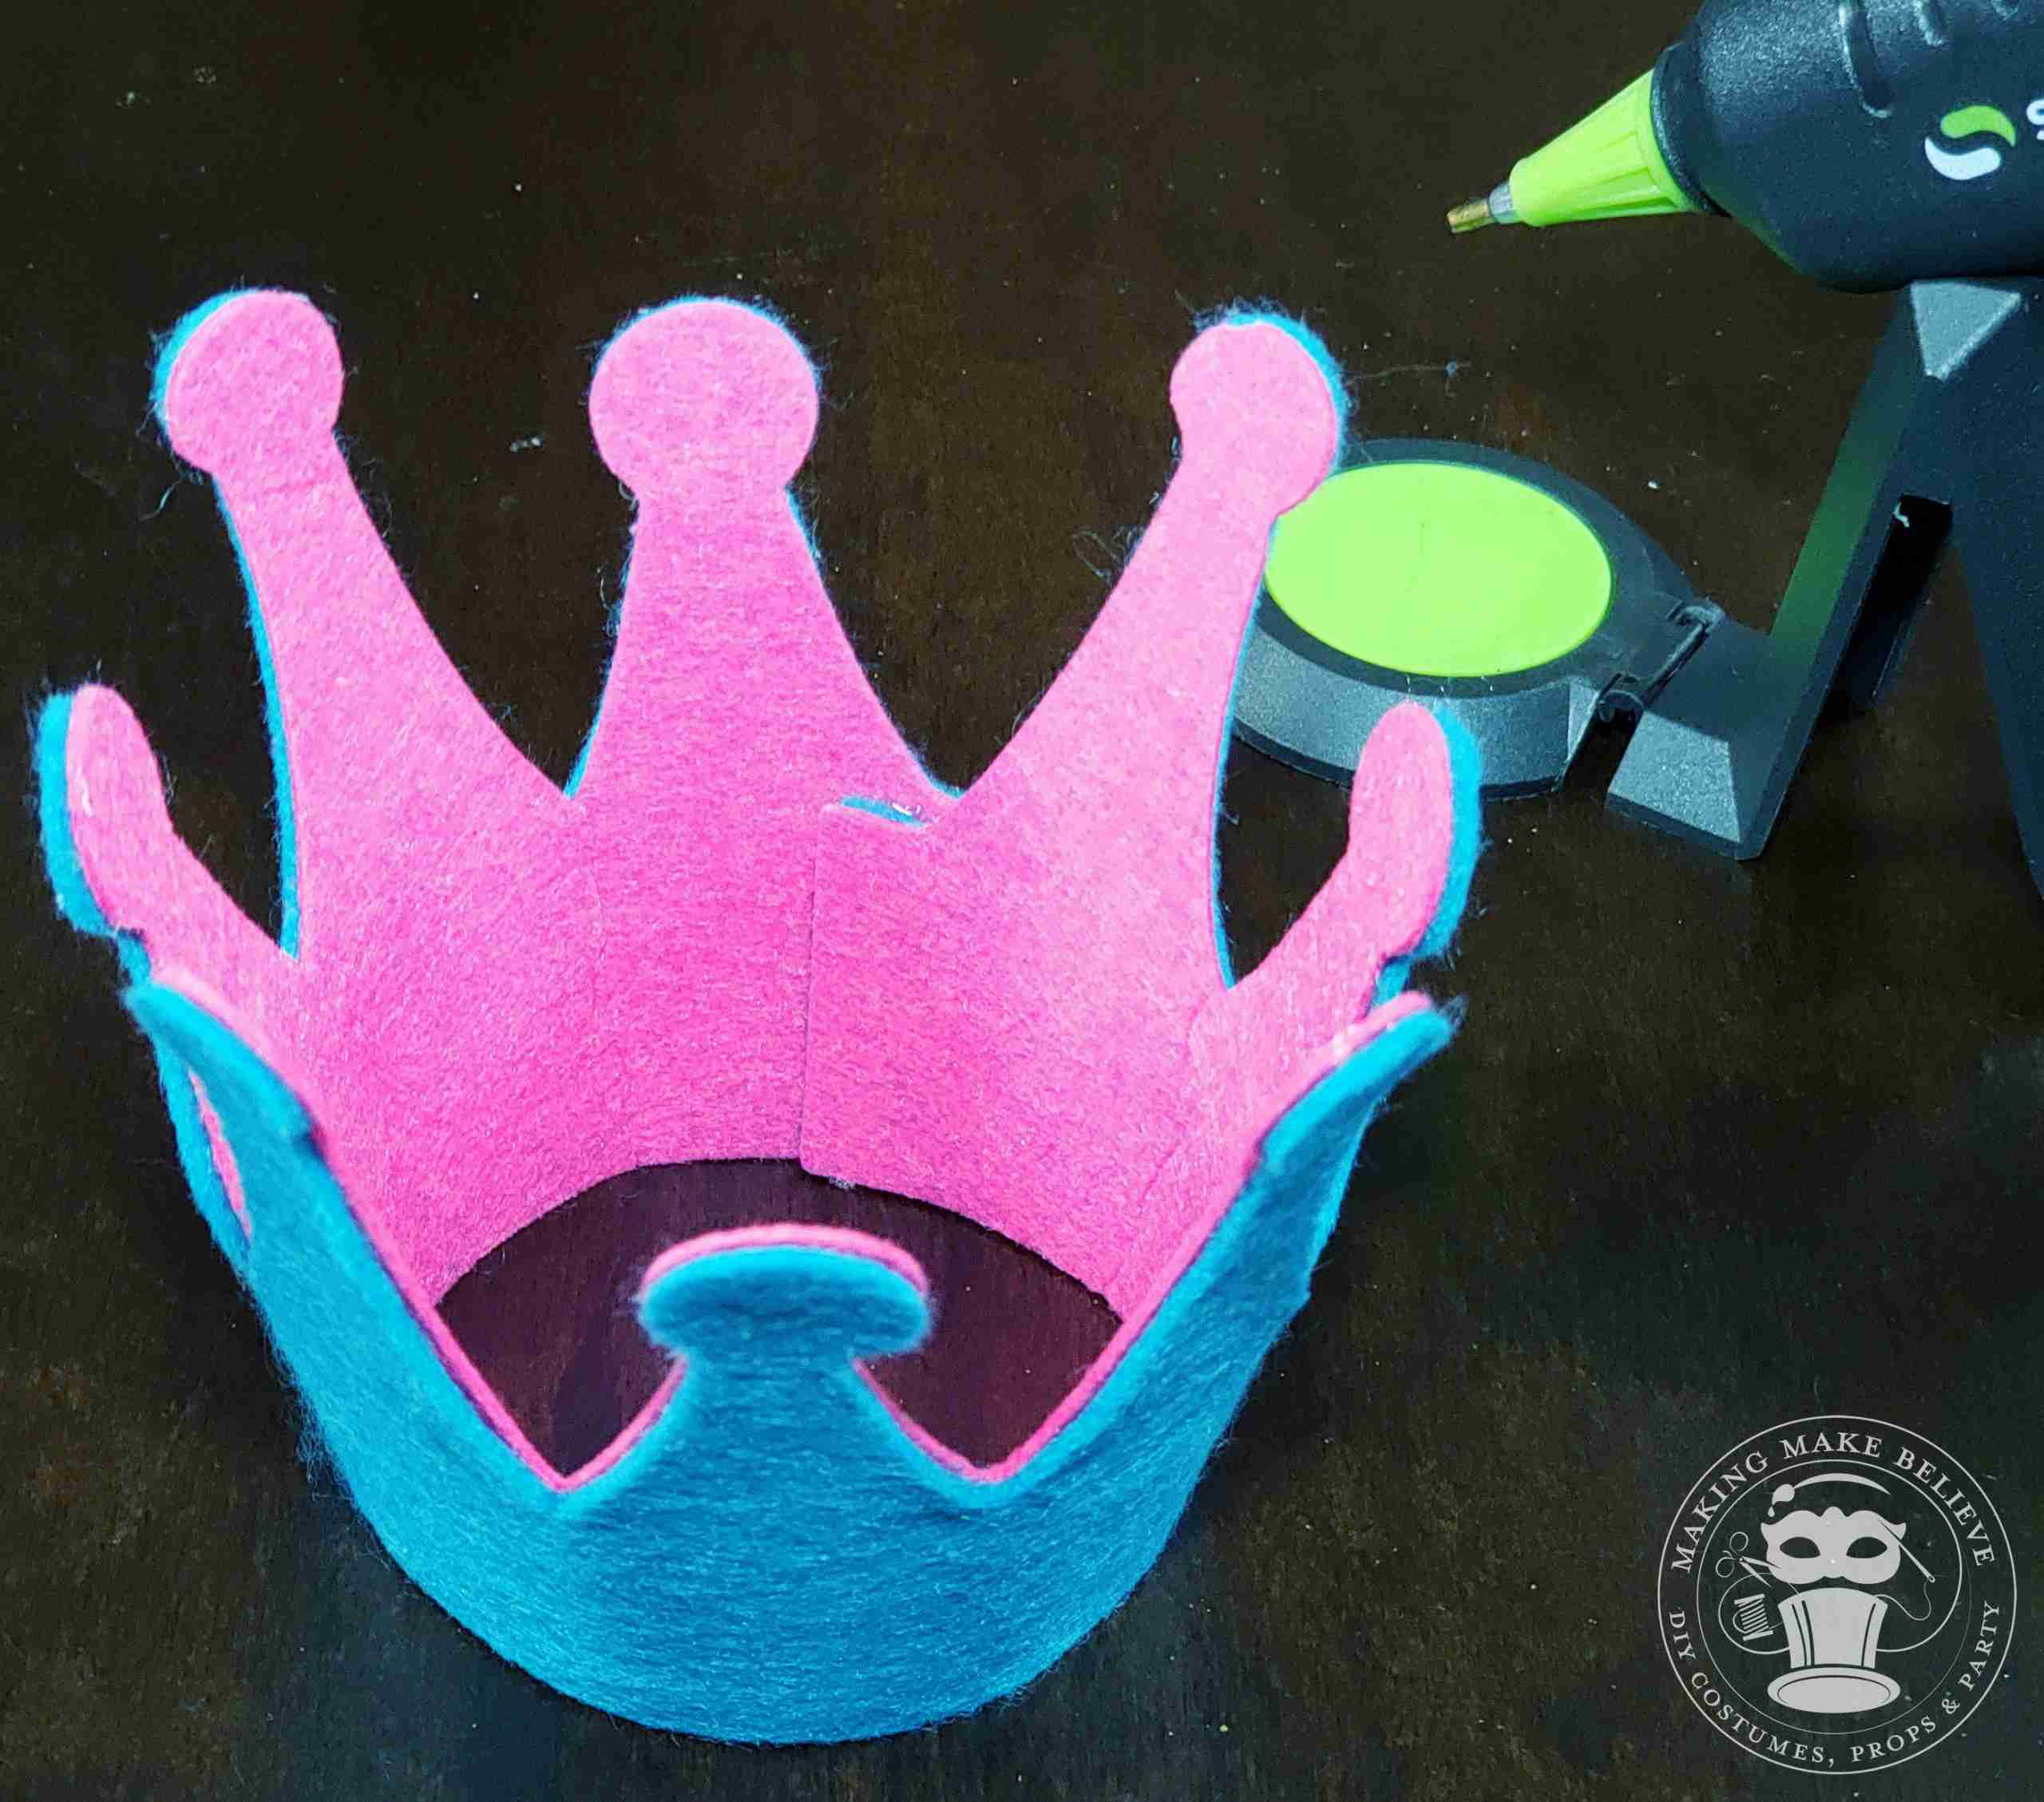
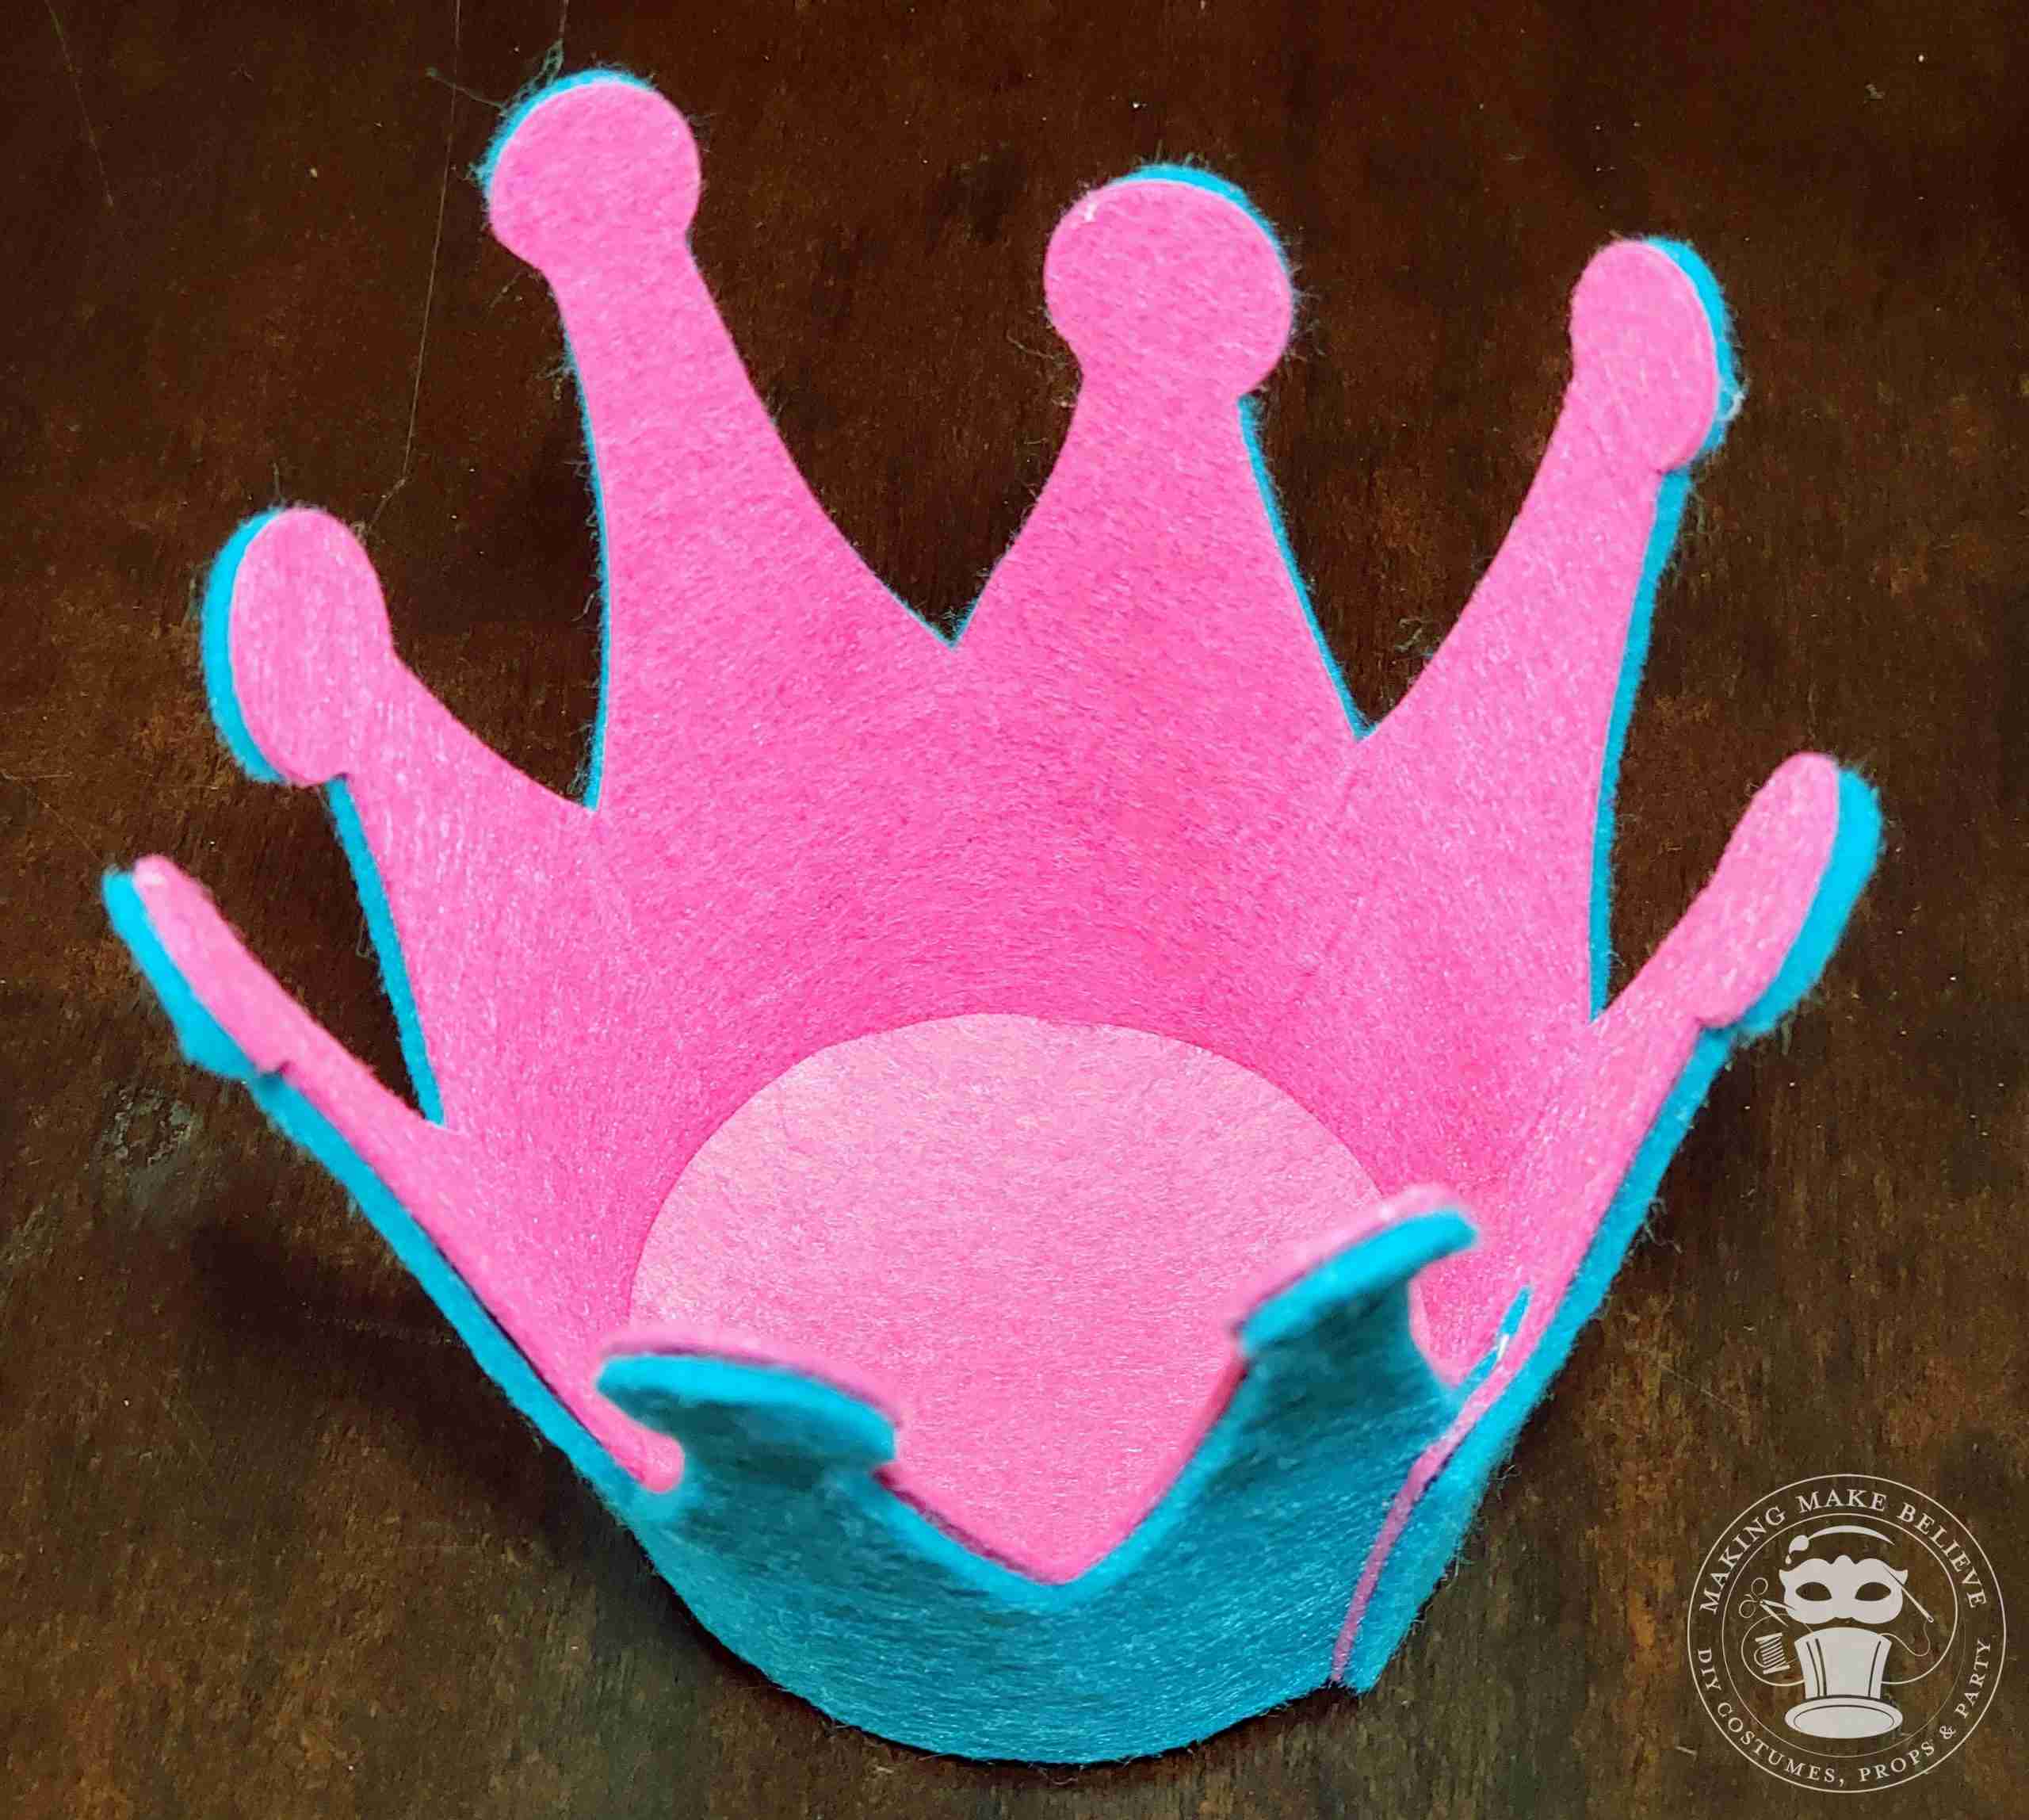
4. Place the smaller circle base inside of the crown and secure it with glue.
TIP: You can glue from the inside or the underside, whichever you prefer.
TIP: Stiffened felt works well for the smaller base piece as it adds stability to the crown.
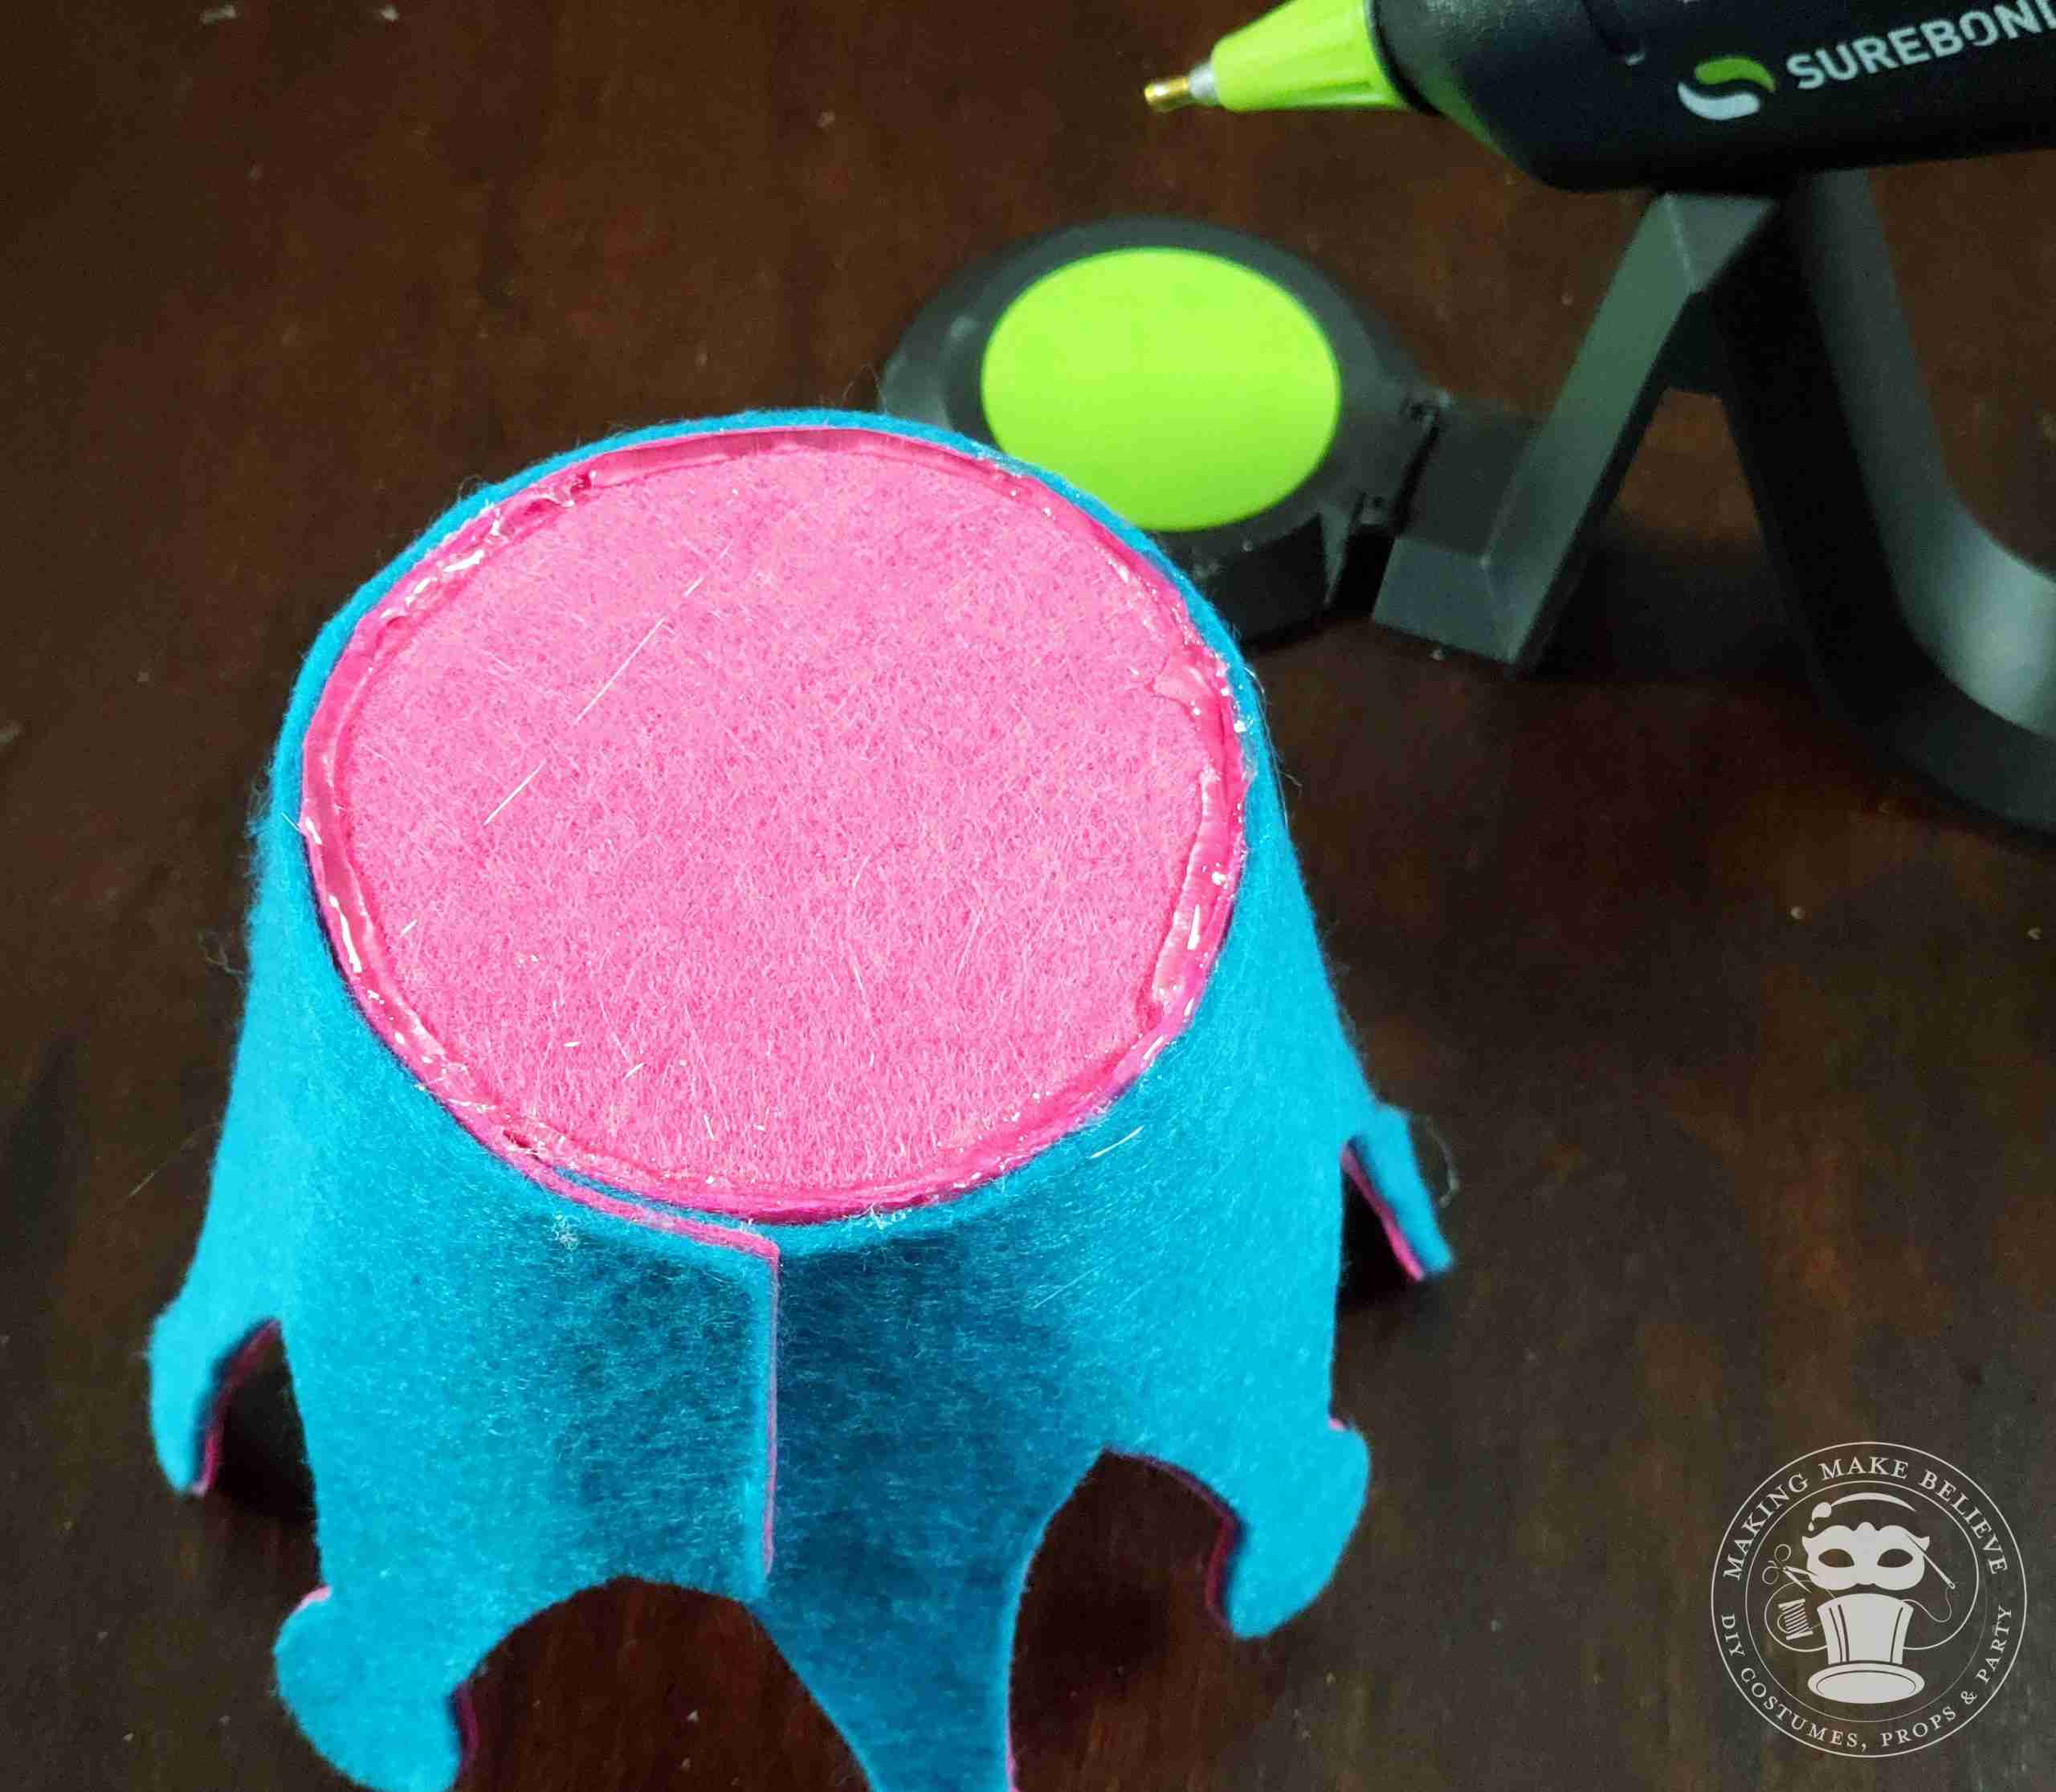
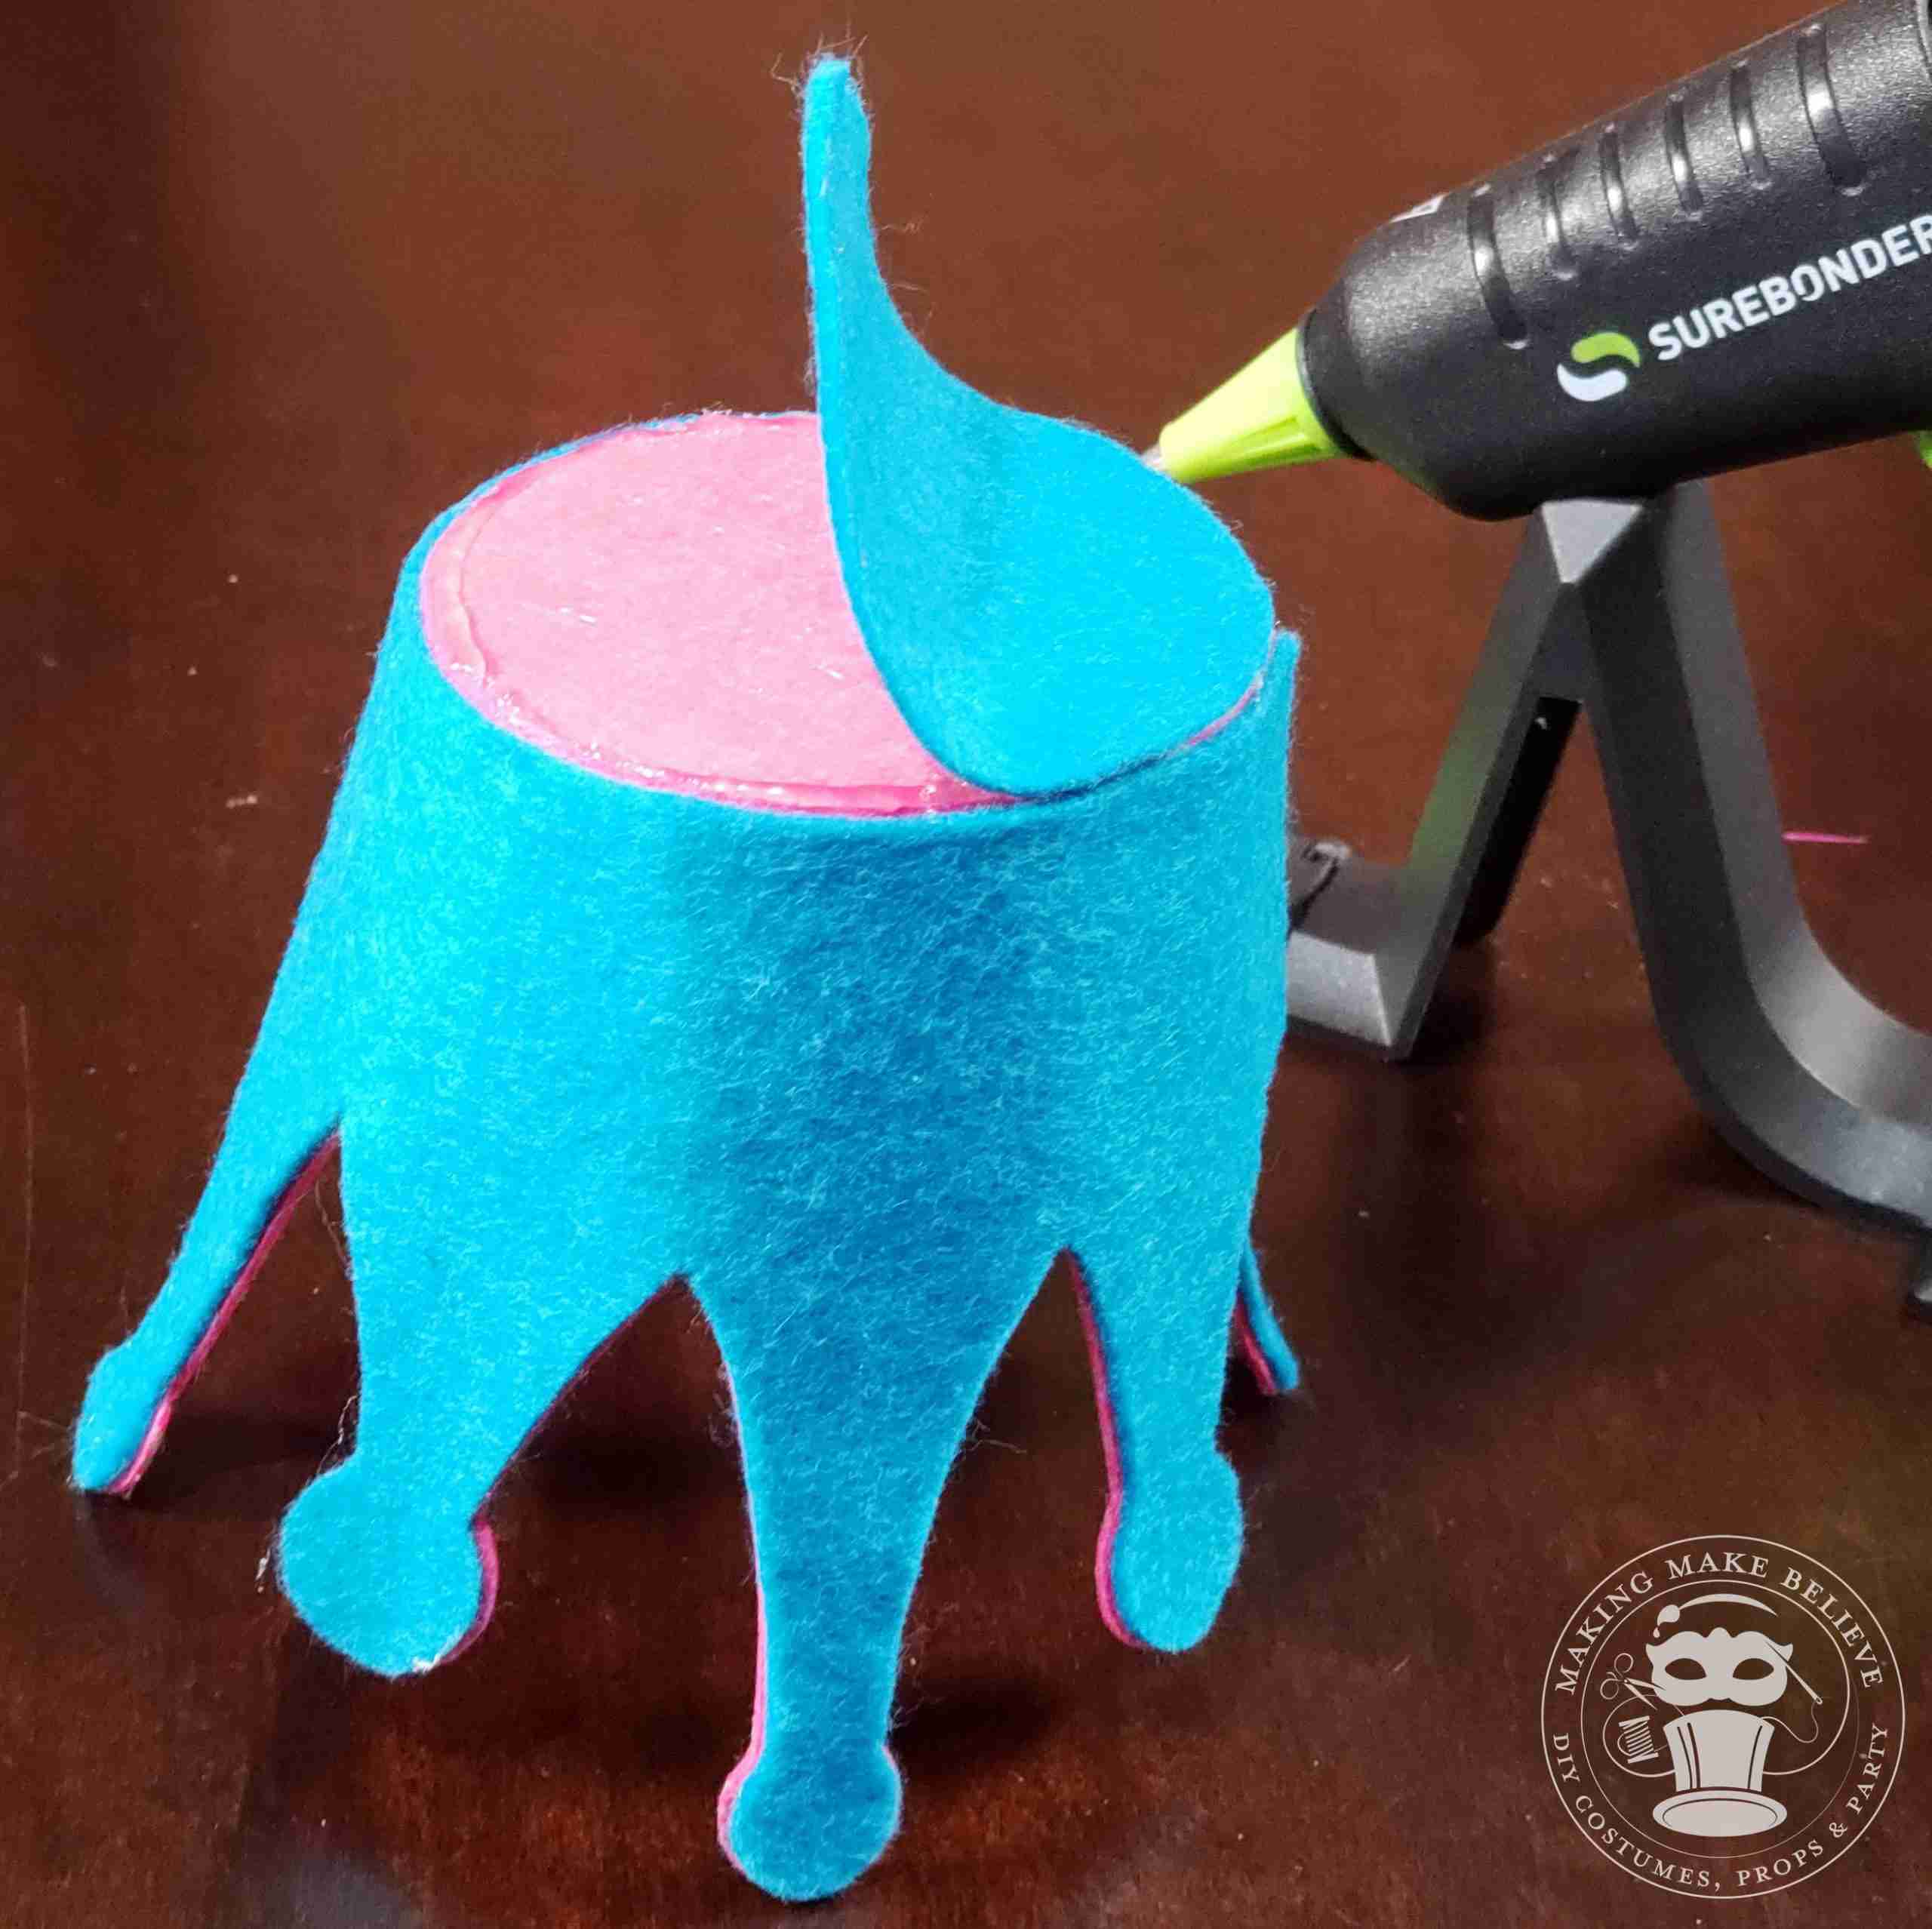
5. Place the larger circle base on the underside of the crown. Adhere approximately 1/3 of each side leaving an open channel down the middle.
TIP: Before gluing base circle, determine where you want the channel. For example, if you plan to wear your crown on a headband you will want the channel to run perpendicular to the back seam.
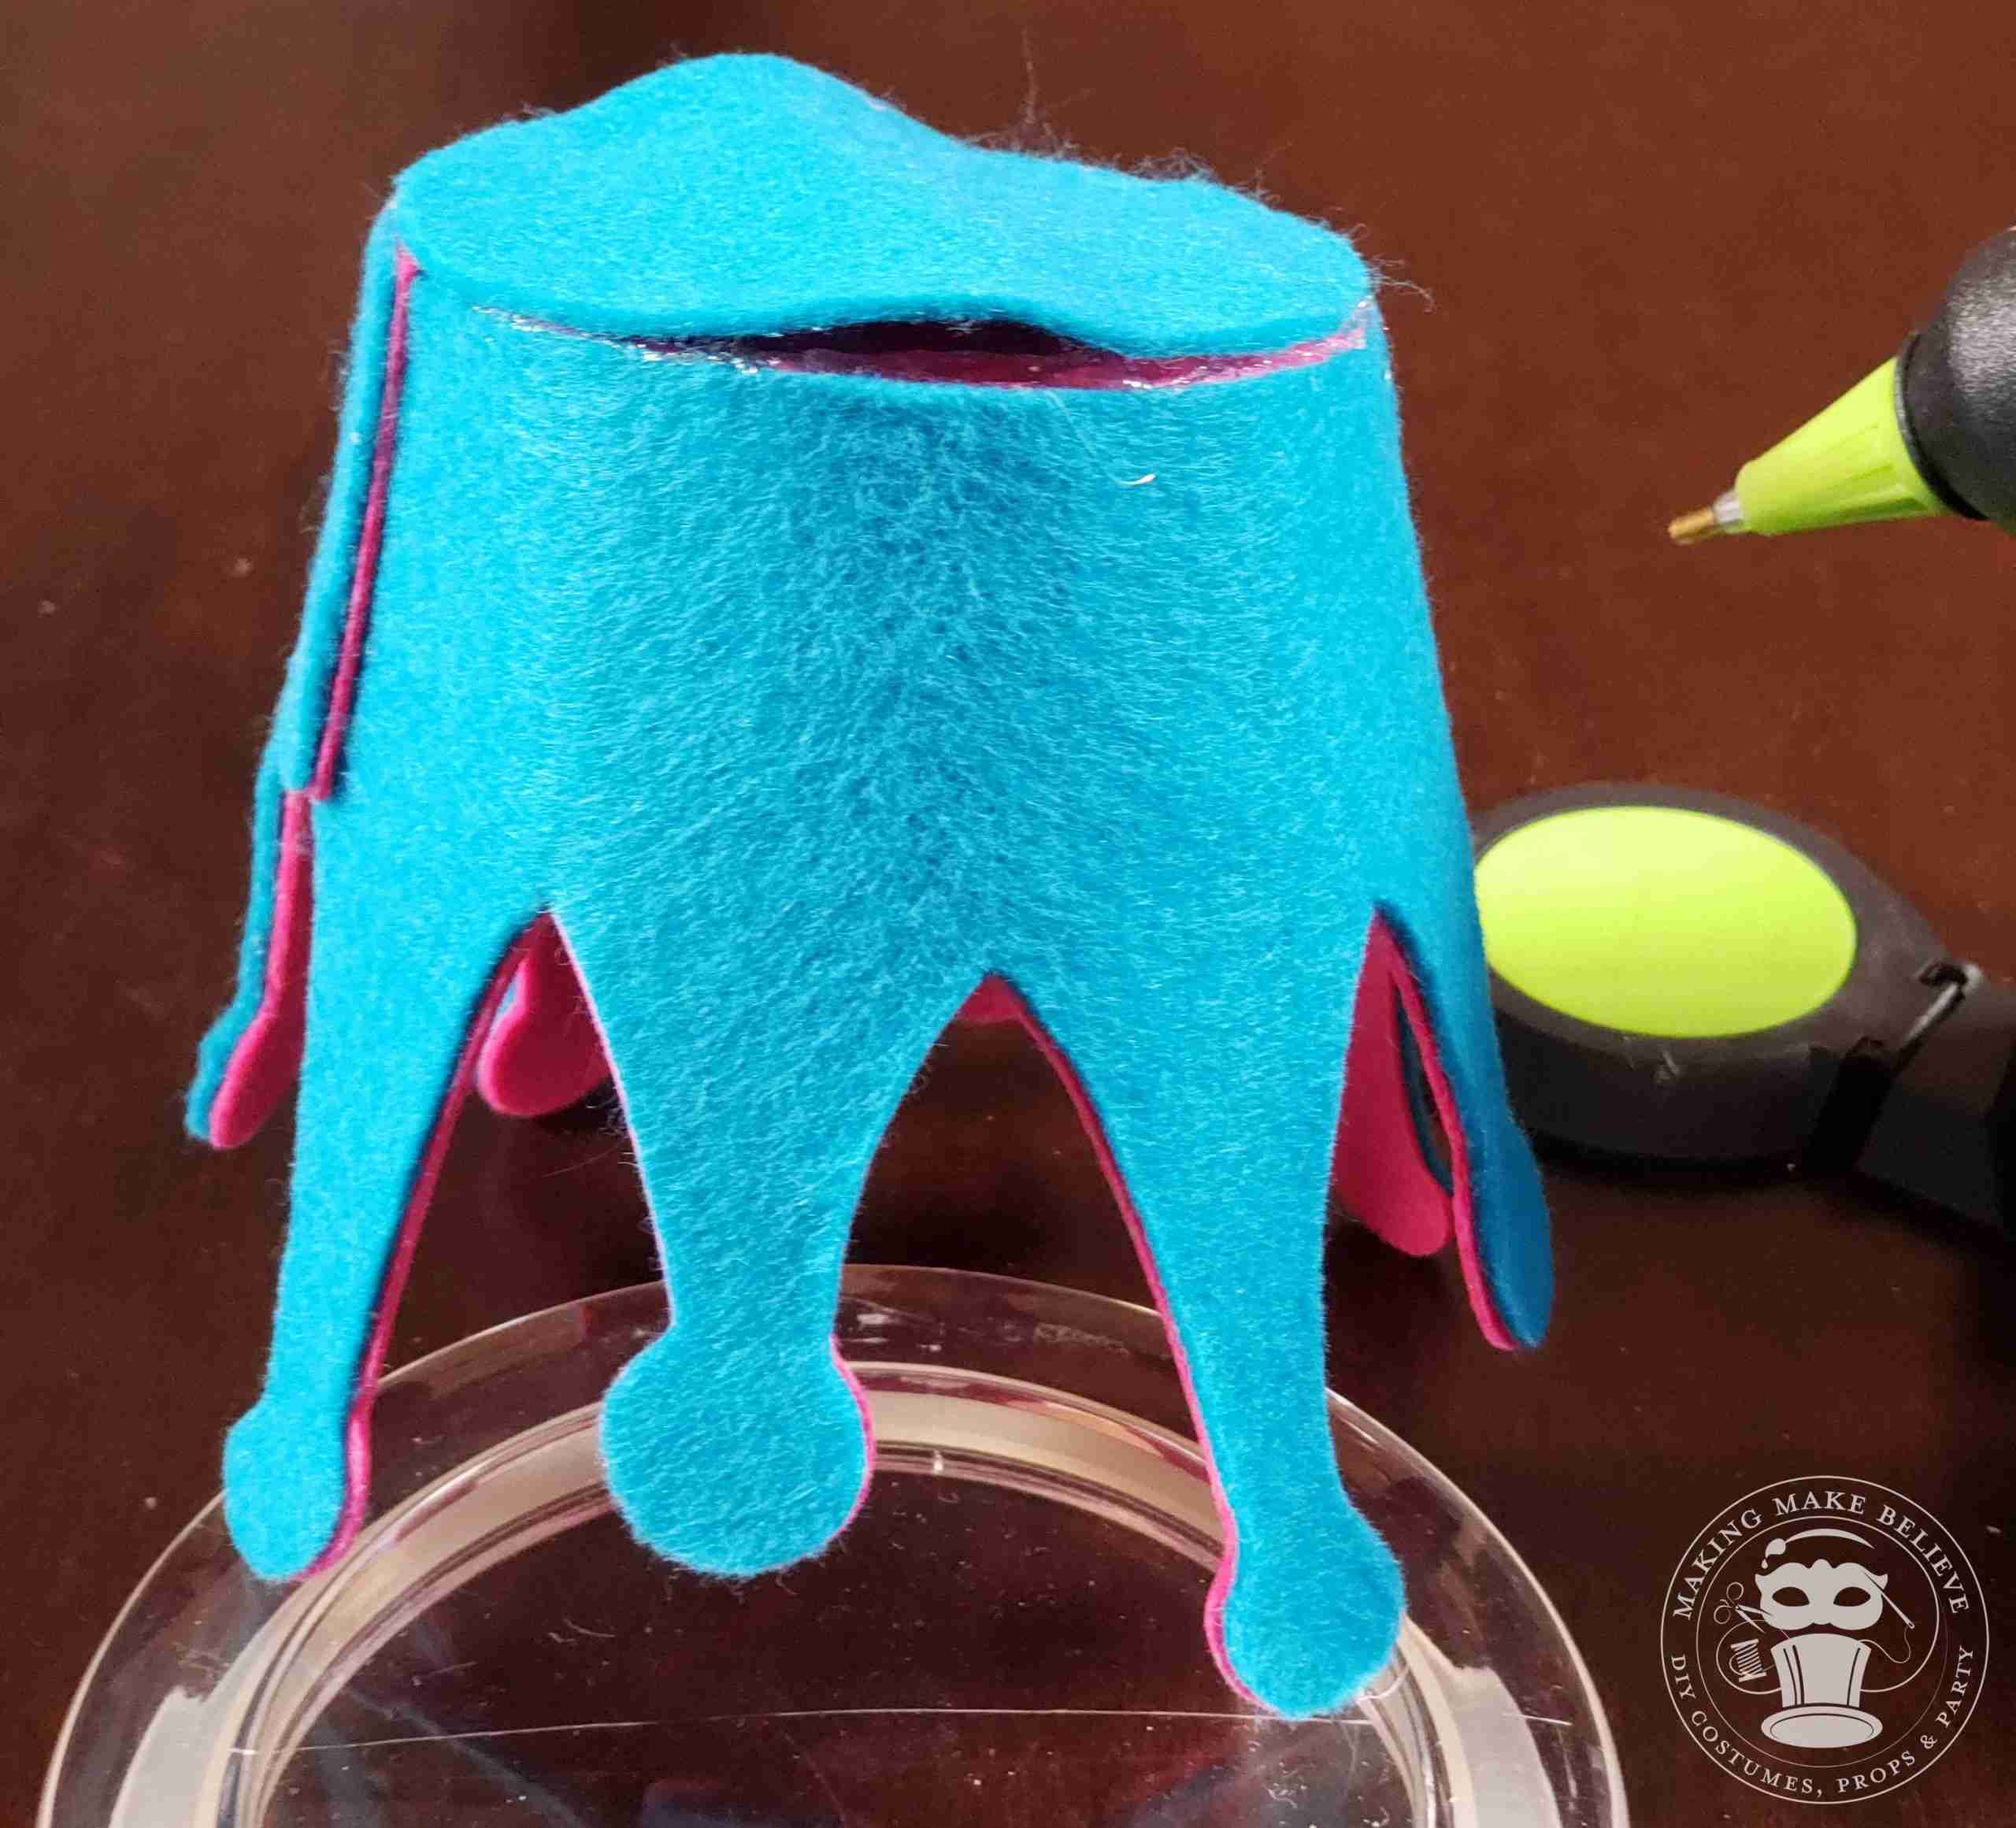
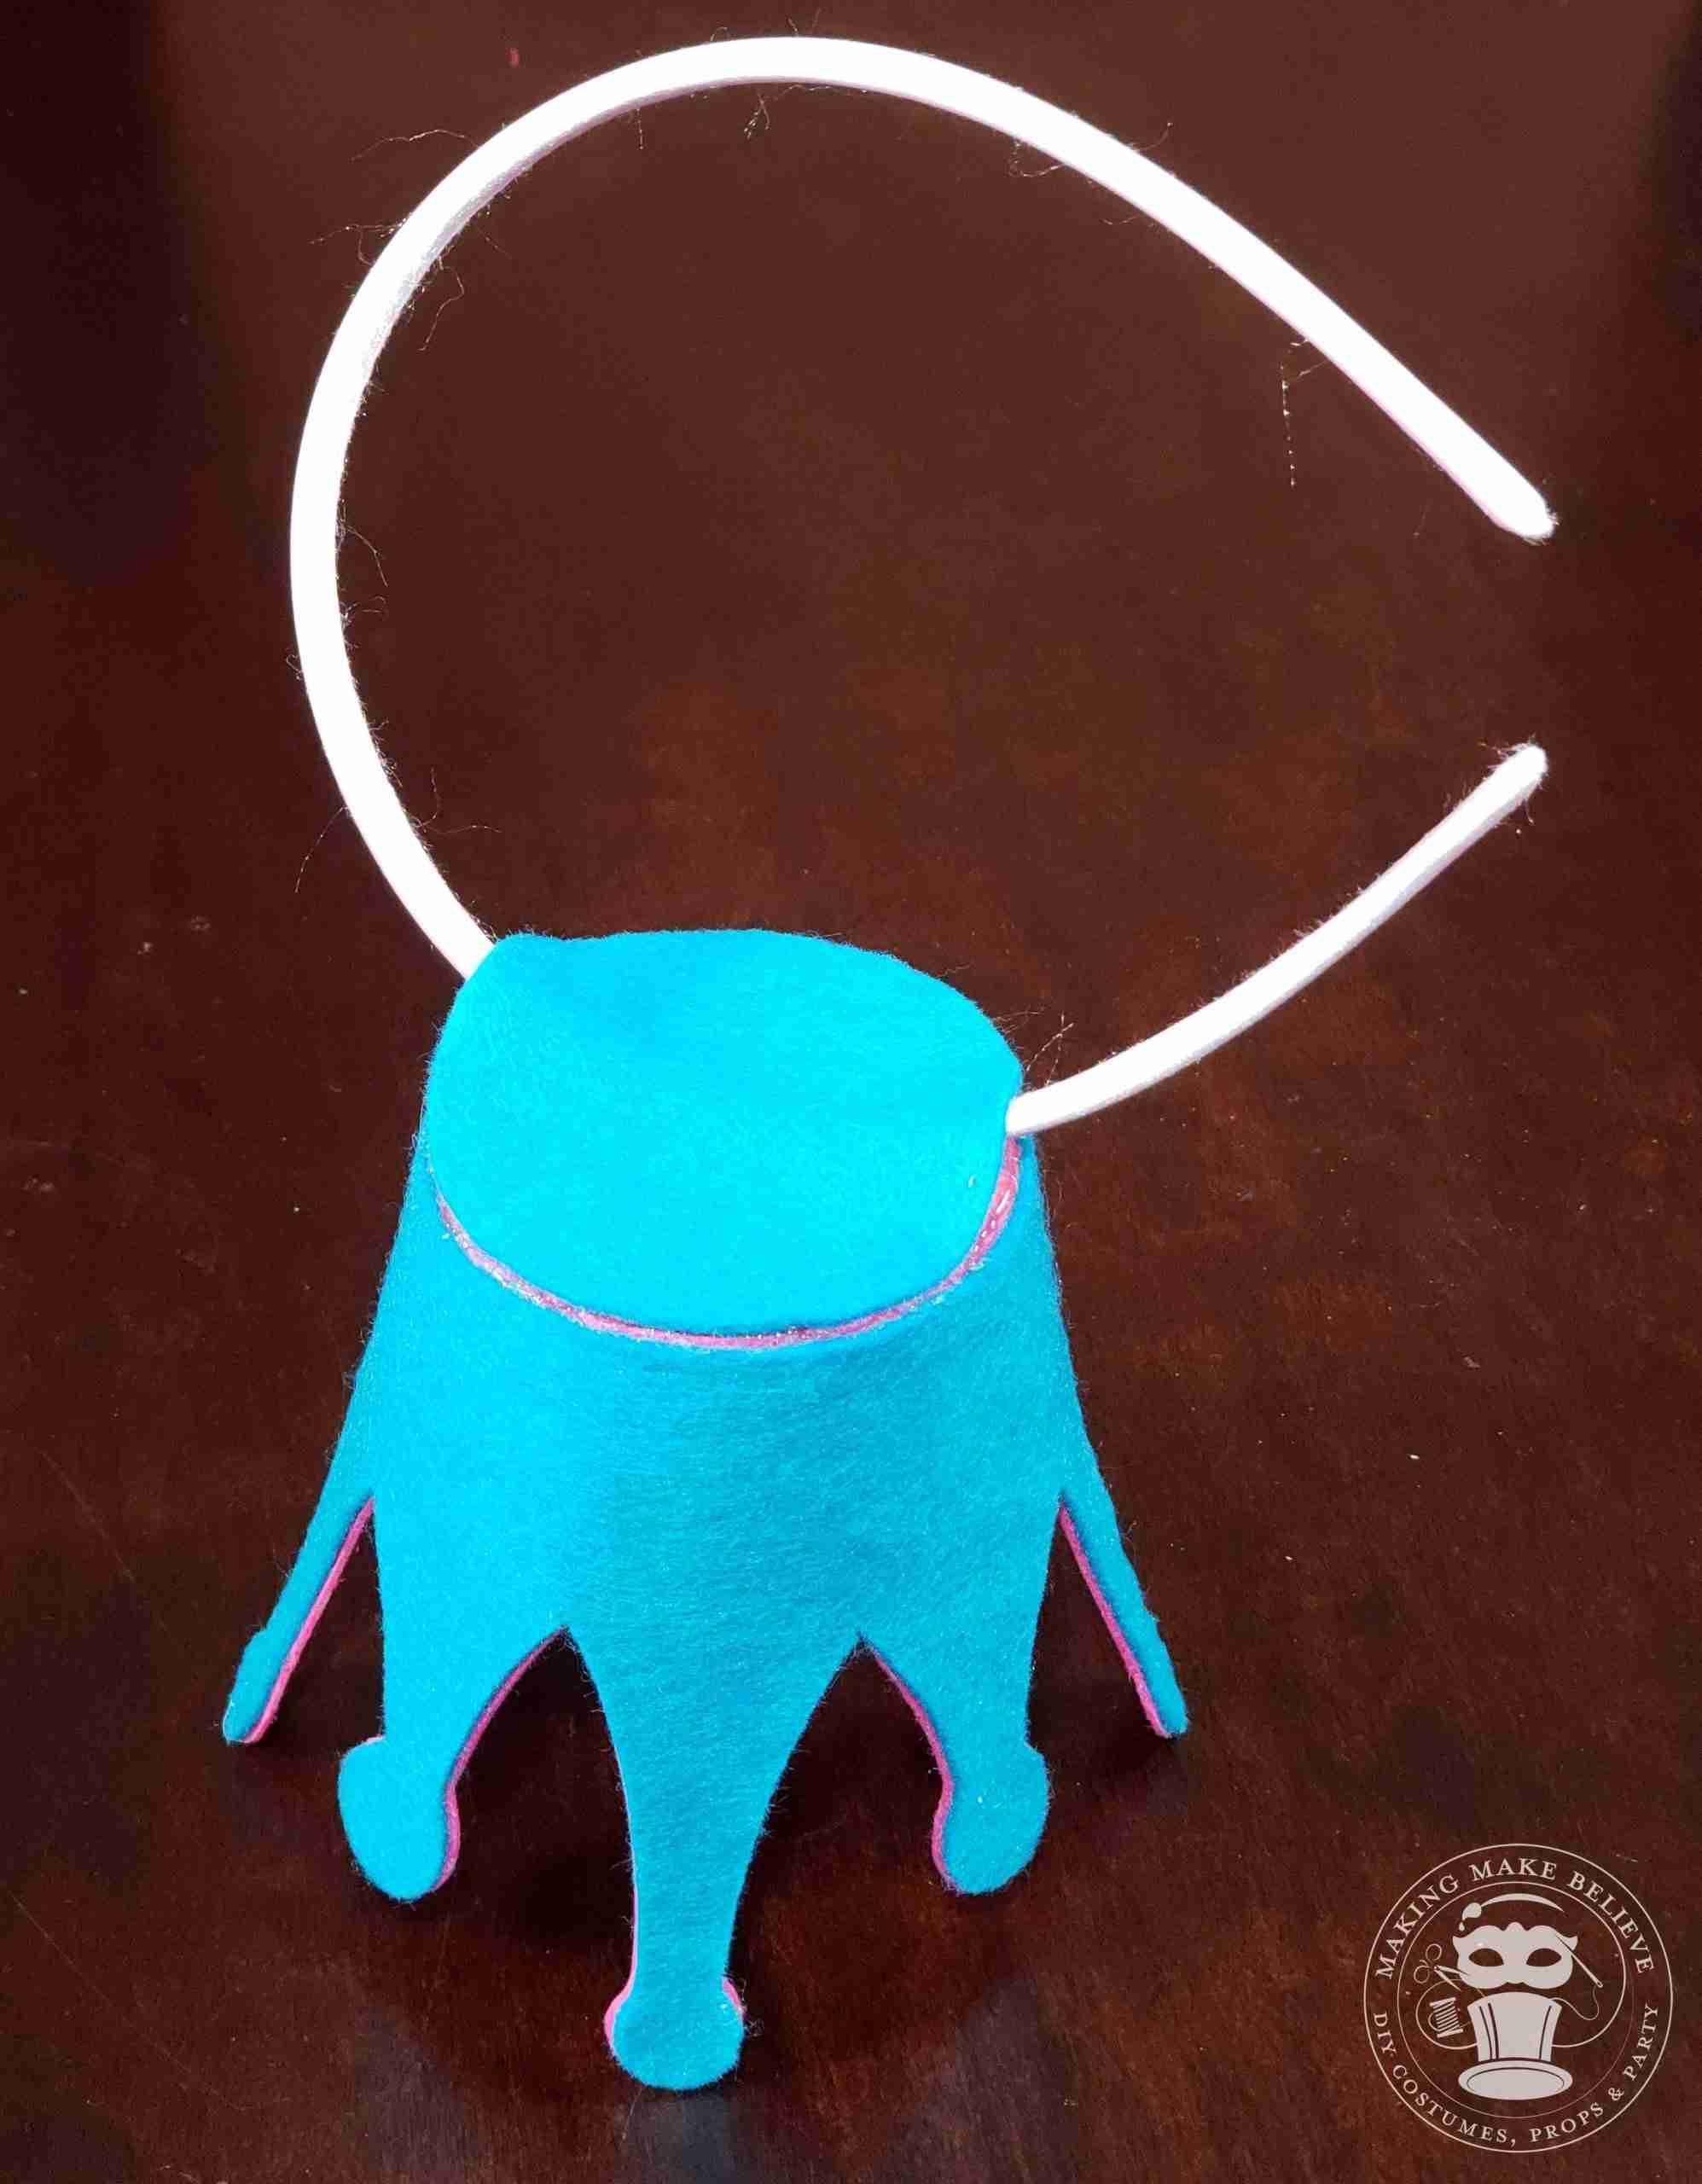
6. Insert crown onto a headband or use the channel to secure to hair with bobby pins.
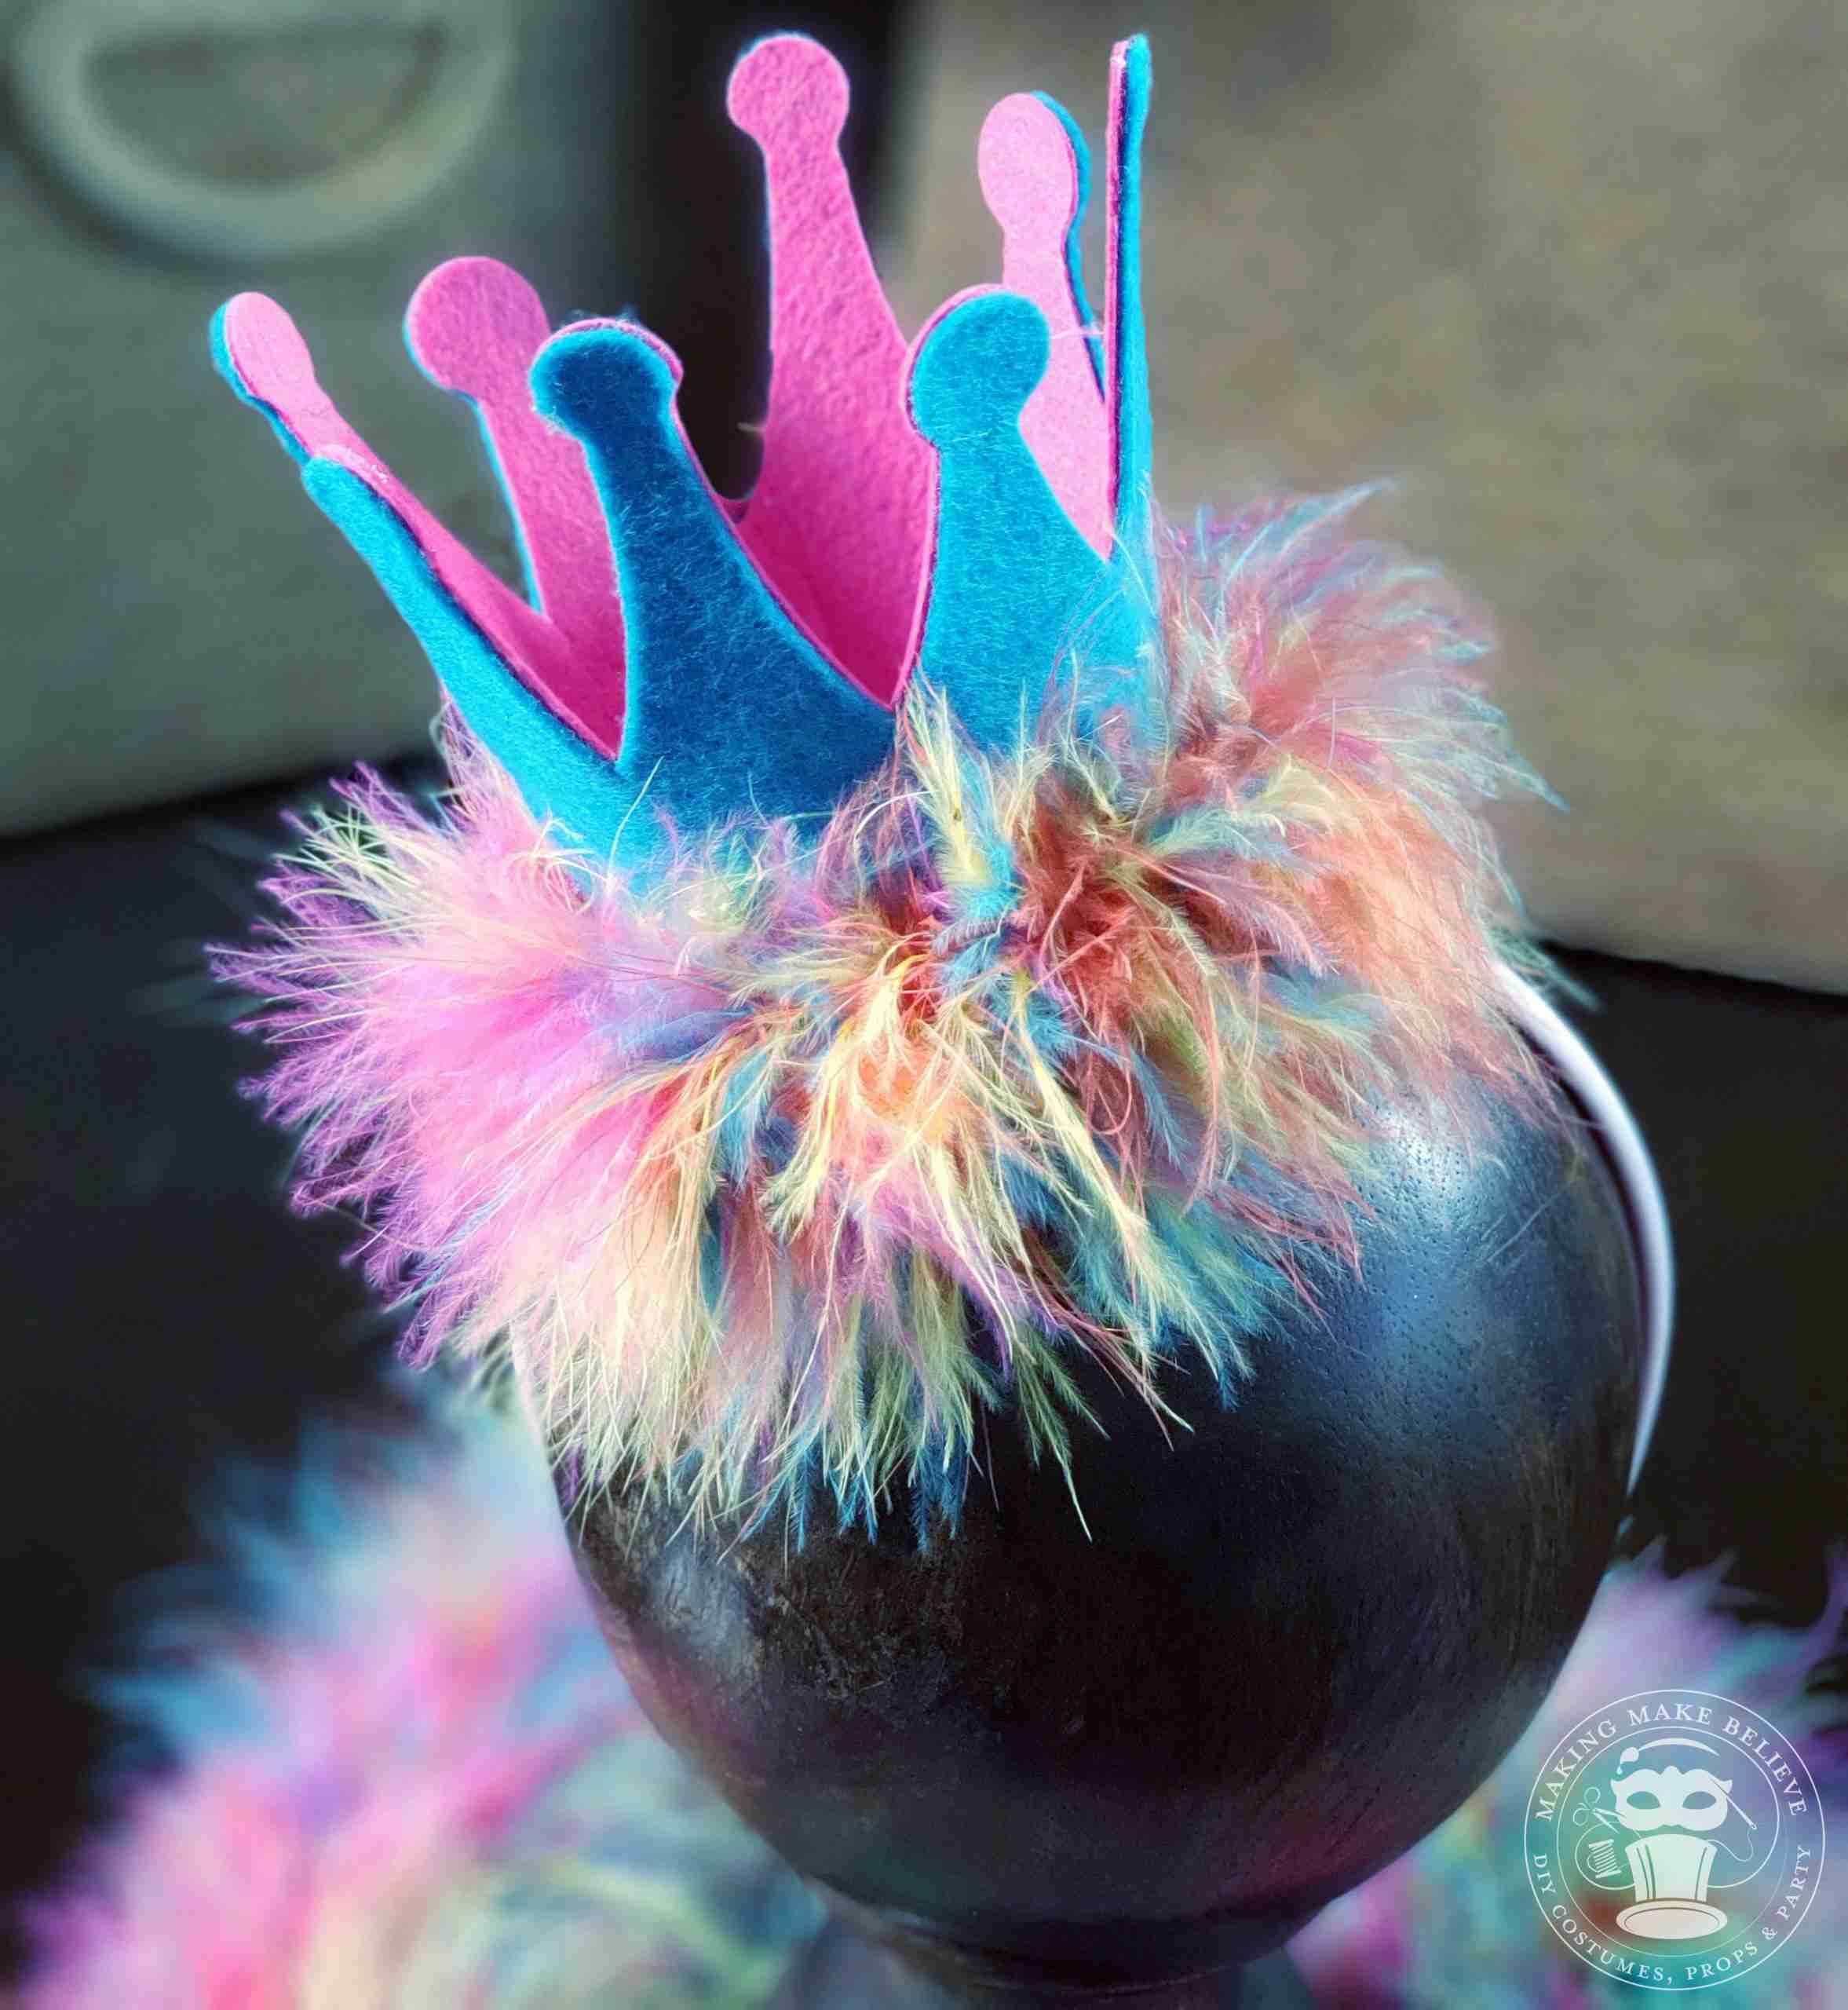
7. Embellish as desired.