17.9K
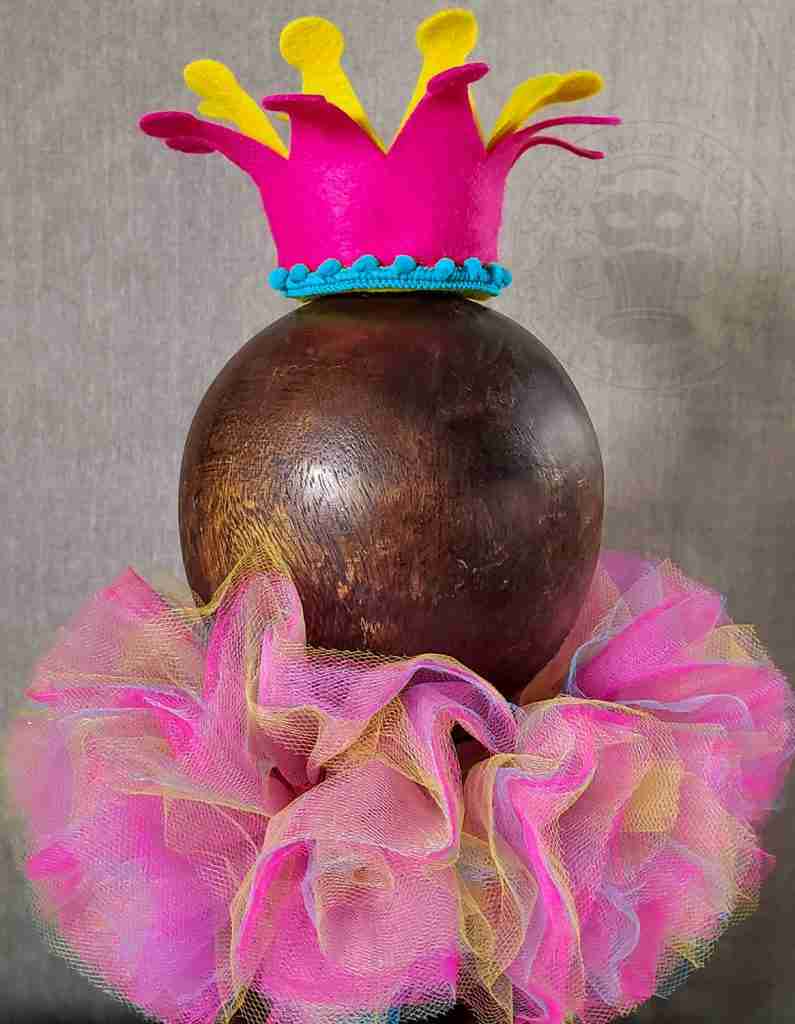


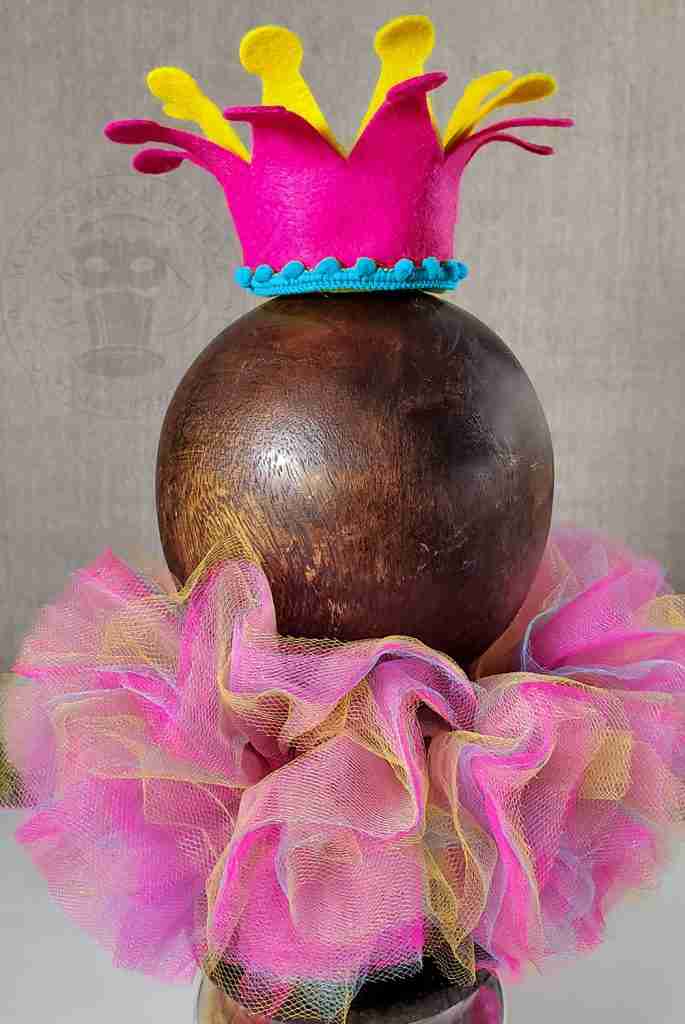

This post has been updated with clearer photos, more commentary, and links to recommended products.
DIY Ruffle Collar
When it comes to costuming, I’ve got a thing for collars. And, I’m not talking just clowns.
In my world, if it’s standing still with a naked neck, I will probably find the need to put a collar on it.
Lady scarecrow? Slap a collar on it. Cutesy witch? Slap a collar on it.
Around here, even bunnies get a collar.
Over the decades, I’ve fashioned quite a few collars using shirting, organza, felt, cotton, and a host of other fabrics.
I’ve made collars that were flouncy, pleated, layered, pointed, and ruffled. And all of them were fun to create and wear.
But lately, I have a new obsession.
Recently I’ve been making a DIY ruffle collar crafted from the soft netting known as tulle.
Tulle is a trendy option for making costumes, especially in the construction of tutus.
The material comes in a plethora of colors, so it’s the perfect go-to for nearly any theme or character.
I love using tulle for this piece as it allows you to make the collar as sparse or dense as you like, and it is easy to adjust the fit to almost any size.
But, the best part of making DIY ruffled collars with tulle is that most of the work is done for you – thanks to tulle on spools.
In the past several years, when the tutu craze reached a frenzy, manufacturers helped us out by wrapping 6″wide tulle onto spools.
So instead of cutting the tulle into strips, we only need to cut it to length.
We will need:
Spools of tulle – I’m using yellow, blue, and pink
Scissors
Sewing clips
Thread
Sewing machine or needle
Drawstring threader or large safety pin
Ribbon (approximately 3-4′ )
Before we begin, we need to decide how full we want the collar to be.
Once determined, cut each layer of tulle to length.
I like mine super packed, so I’m using three layers of 6″ tulle cut to about 6 yards in length.
Once cut, stack the layers together.
Now, fold the stacked layers in half lengthwise and use clips or large safety pins to hold the fold.
Quick tip for those new to tulle – straight pins do not play nice with tulle, so it’s best to use clips, safety pins, or even clothes pins to secure.
Next, make a casing by stitching approximately 1/2″ away from the folded edge using a simple straight stitch.
Thread your ribbon through the casing. (If unsure how much ribbon you want to use, leave it on the roll as you thread it into the collar casing.)
Then, adjust your tulle along the ribbon as tight as desired and tie a bow in the back to secure.
Finally, give it a fluff and your DIY ruffle collar is ready to wear!
These collars have become the go-to last-minute costume accessory I can wear with everything from a t-shirt to a little black dress for nearly any character.

Check your email for the Haunted Library password.
Don’t miss a moment of the mischief.
Add hello@makingmakebelieve.com to your address book.
Join us and get access to our Haunted Library stocked with templates, printables, cut files, and exclusive content. Plus, you’ll receive Eerie Emails just for our subscribers.
*Stay as long as you like. Unsubscribe at any time.