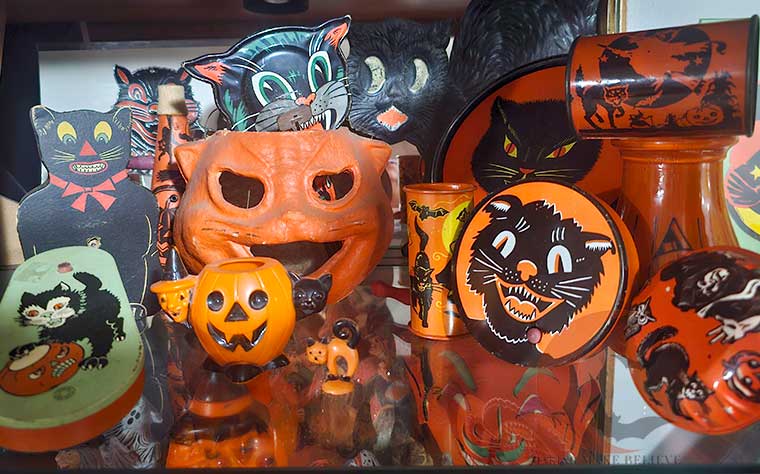
I’ve been busy reorganizing some of our vintage Halloween collectibles – which we all know is just top-secret code for making room for new finds – and I noticed a serious theme: an absolute overload of vintage black cats. Paper die-cuts, candy pails, party favors, vintage noisemakers – if it has an arching back and a snarling grin, it’s in our stash.
Might I be obsessed – like some kind of creepy, crazy cat lady? If so, I embrace it!
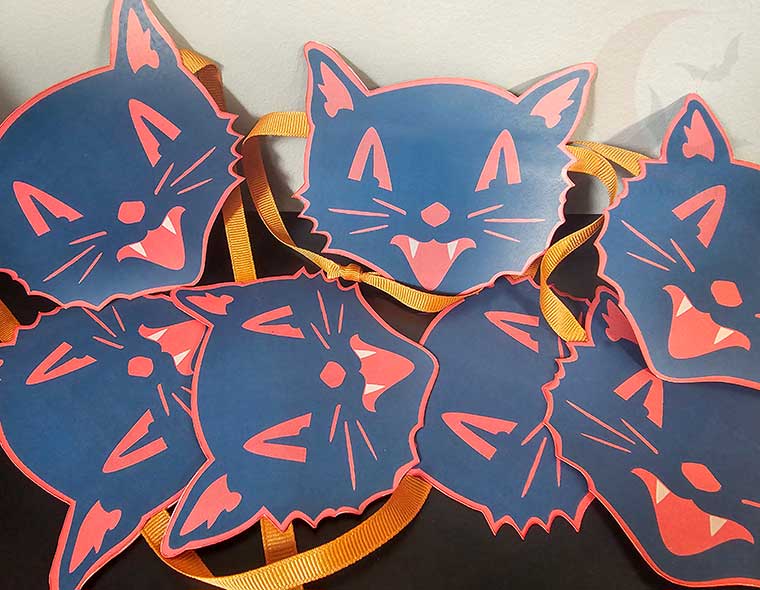
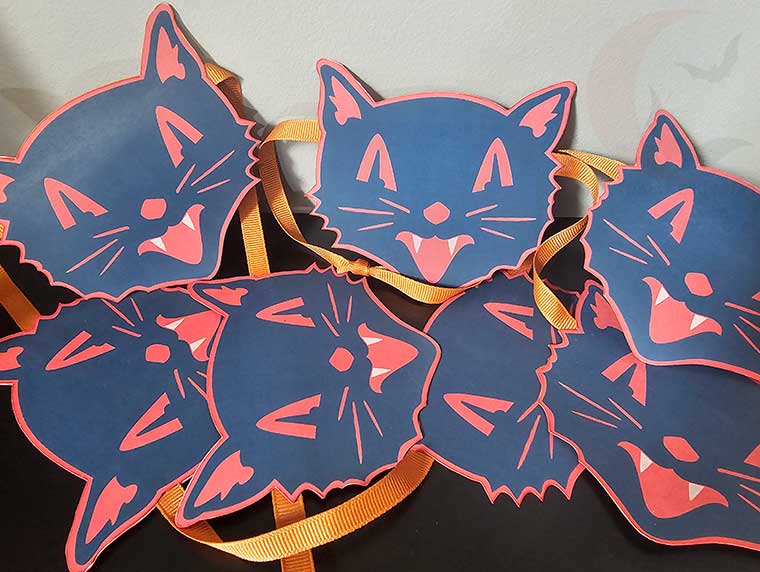
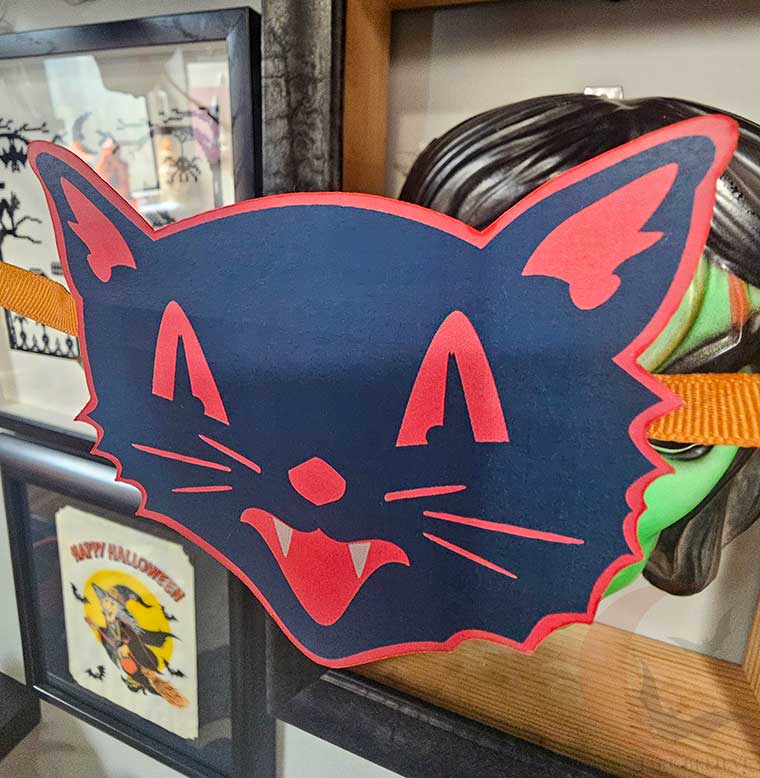
Apparently, as I can’t get enough, I just finished designing a new Vintage-Inspired Jointed Scaredy Cat decoration for the shop, but I couldn’t resist bringing a little of that black cat magic over to the Haunted Library, too. So, rather than starting from scratch (you know I can’t resist a good pun), I pulled the retro cat face from that design and turned it into a double-sided banner.
It’s a super quick print-then-cut project, whether you like using scissors or your cutting machine. Just print, cut, glue, and hang. Because honestly, who doesn’t love a swift trick for an instant spooky treat? If you’re ready for some fast fright, grab your favorite cardstock and let’s get crafting.

Click the pin button to save this fast-fright craft to your Vintage Halloween DIY board on Pinterest!
For this project, we will need:
White cardstock
Color printer
Scissors or cutting machine
Adhesive – I’m using Uhu Glue Stick
Ribbon
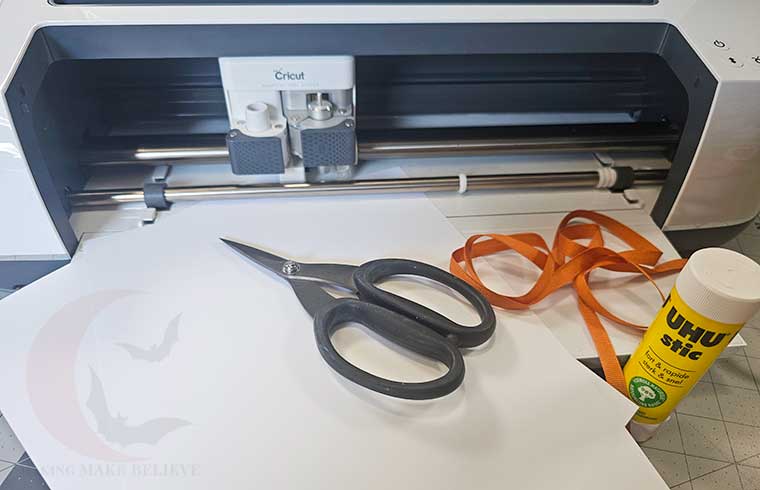
We will also need the Scaredy Cat Banner files from the Haunted Library. Choose the PDF for hand cutting or the SVG for machine cutting.

If using the PDF Printable to cut by hand, open the Scaredy Cat Banner PDF in your favorite reader (Adobe, Foxit, etc.), and print both pages of the cat faces onto your cardstock. Note that as the cat faces are not symmetrical, the pages mirror each other so the faces will be aligned when glued together.
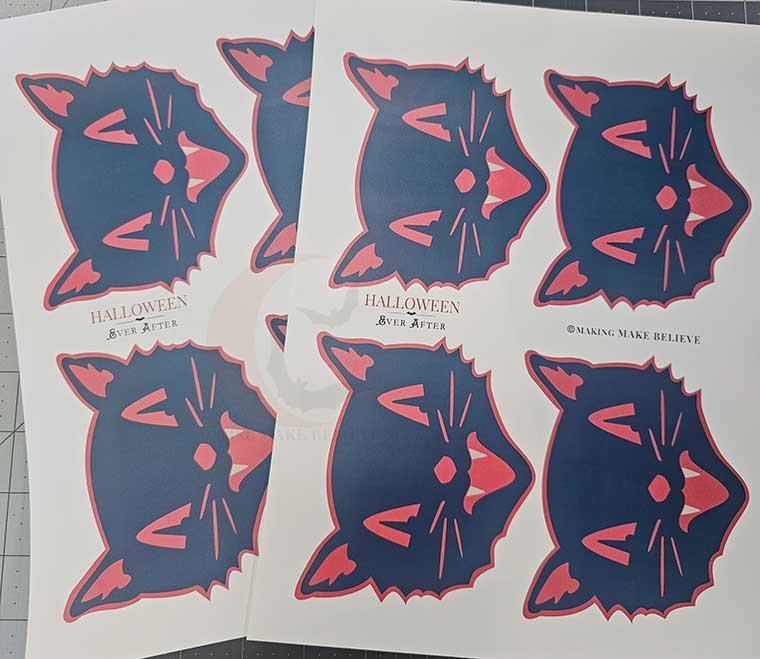
Cut out both pages of the cat faces.
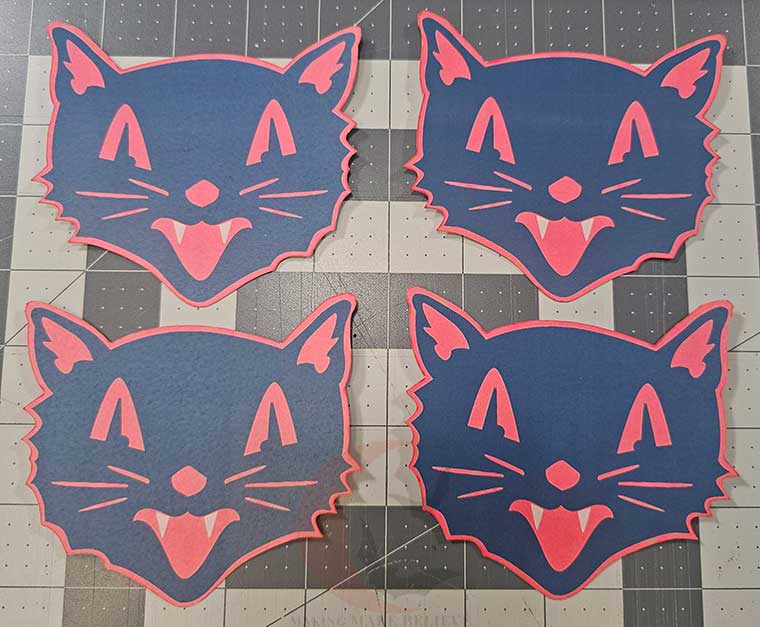
After downloading the Scaredy Cat Banner from the Haunted Library, upload it to your favorite design software. I’m using Cricut Design Space.
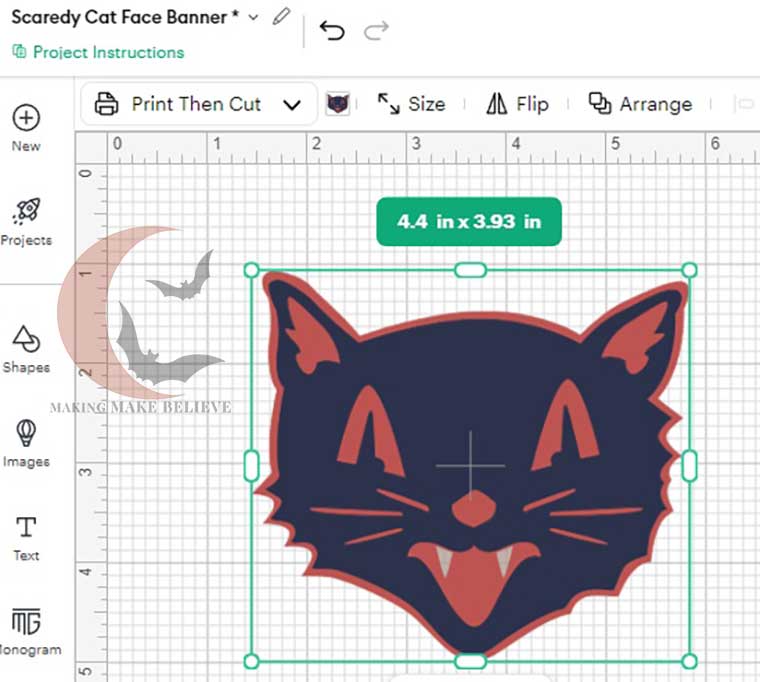
Ensure that each cat face is sized at 4.4” x 3.93” and, if not, resize. This sizing will allow you to fit four Scaredy Cats within the cutting area.
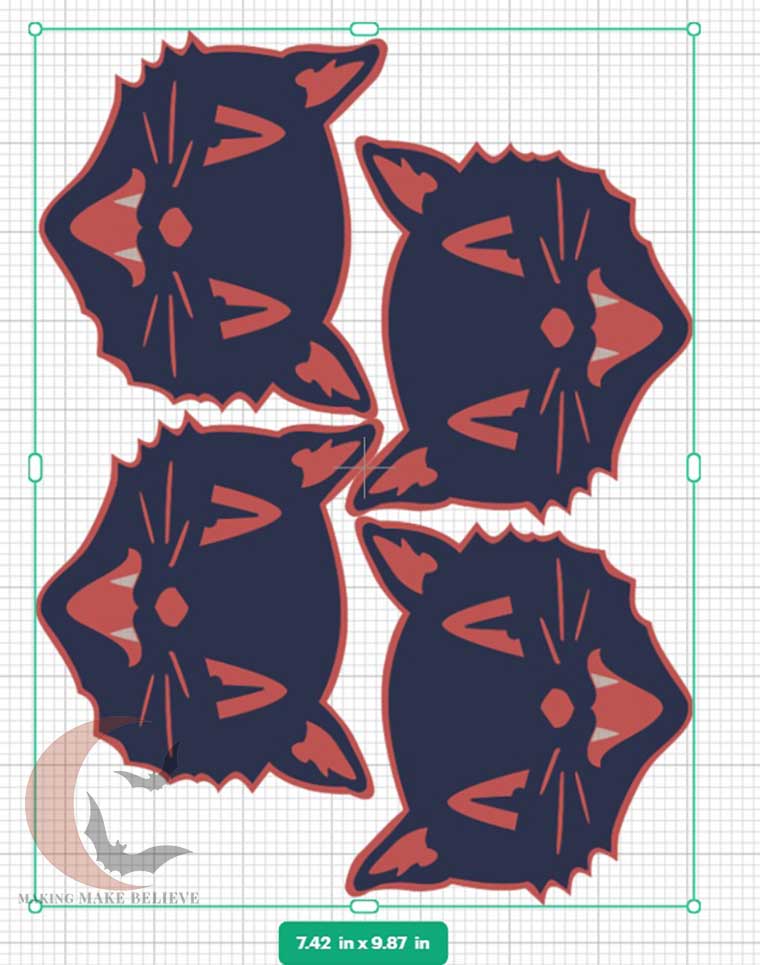
Print then cut the Scaredy Cat faces, then mirror the page and cut another set. This will give you the front and back for each cat on your banner.
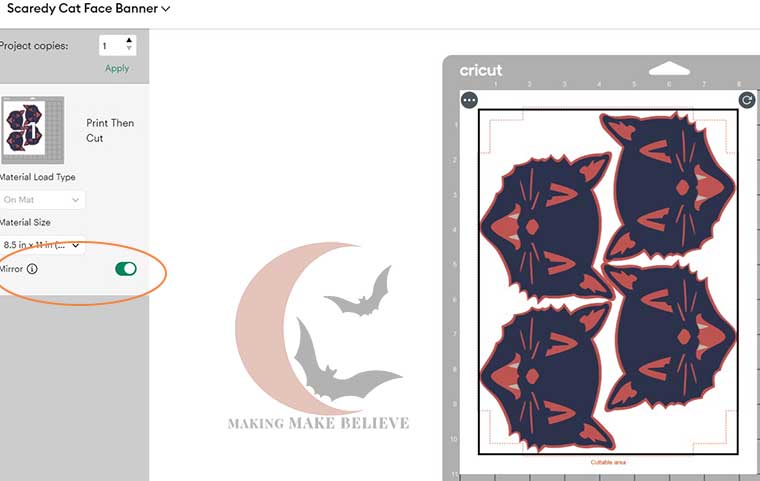
Cut as many Scaredy Cats as you need for your desired banner size.
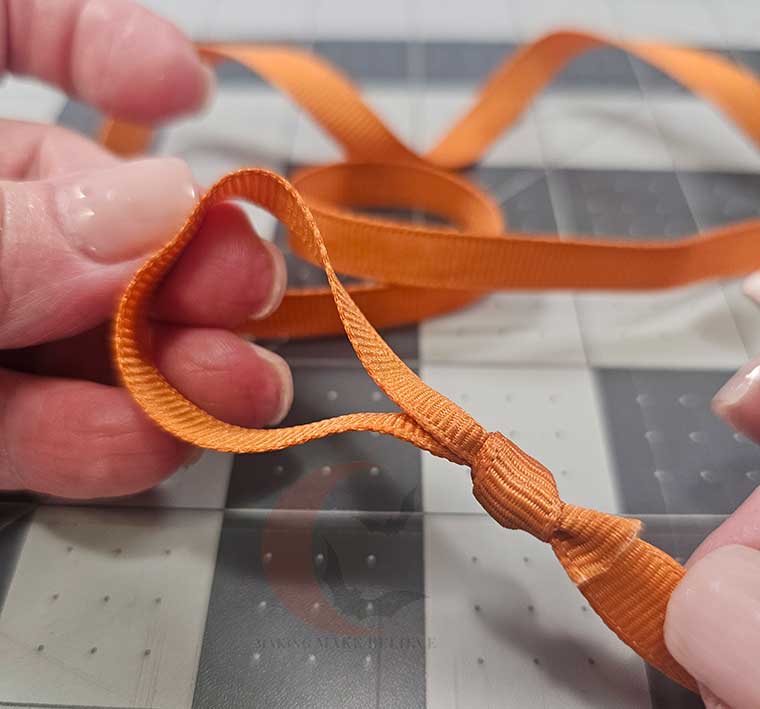
Take one end of your ribbon and form a loop hanger.
Sort your cat faces into pairs, ensuring that you have the proper front and back for each Scaredy Cat.
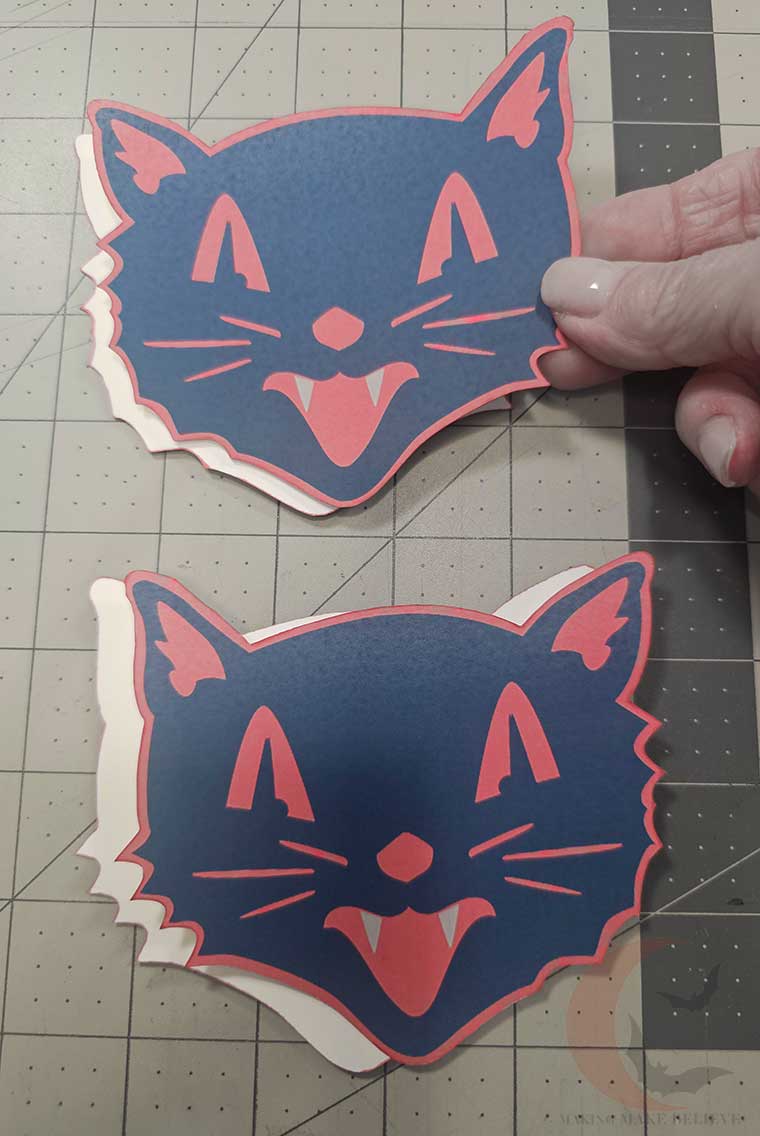
Space out your Scaredy Cats face down across the floor or a table. You can do each side identical or alternate which way each cat faces.
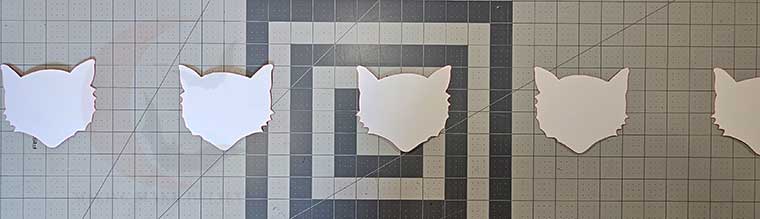
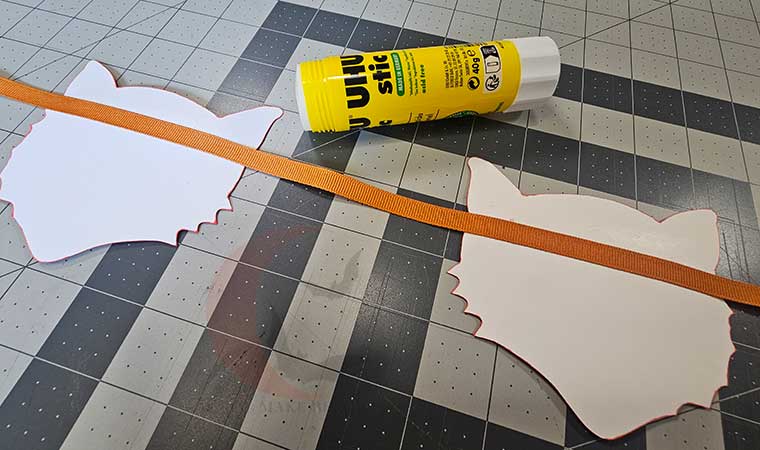
Next, lay out the ribbon on top of your cats and glue it into place.
Spread glue on the back of your cat, covering the ribbon, then top with the coordinating cat piece. I like to use a glue stick for less mess – just ensure you are getting the glue out to the edges of each Scaredy Cat.
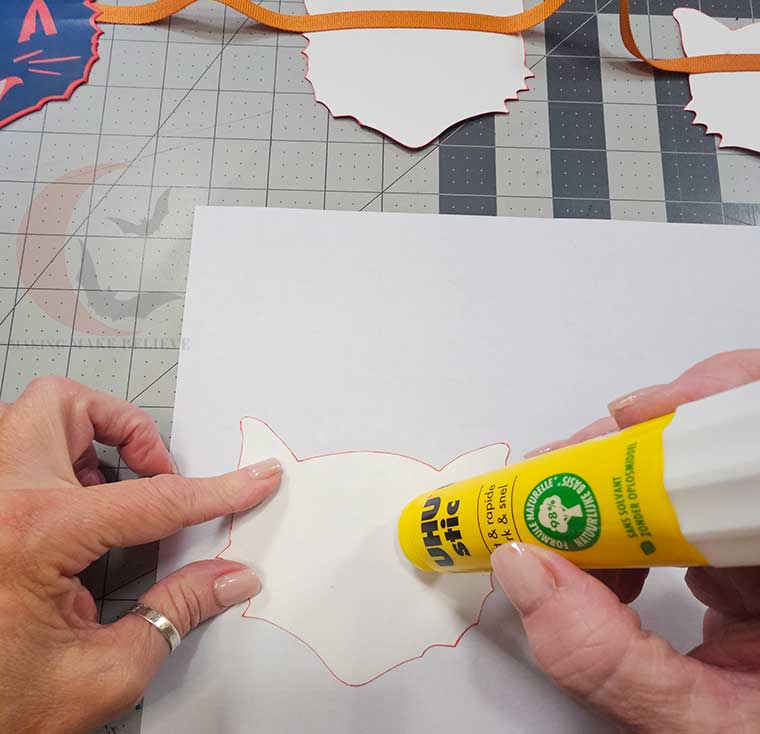
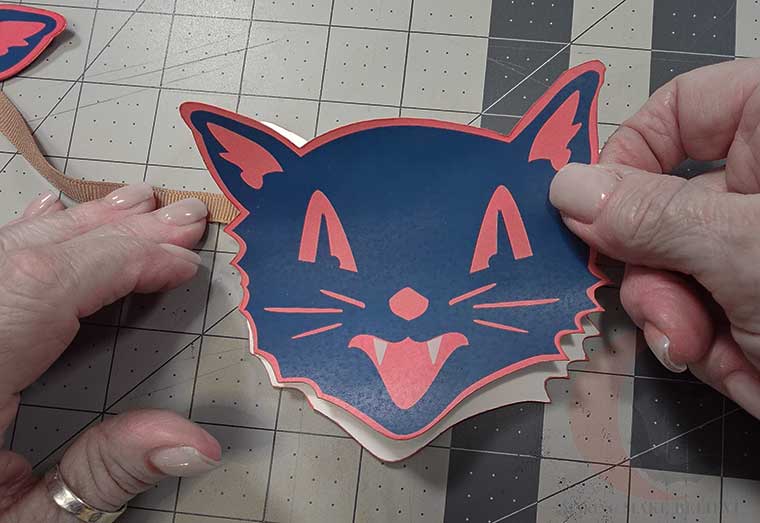
Repeat this for each Scaredy Cat in your banner.
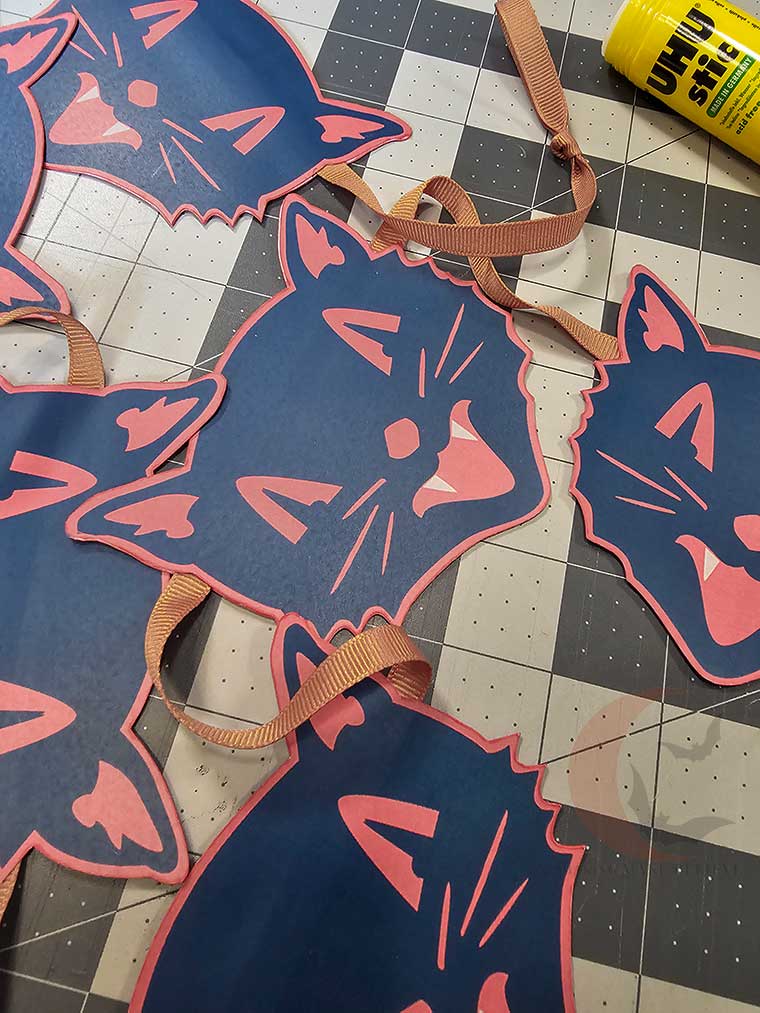
When you have all of your cats glued in place, make a loop at the other end of your ribbon, and your Scaredy Cat Banner is done!
Hmm … If you have one of the large Xylon sticker machines, maybe you can turn these into giant stickers and skip the glue? Let me know how it works if you try this!
And just like that, instant vintage Halloween magic! Whether you have it swaying in a hallway or framing a spooky vignette, this double-sided kitty is ready to keep watch over your seasonal display. Simple, spooky, and sweet – just the way we like it.
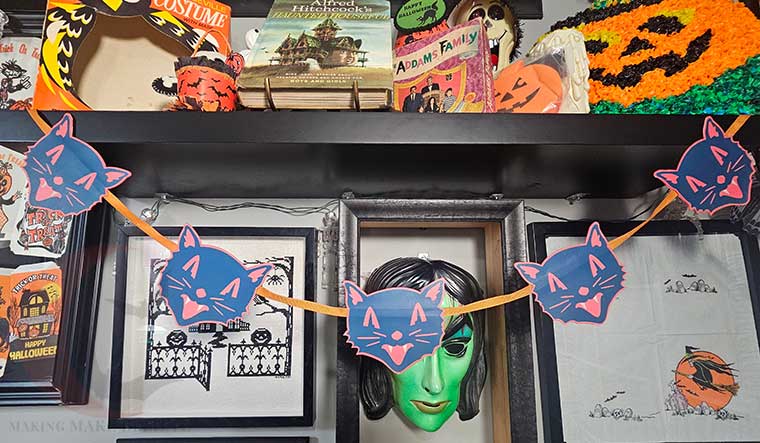
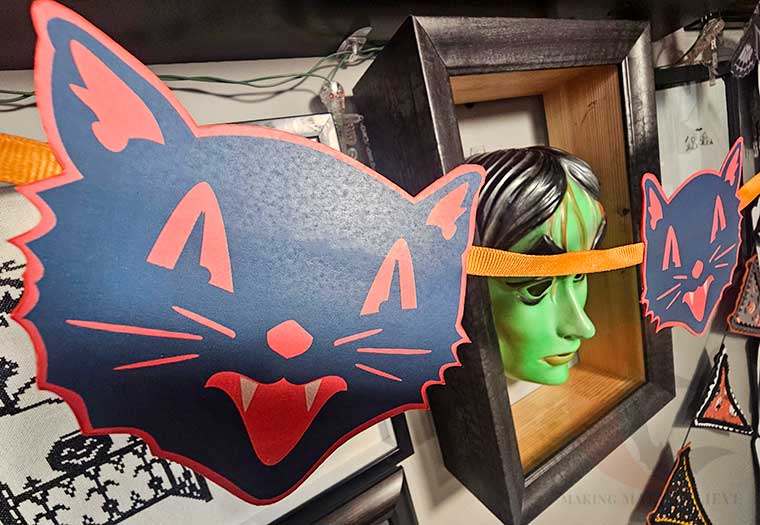
That’s the end of our feline frenzy – or is it?! If you are a member of the Haunted Library, drop in for another funtastic furry freebie.
Until next time – happy haunting!
