
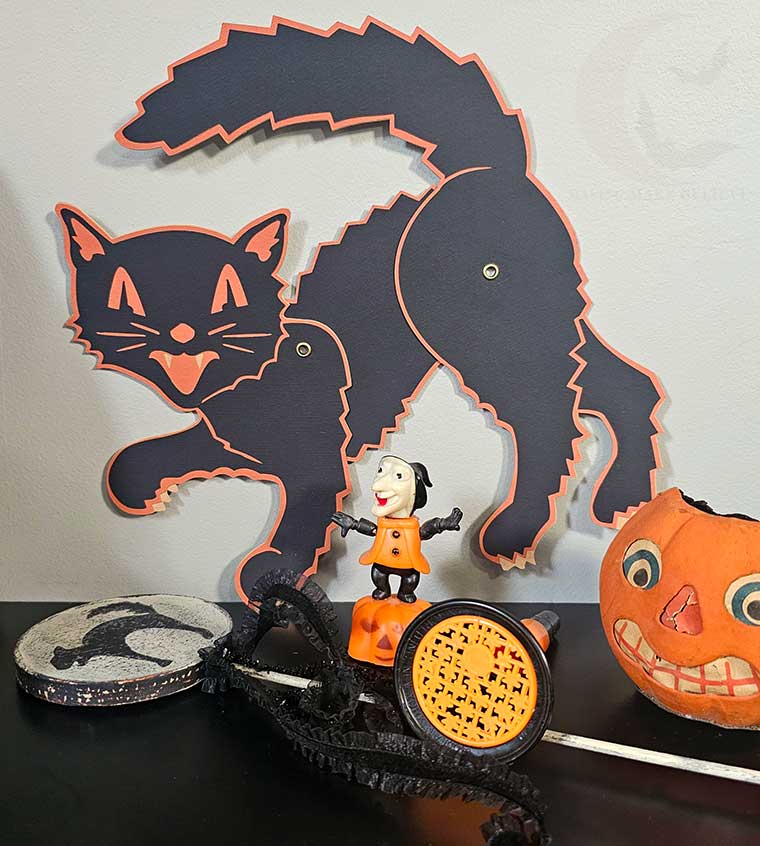
One of the ultimate icons of Halloween has to be the classic black cat. More often than not, they’re depicted in a downright foul mood: one paw raised in the air – ready to claw anyone who dares get too close – a hair-raising arched back, a towering tail, and a face locked in a permanent snarl and hiss.
We have several of these vintage die-cut scaredy cats lurking in our collection, and I swear I can almost hear their yowls echoing through the glass of their display frames.
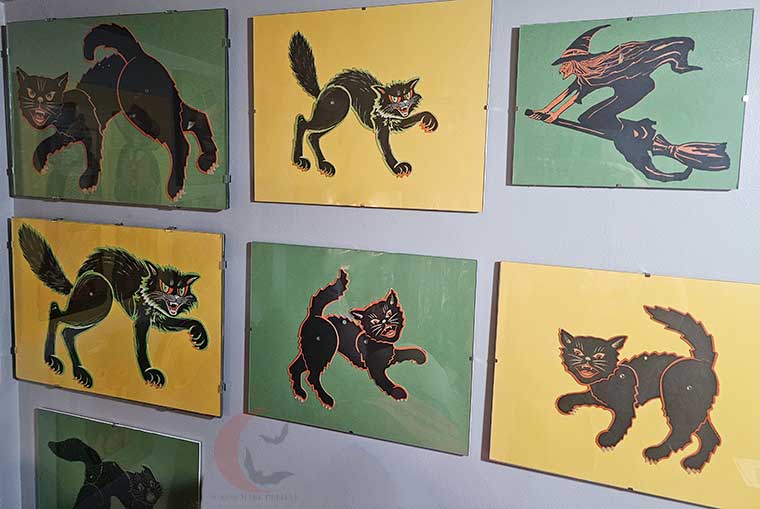
But how did black cats become such an unmistakable symbol of All Hallows’ Eve?
It really depends on where – and when – you look. Ancient Egyptians revered black cats as divine protectors, and in Japan, they were welcomed as bearers of good fortune. But over in Medieval France, Spain, and Germany, rumors took over, and black cats were bound to tales of witchcraft, curses, and dark magic. When those old-world superstitions crossed the Atlantic, the spooky connection stuck. They quickly clawed their way into American Halloween folklore, cementing their status as the ultimate All Hallows’ Eve mascot and they have been a staple of vintage holiday decor ever since!
Inspired by these spooky, spitting classics, I set out to capture that golden-era magic with a new DIY project. Today, I’m sharing a step-by-step tutorial so you can assemble your very own classic-inspired jointed cat decoration. Grab the ready-to-cut pattern in our Hauntingly Yours Shop, download the files, and start bringing this fierce feline to life.
If vintage is your Halloween vibe, pull up a chair, grab your glue, and let’s bring a little yesteryear magic to life.

Save this hair-raising, arched-back Halloween mascot for when you want to bring the hiss and attitude of early retro Halloween die-cuts to your seasonal display.
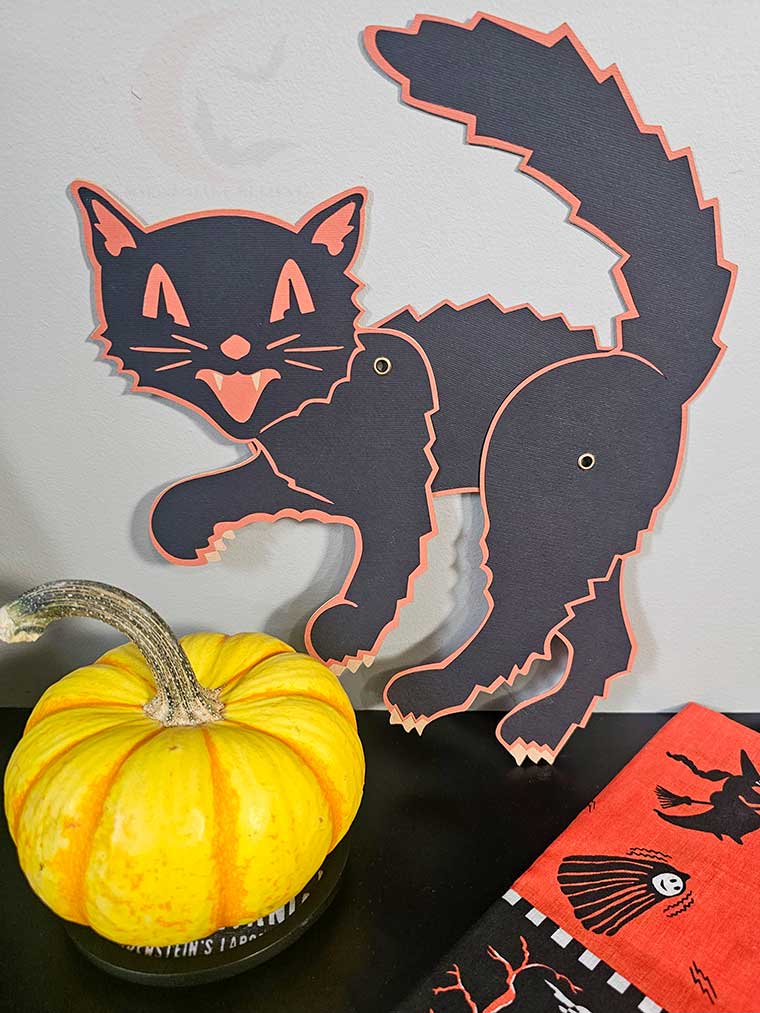
For this project, we will need:
Sturdy 12” x 12” cardstock in three colors; I’m using black, orange, and taupe
Cutting machine or scissors/finger blade
Adhesive such as a glue stick
Brads or grommets with a grommet tool
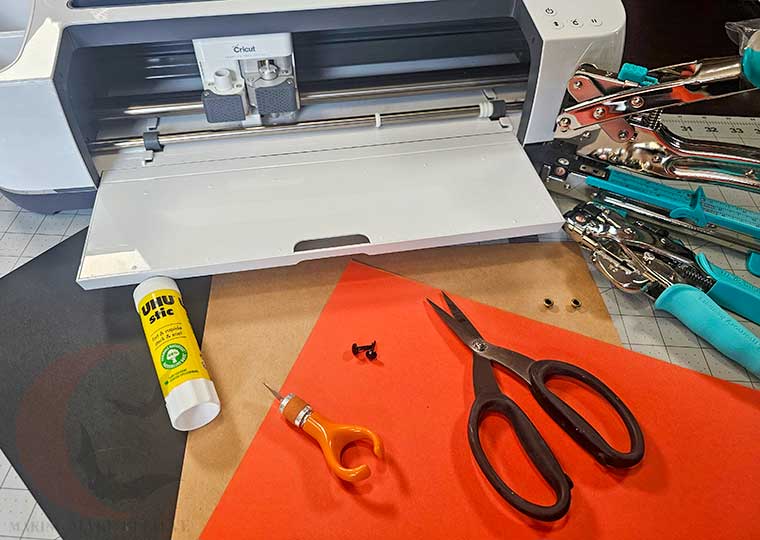
We will also need the Scaredy Cat files available in our Hauntingly Yours Shop. The zip file includes both the PDF for hand cutting and the SVG for machine cutting.

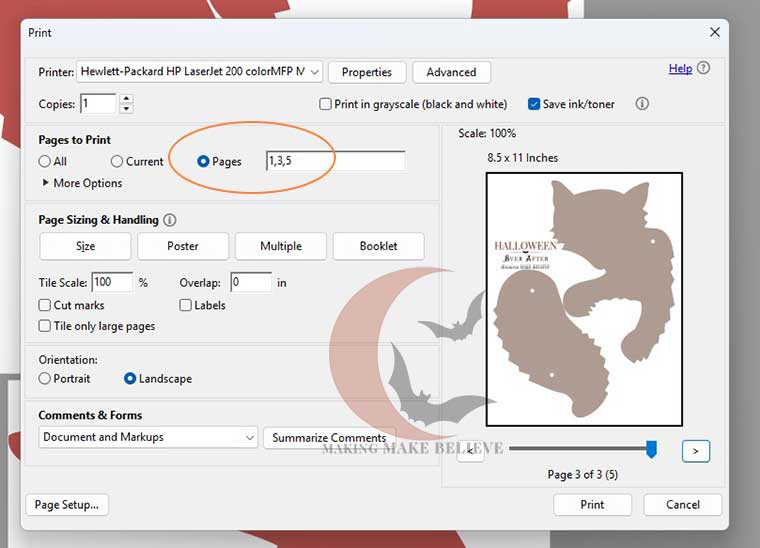
If using the PDF Printable to cut by hand, open the Scaredy Cat PDF in your favorite reader (Adobe, Foxit, etc.), and print the odd numbered pages elements at Actual Size.
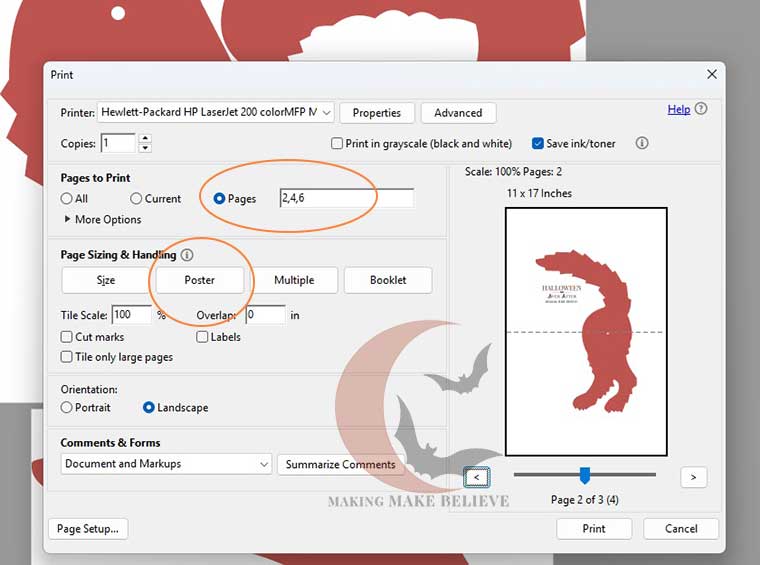
Next, print the even numbered pages using the Poster option. Once printed, piece the pattern together.
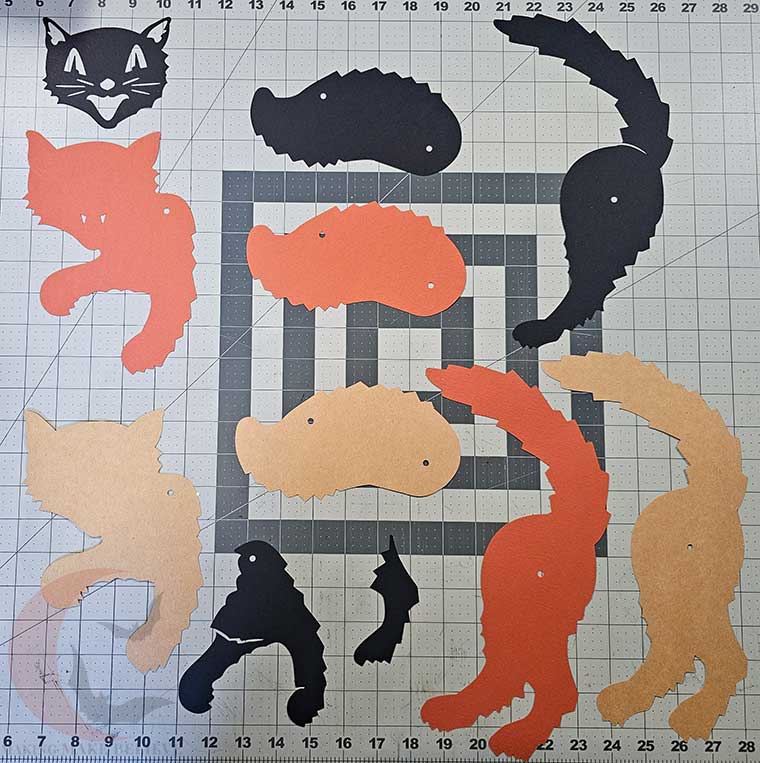
Cut out all the pattern pieces, transfer them onto your cardstock, and cut them out using scissors or a finger blade.
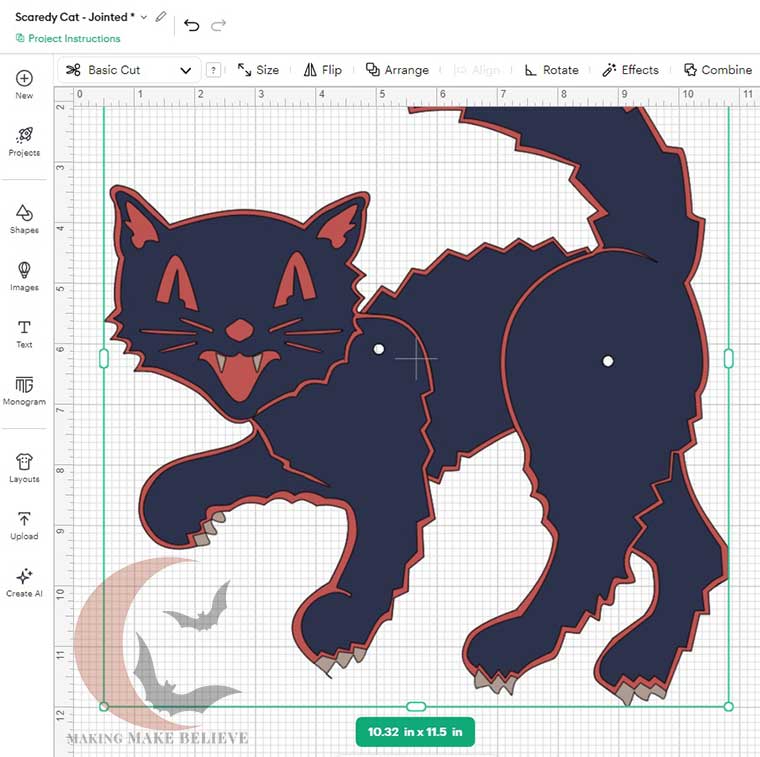
After downloading the Scaredy Cat files from the Hauntingly Yours Shop, upload them to your favorite design software. I’m using Cricut Design Space.
The Scaredy Cat is designed to be 10.32” x 11.5”. Double-check the sizing and, if needed, resize while keeping all pieces grouped together.
Arrange your pieces onto the cardstock. Design Space might break up same-color pieces onto multiple sheets, but you can fit all elements of each color onto one 12×12 sheet.
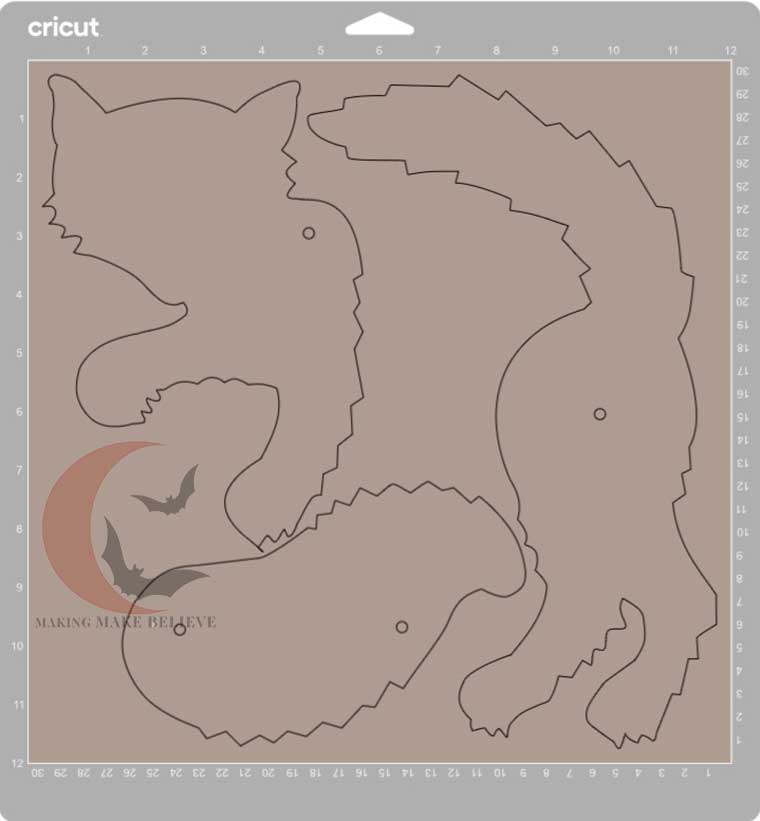
Cut out the pieces.
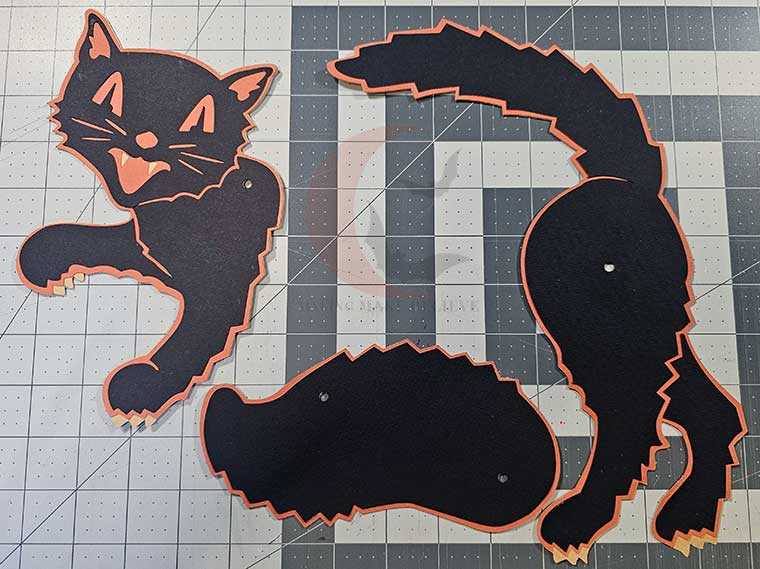
Beginning with the front section, apply a layer of glue to the back of the orange layer.
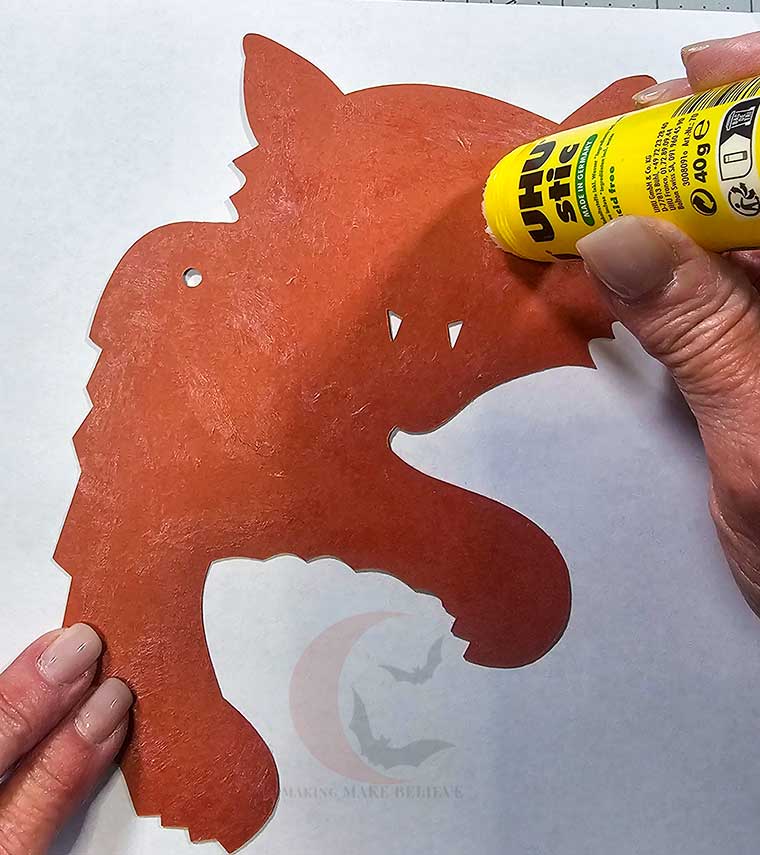
Aligning the hole and the edges, adhere the orange/middle layer on top of the taupe/bottom layer.
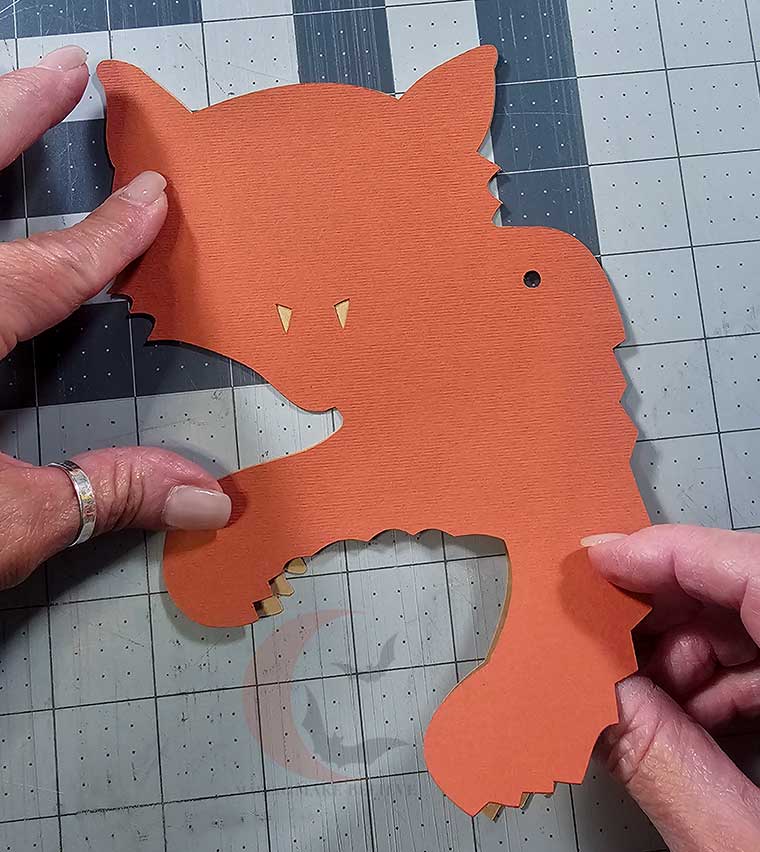
Next, glue the black paws layer onto the orange, aligning the holes. The black/top layer is slightly smaller leaving the orange to form an outline along the edges.
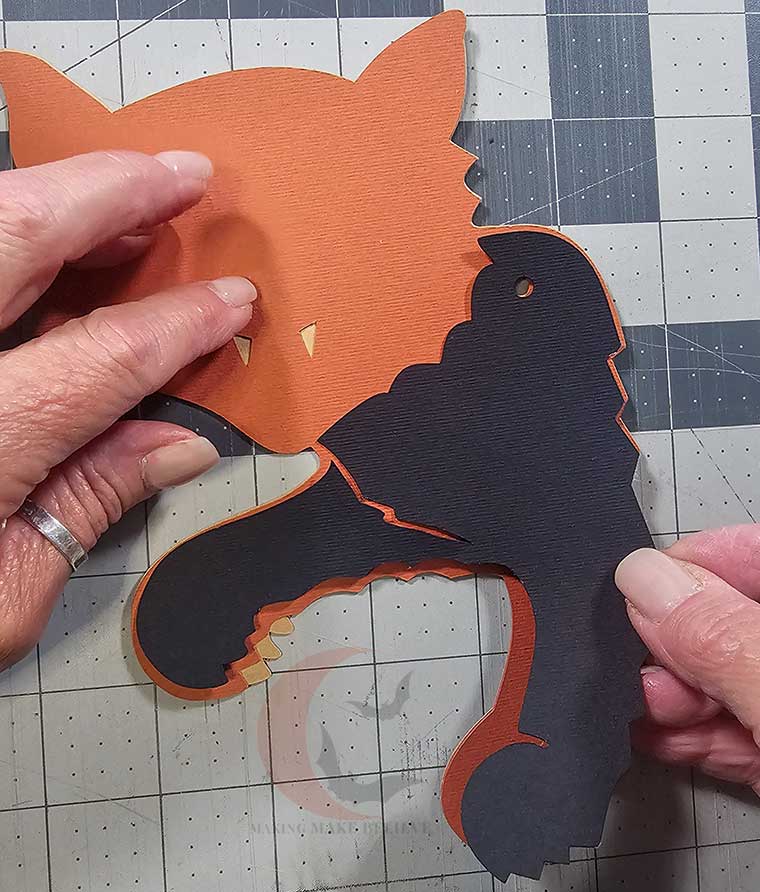
Lastly, center the black cat face onto the orange layer using the fangs as a guide.
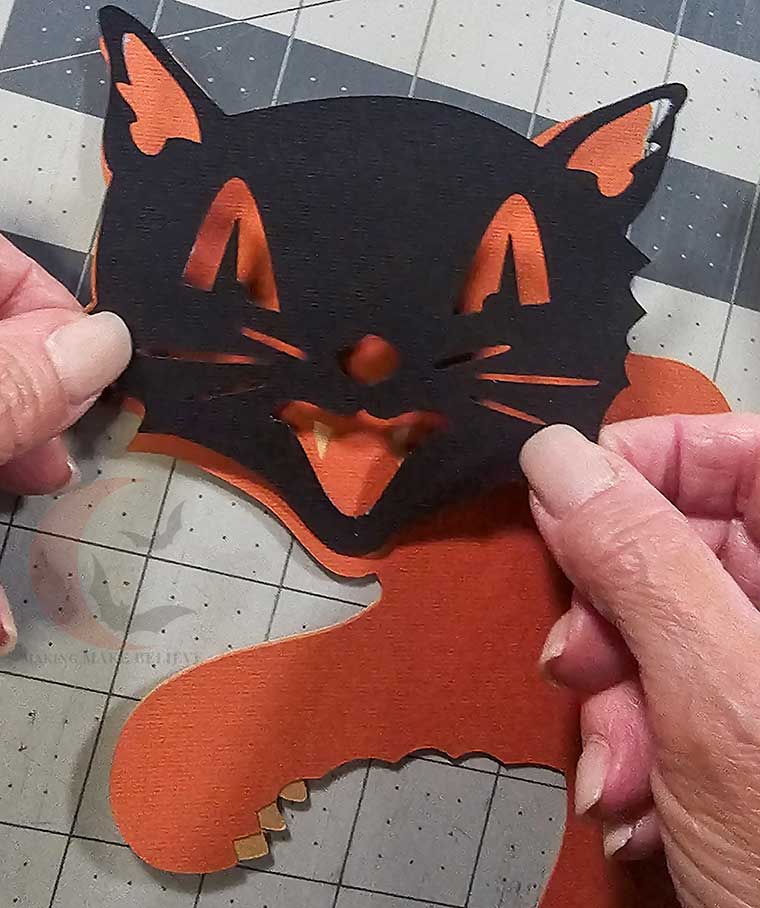
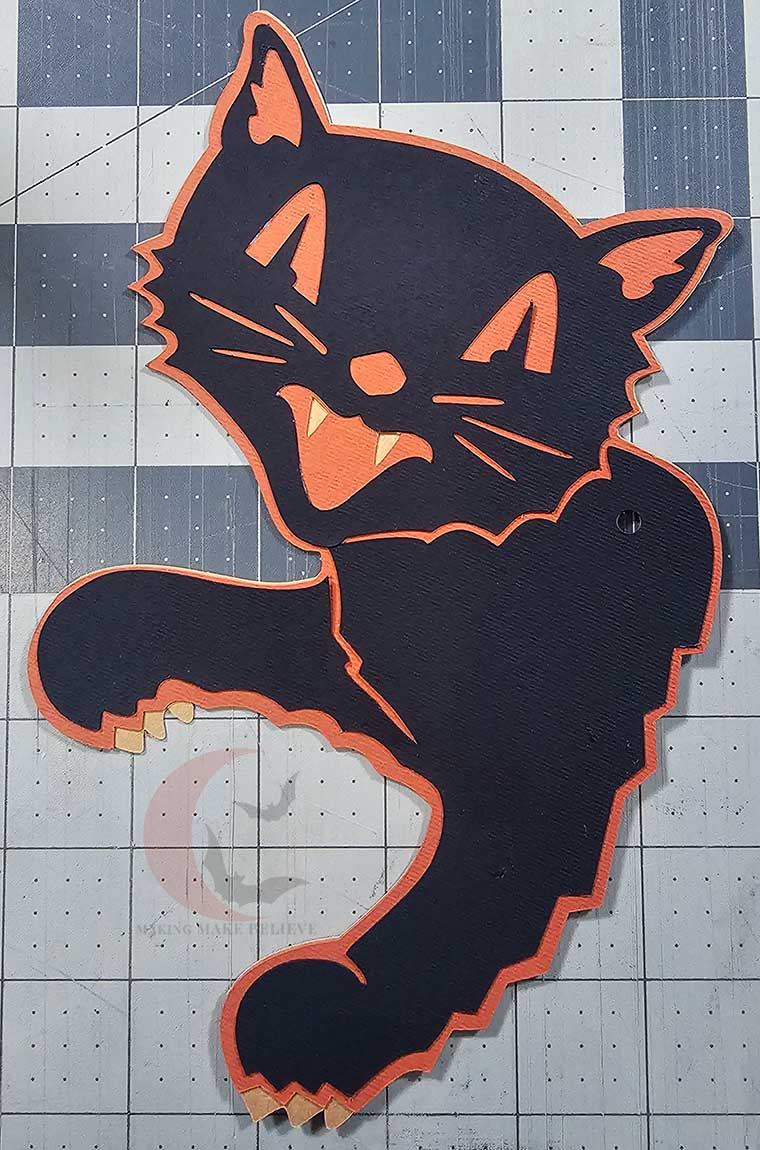
For the back section of the Scaredy Cat, add a layer of glue to the orange/middle layer, align the holes and the edges, and stick it into place on top of the taupe/bottom layer. Then add the black/top layer.
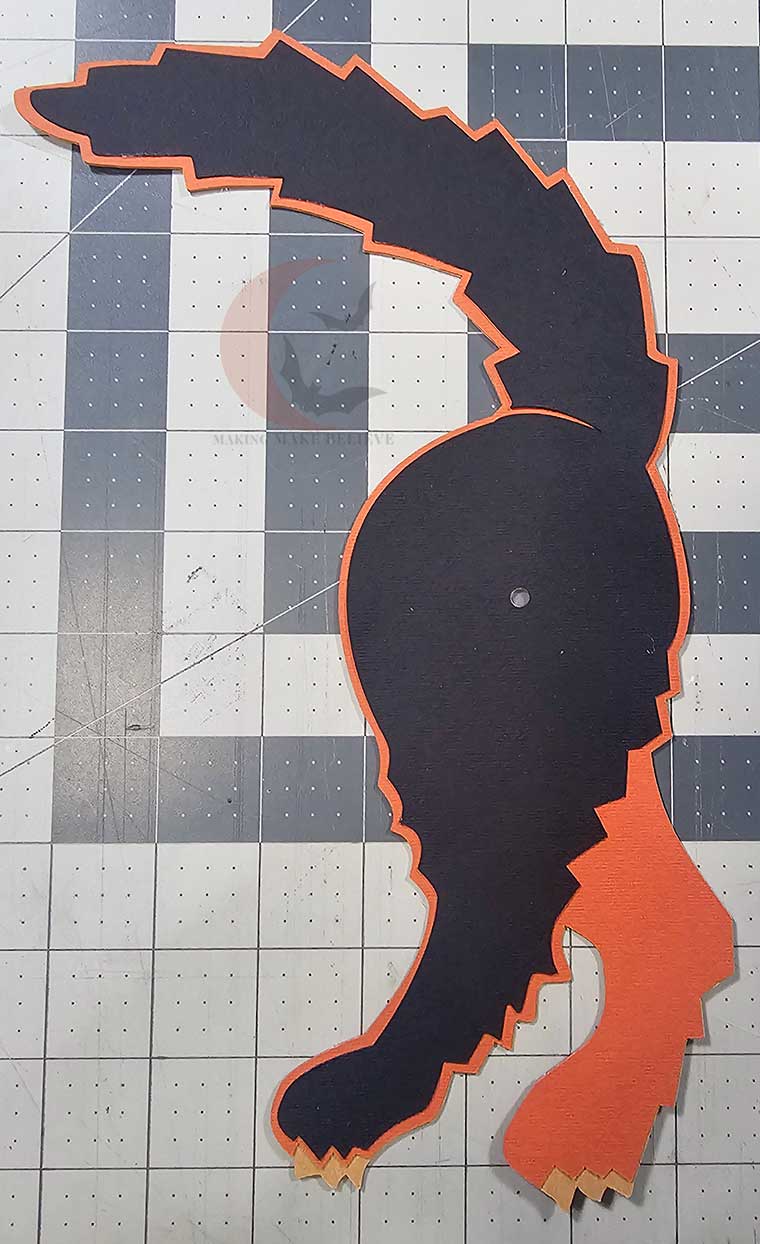
Finish this section by centering the black leg piece to leave a small band of orange all around as an outline.
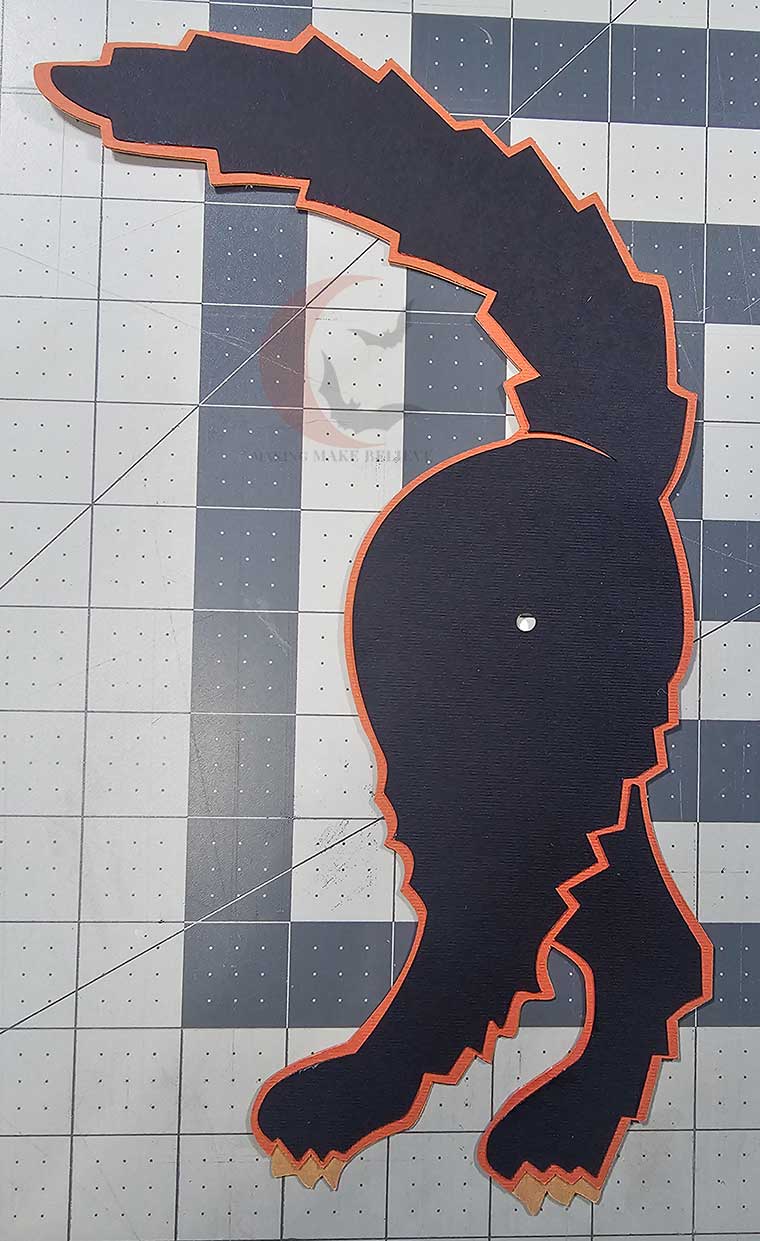
For the body, glue the layers together as for the previous sections, aligning the two holes.
Note: The taupe/bottom layer is an optional element for this middle section. To keep the weight consistent for each section, I opted to include it, but it can be omitted if desired.
Now that you have all of the parts assembled, all that’s left is to make it movable!
The simplest way to add joints to your Scaredy Cat is by using brads. There are oodles of colors and styles available, and no tools are required.
Simply align the holes, slip in the brad, flip the piece over, and open the prongs.
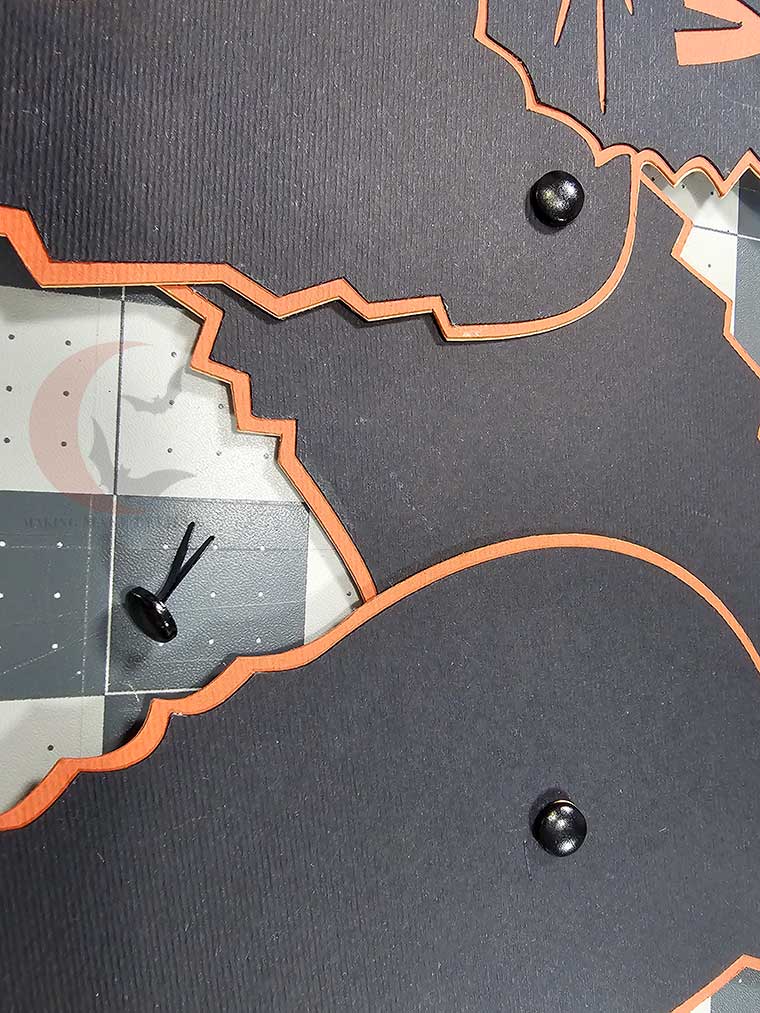
The downside to brads is that they typically don’t hold very tightly, but they are the simplest and most cost-effective method.
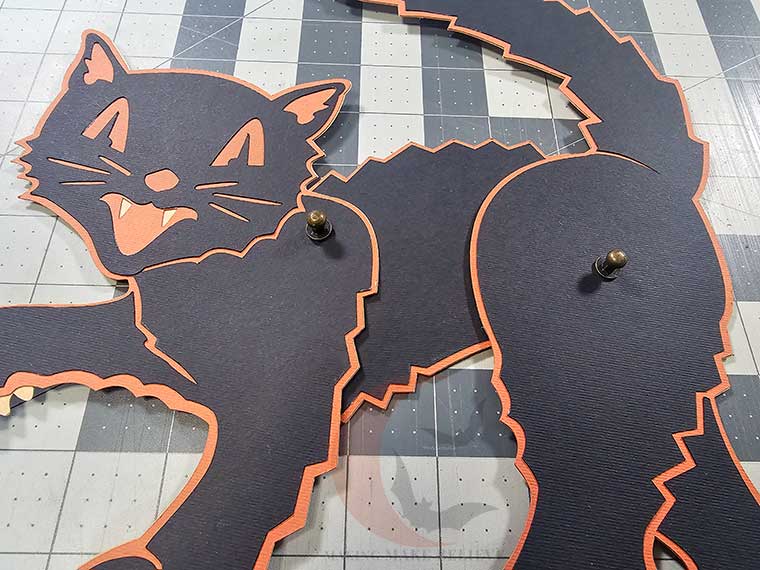
Another option is the hitch fastener. I love these, as they elevate the piece and give it a more upscale look. While these are pricier than the brads, they hold a bit tighter and come in a variety of colors.
The last option, the grommet, is my preferred because it is most like the original vintage cat die cuts.
For this method, you will need a grommet tool. I like the Memory Keepers Crop-A-Dile tool for this – however – this little kitty is a bit too deep for the original Crop-A-Dile to reach, so this project will require the Crop-A-Dile Big Bite.
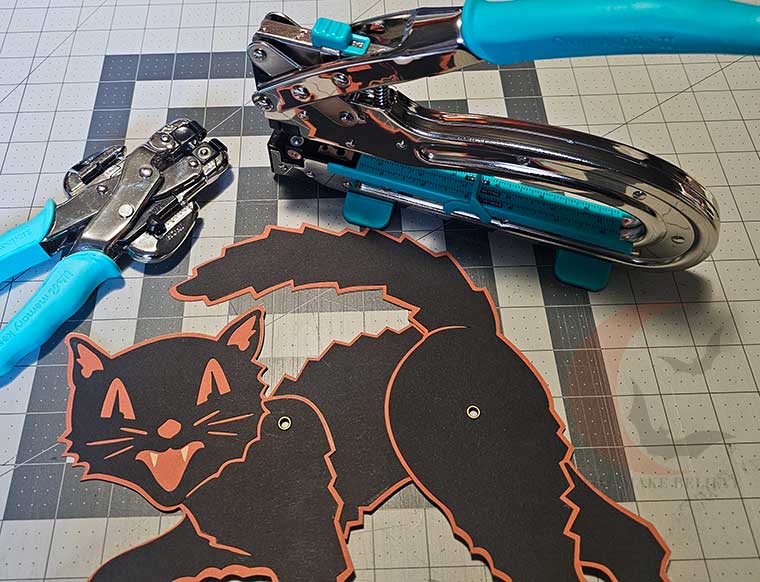
Both of these tools are a little on the pricey side, but I highly recommend them if you are planning to set grommets on the regular. These tools have a bit of a learning curve, but once you master them, setting grommets is so simple.
For this jointed specimen, I suggest clamping the Crop-A-Dile lightly onto the grommet. Just enough to secure it. Test the movement; then, if needed, clamp the grommet a bit tighter and test again. Keep tightening until you get the resistance you like.
Be aware that over-tightening will give you a jointed look, but the joints will be fixed and unable to pivot.
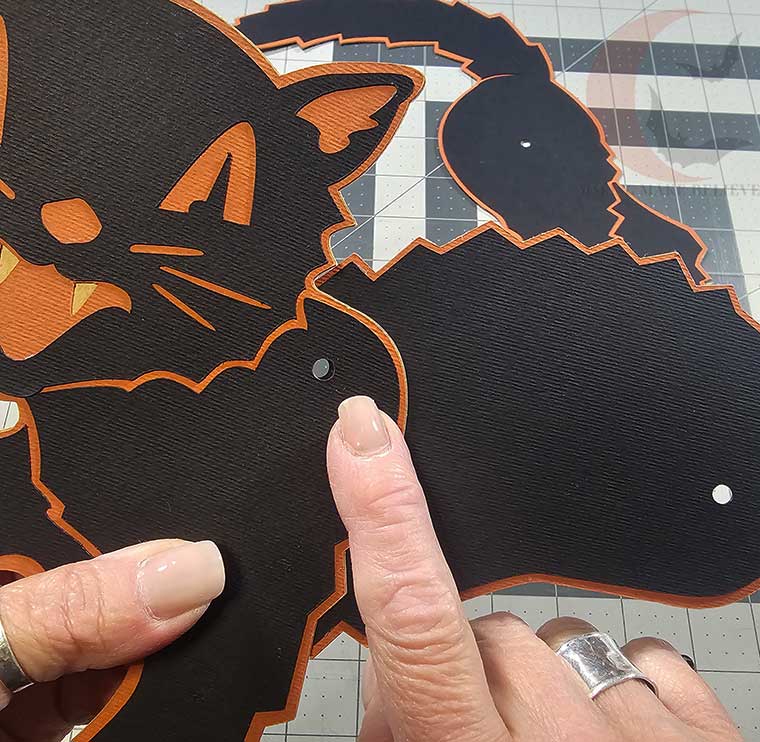
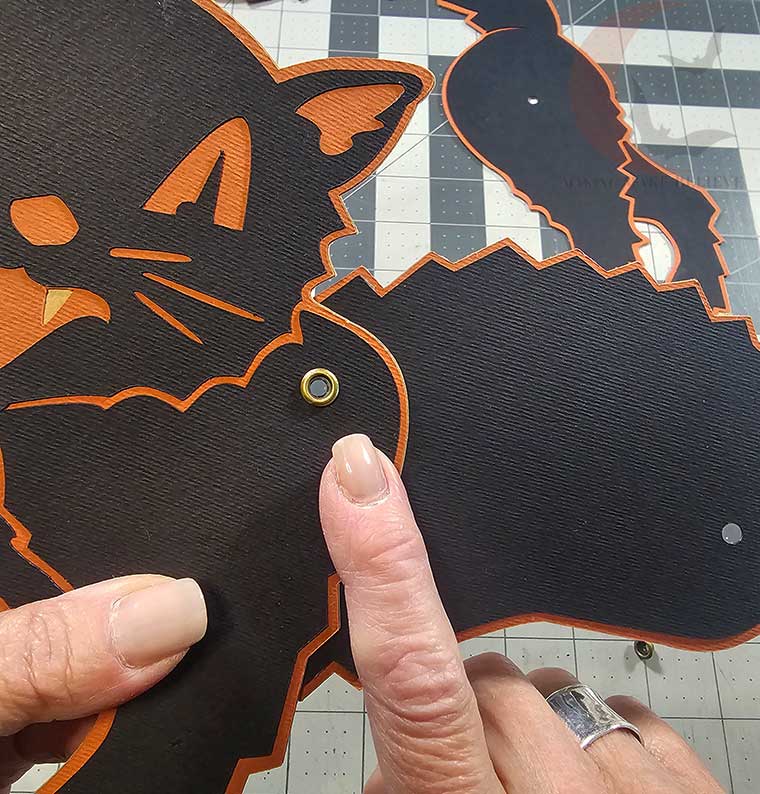
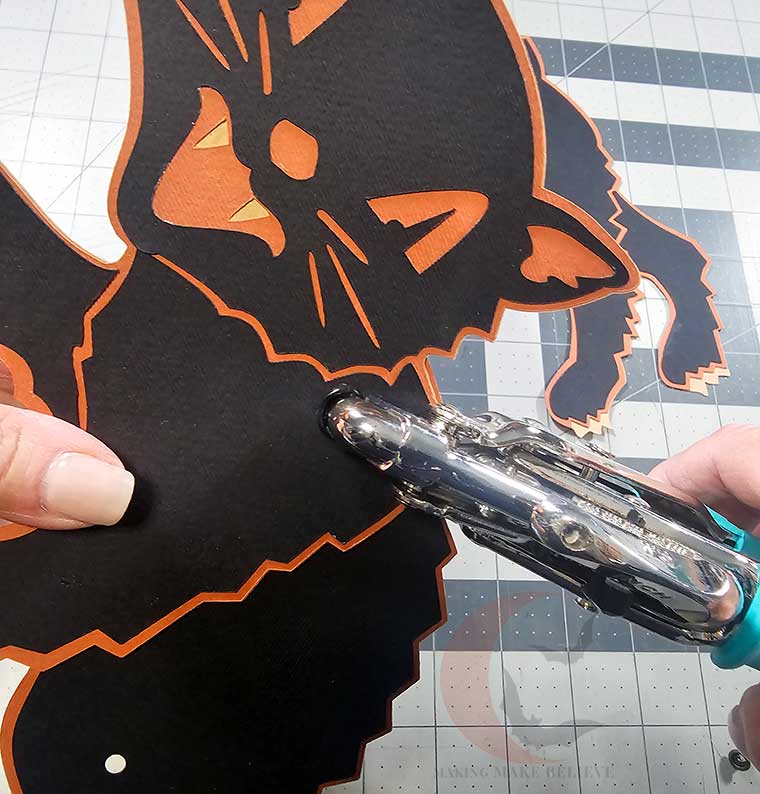
If grommet setting isn’t something you wish to add to your haunted resume, there is a more manual tool that normally comes in a kit with an assortment of grommets.
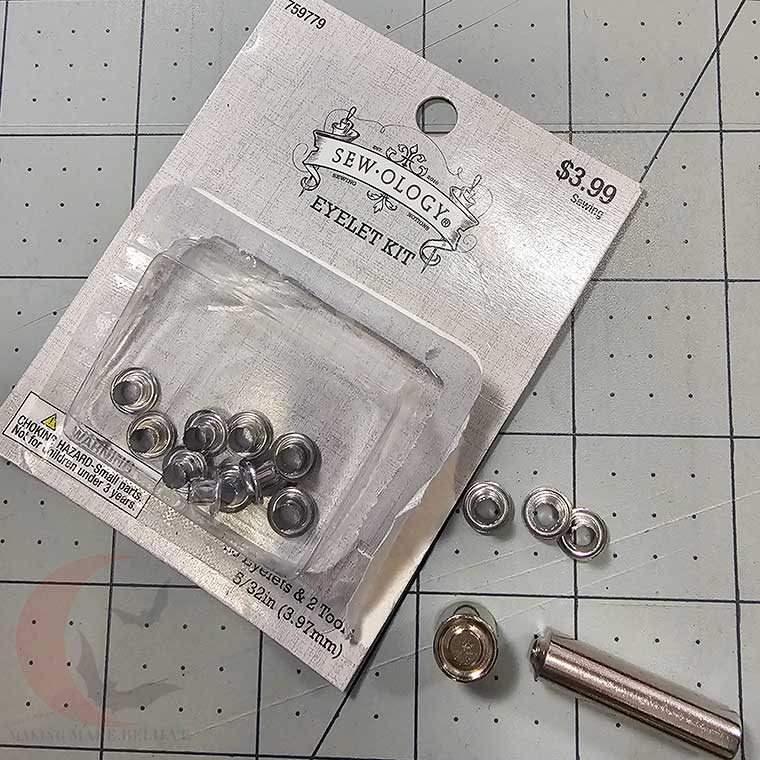
This tool does take a bit of practice to master, so follow the instructions in your kit and test on scrap cardstock before trying it out on your Scaredy Cat.
One element found in the vintage scaredy cat die cuts that I did not include is a hole for hanging. I wanted to leave this option open in case you have a different display method in mind.
If you do want to hang your Scaredy Cat, just use a small hole punch to make a hole near the top center of the body, and you’re good to go!
And there you have it – your very own spitting, snarling jointed cat, ready to keep watch over your Halloween haunts! Hang him in a window, perch him on a shelf, or let him guard your vintage display.
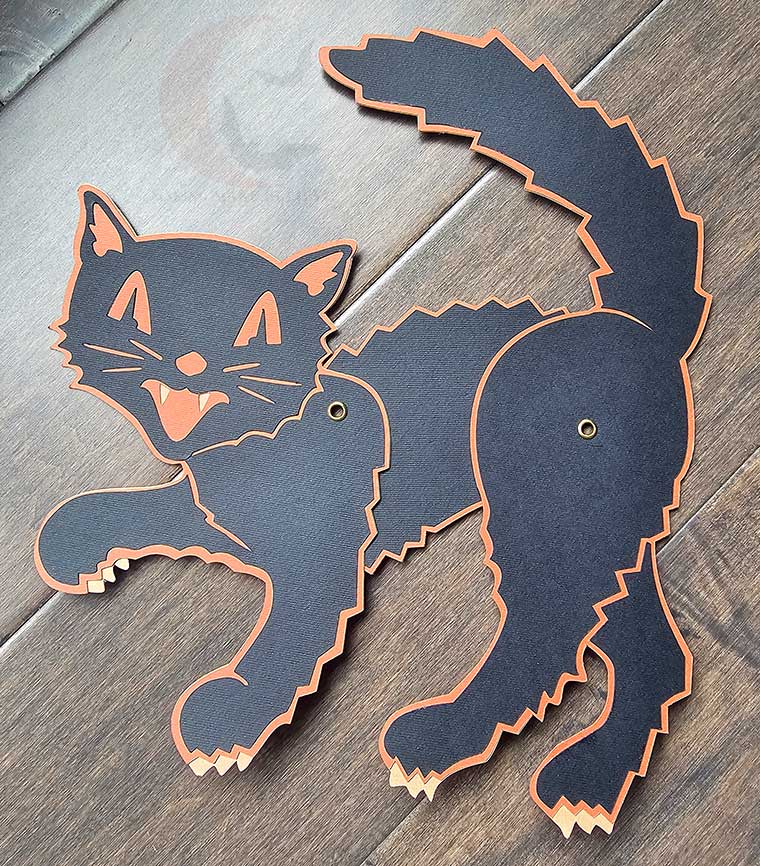
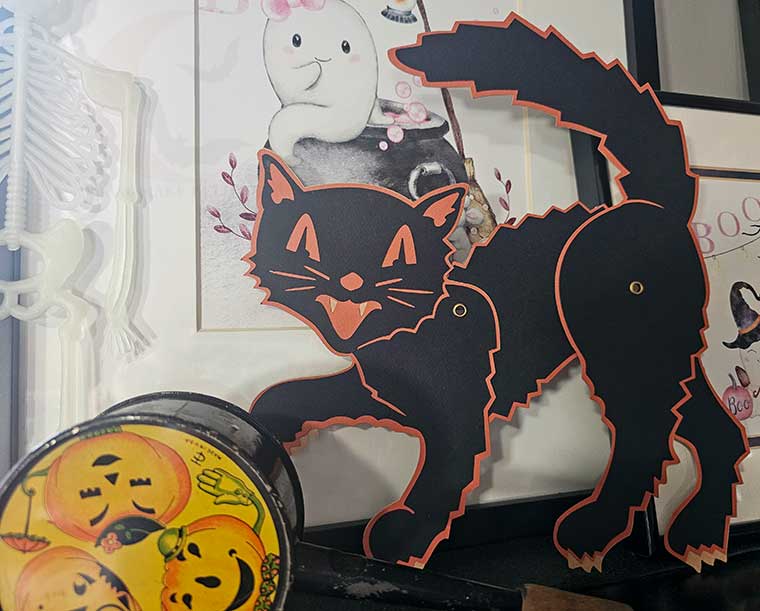
Grab your template from our Hauntingly Yours shop and craft your own classic scaredy cat.
Until next time – happy haunting!
